 Copyright © Michael Richmond.
This work is licensed under a Creative Commons License.
The plan today is for you to use the Mac computers in the Gosnell lab to start displaying and analyzing astronomical images. You'll need to use a specialized -- and unfriendly -- set of image processing programs. We'll use these programs to analyze data gathered at the RIT Observatory.
The enhanced goals of today's session are
For present and future reference, you can find detailed examples of the XVista image processign programs in the tutorial on using the XVista package.
The software you'll use hasn't QUITE been set up properly on the lab computers yet. So, for today only, it will be necessary to download and install the code on the machine in front of you. Starting next week, the programs will already be available on all Mac machines in the Gosnell labs.
Here's what you need to do:
         curl -O http://spiff.rit.edu/classes/phys445/code/alpha_xvista.tar

         curl -O http://spiff.rit.edu/classes/phys445/code/start_445.sh
tar -xvf alpha_xvista.tar
Phew. That wasn't so bad. The next steps are ones that you will (probably) have to take, today and next week and every other time you use the Gosnell computers.
         cd

         . start_445.sh

         startx
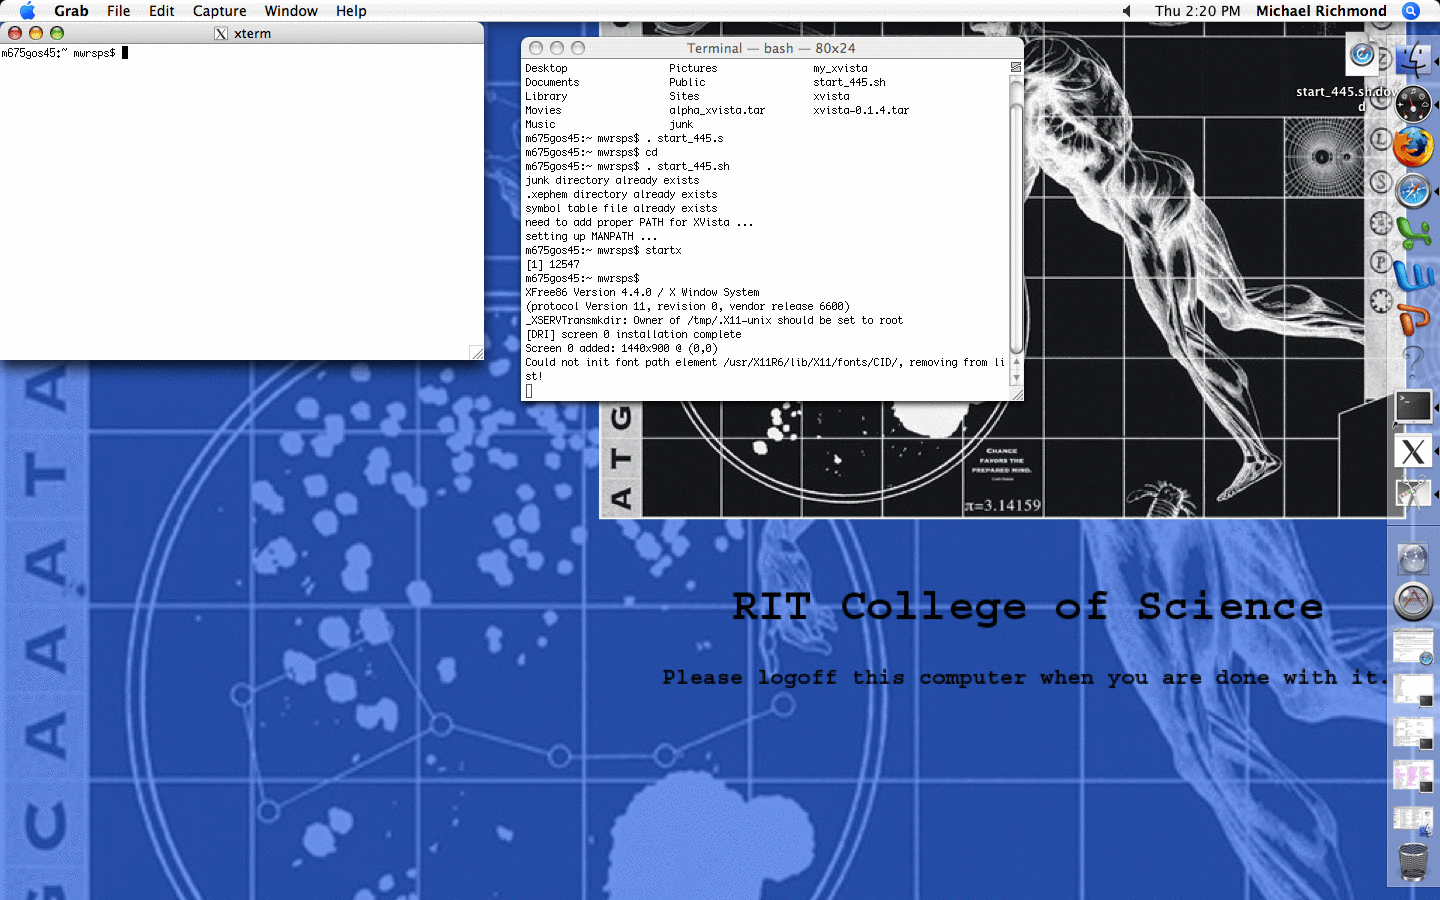
This will initialize several environment variables and then start the X11 Window System on your computer. The resulting screen should look something like this:

When you have reached this point, please pause, and look around. If someone nearby is having problems, please help him or her to reach this point.
All, or most, of the work you do this quarter will be driven by command-line programs. In other words, instead of clicking on icons to run software, and filling in boxes on forms, you'll be typing commands with the keyboard. The Mac computers have a Unix-like operating system. If you're not familiar with Unix, see the references at the bottom of today's web page.
For the purposes of today's work, all you need to do is copy some sample images into your current (and home) directory. Type the following commands (or cut-and-paste them):
      cd

      cp xvista/var*.fit .

      curl -O http://spiff.rit.edu/classes/phys445/work/day1/dark_0_a-001.fit
      curl -O http://spiff.rit.edu/classes/phys445/work/day1/dark_0_d-001.fit
      curl -O http://spiff.rit.edu/classes/phys445/work/day1/dark_2_a-001.fit
      curl -O http://spiff.rit.edu/classes/phys445/work/day1/dark_2_d-001.fit
(You can find more of the dark images at different
temperatures by pointing a browser at
http://spiff.rit.edu/classes/phys445/work/day1/
You can use your browser to download more examples
into your home directory, if you wish. )
I have written a set of programs for processing astronomical images, called the XVista package. These programs aren't user-friendly, and lack a GUI. You'll have to type the commands by hand -- horrors! Of course, if you want to put together a script of your own commands, you can then run it repeatedly on images ... without having to sit in front of the computer and click mouse buttons.
There is some information available on-line for each XVista command via the man command. For example, for help on the tv command, just type
man tv
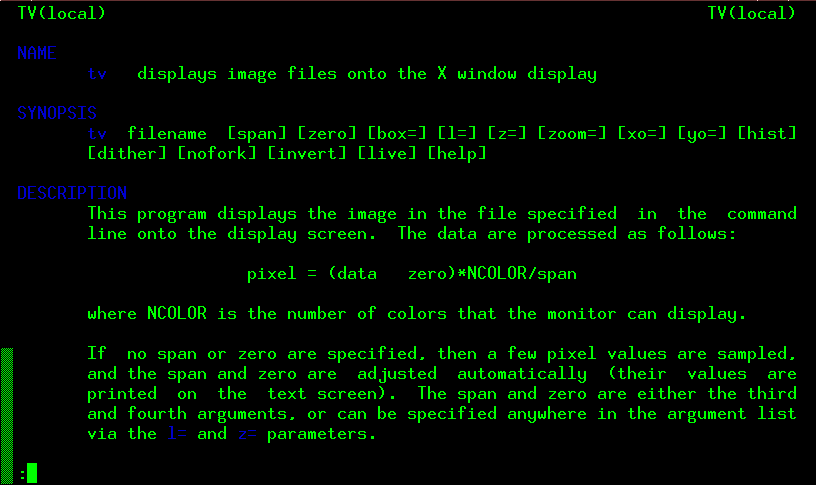
To see more of the man page, type the spacebar. To quit reading the man page, type the "q" key.
You can see a list of the XVista commands and a very brief description of each with
man xvista
If you prefer, you can read this list of commands in HTML format.
So, let's start with two XVista commands.
Astronomical images in the FITS format have two components: a header, containing human-readable information about the image, and a data section. You can print out the header of an image with the buffers command.
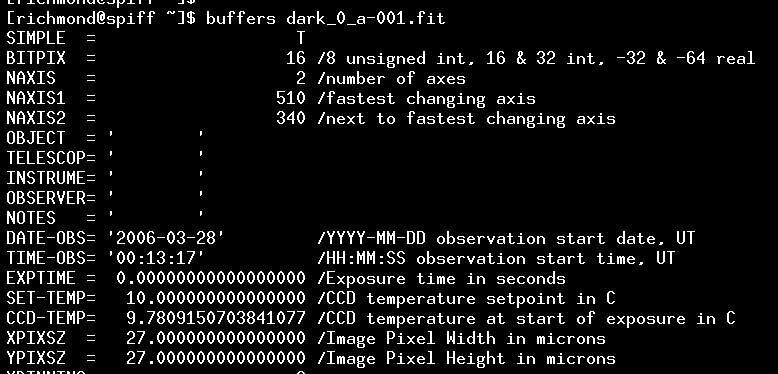
If information scrolls off the top of your xterm window, use the scrollbar to look back at it.
If your terminal doesn't have a scrollbar, you can create one:
- move the cursor into the xterm window
- press and hold down the "Control" key
- press and hold the "Option" key (or press down on the wheel)
- slide the mouse to highlight the Enable Scrollbar item
- release the mouse buttons
You can use the scrollbar to review text which has scrolled off the top of the window. Place the cursor into the scrollbar region, then press the middle key (wheel) and move the mouse.
Exercise:
- At what time did we acquire the image "dark_0_a-001.fit"?
- At what time did we acquire the image "dark_2_a-001.fit"?
- What was the temperature of the CCD chip in these two images?
- How many pixels high is each image? How many pixels wide?
When you reach this point, please pause and look around. If somone nearby is having problems, please help him or her.
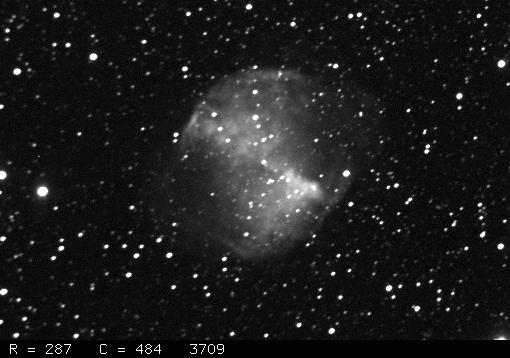
The tv command is a workhorse: it displays a FITS image in a new window, and also allows you to do look at individual pixel values, zoom in, zoom out, and make several types of measurement.
The simplest way to use it is like so:
tv varvul-001.fit
which should pop up a new window to display the image:
If you receive an error message like this:read_property: XGetWindowProperty returns wrong number of itemsthen you need to typepropinitand then try tv again.
You can control the contrast and base level of the displayed image with command-line options to the tv command.
tv varvul-001.fit z=3500 l=1000
where
tv varvul-001.fit z=3300 l=10000

Next, displayed via
tv varvul-001.fit z=3500 l=2000
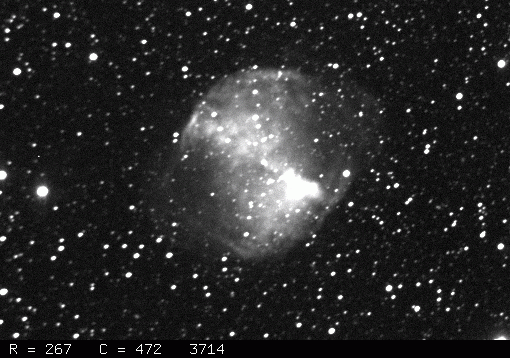
You can also use the invert option to switch from white-stars-on-black to the reverse:
tv varvul-001.fit z=3500 l=1000 invert
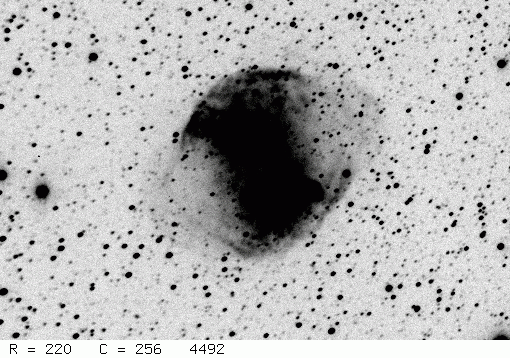
After you specify invert, all subsequent displays will show the same scheme (black on white) until you explicitly type invert again.
Exercises: Display an image, and find out what all the following things do. Write down the answers to each.
- Moving the cursor within the image window.
- Clicking the left mouse button (or, clicking the only mouse button). Try clicking it a second time ...
- Clicking the middle mouse button (or, pressing-and-holding "Option" key, then clicking the mouse) and holding it, while moving the mouse
- Clicking the right mouse button (or, pressing-and-holding the "Apple" key, then clicking the mouse)
- What do the following command-line options to the tv command do?
- zoom=2
- xo=300
- yo=100
- Pressing the "z" key while the cursor is inside an image window?
- Pressing the "r" key while the cursor is inside an image window?
When you reach this point, please pause and look around. If somone nearby is having problems, please help him or her.
If you have never used any Linux or Unix system in the past, you may want to read a book or web site which describes the basic shell commands. Here are some possibilities:
 Copyright © Michael Richmond.
This work is licensed under a Creative Commons License.