
Congratulations! You have successfully acquired beautiful CCD images with the WIYN 0.9-m telescope. You know they are good because you can see fine details on the HDI "data store" display.
But how can you transfer your images to your own computer, so that you can process and analyze them? This document is a brief guide to help you through the process; we hope that it may assist those who are making their first trip to Kitt Peak.
In order to move the data collected from a run, you will need:
When HDI takes a picture, the image is saved on a computer known as the HDI pixelserver; that is the only computer which talks directly to the camera hardware. The pixelserver, however, is a very insular machine: for safety reasons, it has very few connections to the outside world. Your computer, for example, cannot communicate with it.
Therefore, one must first move image(s) from the pixelserver to a computer which IS connected to the larger network. That computer is known as emerald; it is the computer with two big screens in the WIYN 0.9-m control room. You and your observing colleagues will be using emerald all the time during your observing run.
You can find instructions for transferring images from the pixelserver to emerald in the appropriate section of the HDI manual. The basic idea is to start running a program in a terminal window on emerald before one starts to acquire images. That program will run continuously, checking for new images periodically and copying them to emerald as they appear.
The remainder of this document assumes that you have copied images onto emerald, and placed them into some specific directory.
If you are using Windows,
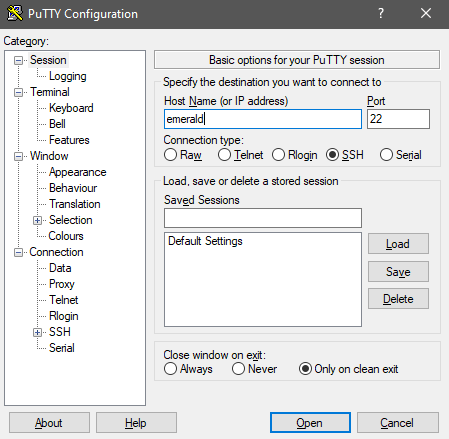
In the PuTTY Configuration window, type the Host Name: emerald; then click on Open.
A new window will pop up asking for the Login information: the login name is 36inch; use the password written on the whiteboard on the wall of the control room.
Note that the password will not appear as you type!
If you are using MacOS or Linux,
ssh 36inch@emerald
The following message will show up:
"Are you sure you want to continue connecting (yes/no)?"
In response, type yes.
You will then be prompted for the password; use the password written on the whiteboard on the wall of the control room.
Note that the password will not appear as you type!
At this point, you will be logged into the computer named emerald. In most cases, images will be stored in one of the directories under /data/data1; the name of this image directory is set by the hdi_follow.pl script which copies images from the pixelserver to emerald.
For example, suppose that the directory is named /data/data1/rit. In order to see all the images in this directory, one can first go to the directory
cd /data/data1/rit
and then use the ls command to list the files:
ls
You ought to see a long list of file names, something like this:
     c8854t0001f00.fits  c8854t0199o00.fits  c8856t0052f00.fits  c8856t0250o00.fits
     c8854t0002f00.fits  c8854t0200o00.fits  c8856t0053f00.fits  c8856t0251o00.fits
     c8854t0003f00.fits  c8854t0201o00.fits  c8856t0054f00.fits  c8856t0252o00.fits
     c8854t0004f00.fits  c8854t0202o00.fits  c8856t0055f00.fits  c8856t0253o00.fits
     c8854t0005f00.fits  c8854t0203o00.fits  c8856t0056f00.fits  c8856t0254o00.fits
HDI images are saved initially in a FITS file with a complex (multi-extension) format. Some image-display and -processing programs can't understand this format, so you might want to convert the image data into a simpler FITS format before you transfer them to your computer. In that case, follow the instructions in this section of the HDI manual.
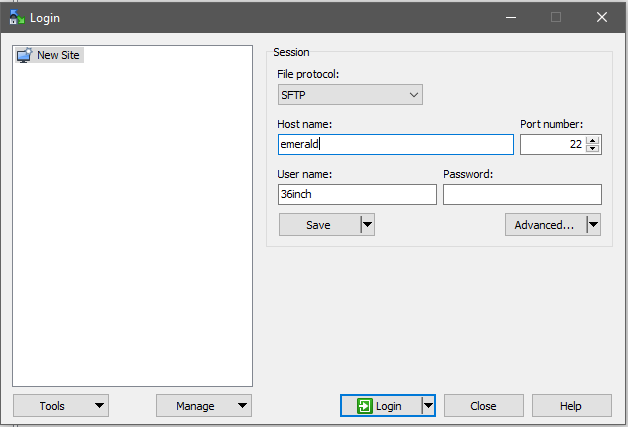
Okay, you've located the images you want to transfer from emerald to your own computer, and maybe converted them to a different format. It's time to transfer them from emerald. Once again, the method to use depends on your operating system.
If you are running Windows, the process involves a graphical user interface:

If you are using MacOS or Linux, you can do all the work from the command line via the scp program.
scp 36inch@emerald:/data/data1/rit/*.fits .
where you can replace the /data/data/rit/
part of the command with the directory holding your images.
scp 36inch@emerald:/data/data1/rit/c8845t0323f00.fits .