Click on the image above for a full-size version
The images created by HDI have a somewhat complex structure, so that some software packages may not open them properly, or show only a fraction of the entire image. This short guide shows one way to display and interact with HDI images on the computer emerald in the WIYN 0.9-m control room. There are many other ways, of course.
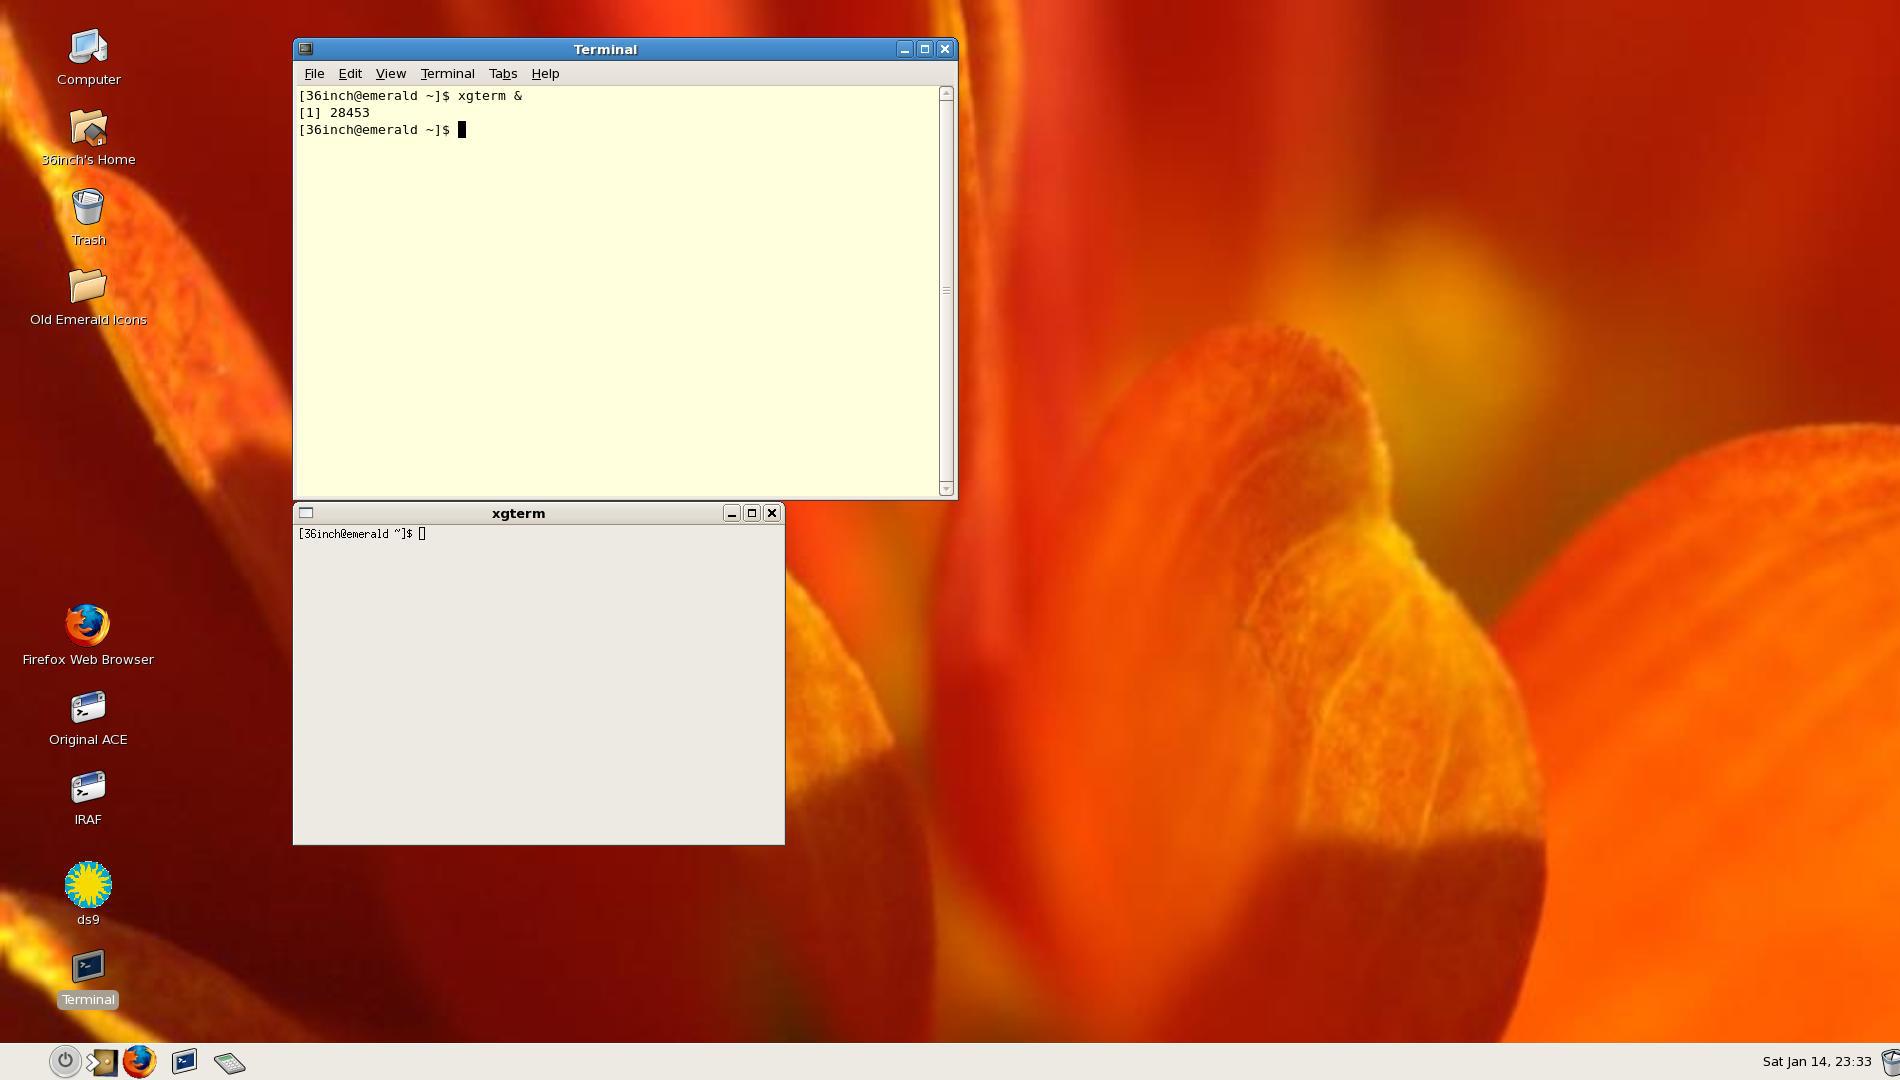
So, let's begin. After logging into the computer, you'll see a desktop like this (click on the image below, and other images in this tutorial, for a full-sized version):
Click on the image above for a full-size version
xgterm &
cl
cd /data/data1/rit/20170144

Click on the image above for a full-size version
It's possible to use a unique name for the simplified version of every image, but I find it convenient to keep re-using one short name; I just delete the simplified version when I'm done with it. Again, this is just one way to work with data -- there are many others.
In the xgterm window which is running IRAF, issue the rfits command to create a simplified image file called foo.
rfits c7768t0025f00.fits 1 foo
(The second argument, '1', tells IRAF to look in header-data unit number 1 in the HDI file to find the data. If you are operating HDI in 1-amplifier mode, that contains all the pixel data. If you are operating in 4-amplifier mode, this would only read pixel data for the first amplifier)
display foo 1
(The second argument, '1', in this case means that ds9 should place the data into its memory buffer number 1. It is possible to read images into different buffers and then blink them or show them side-by-side)
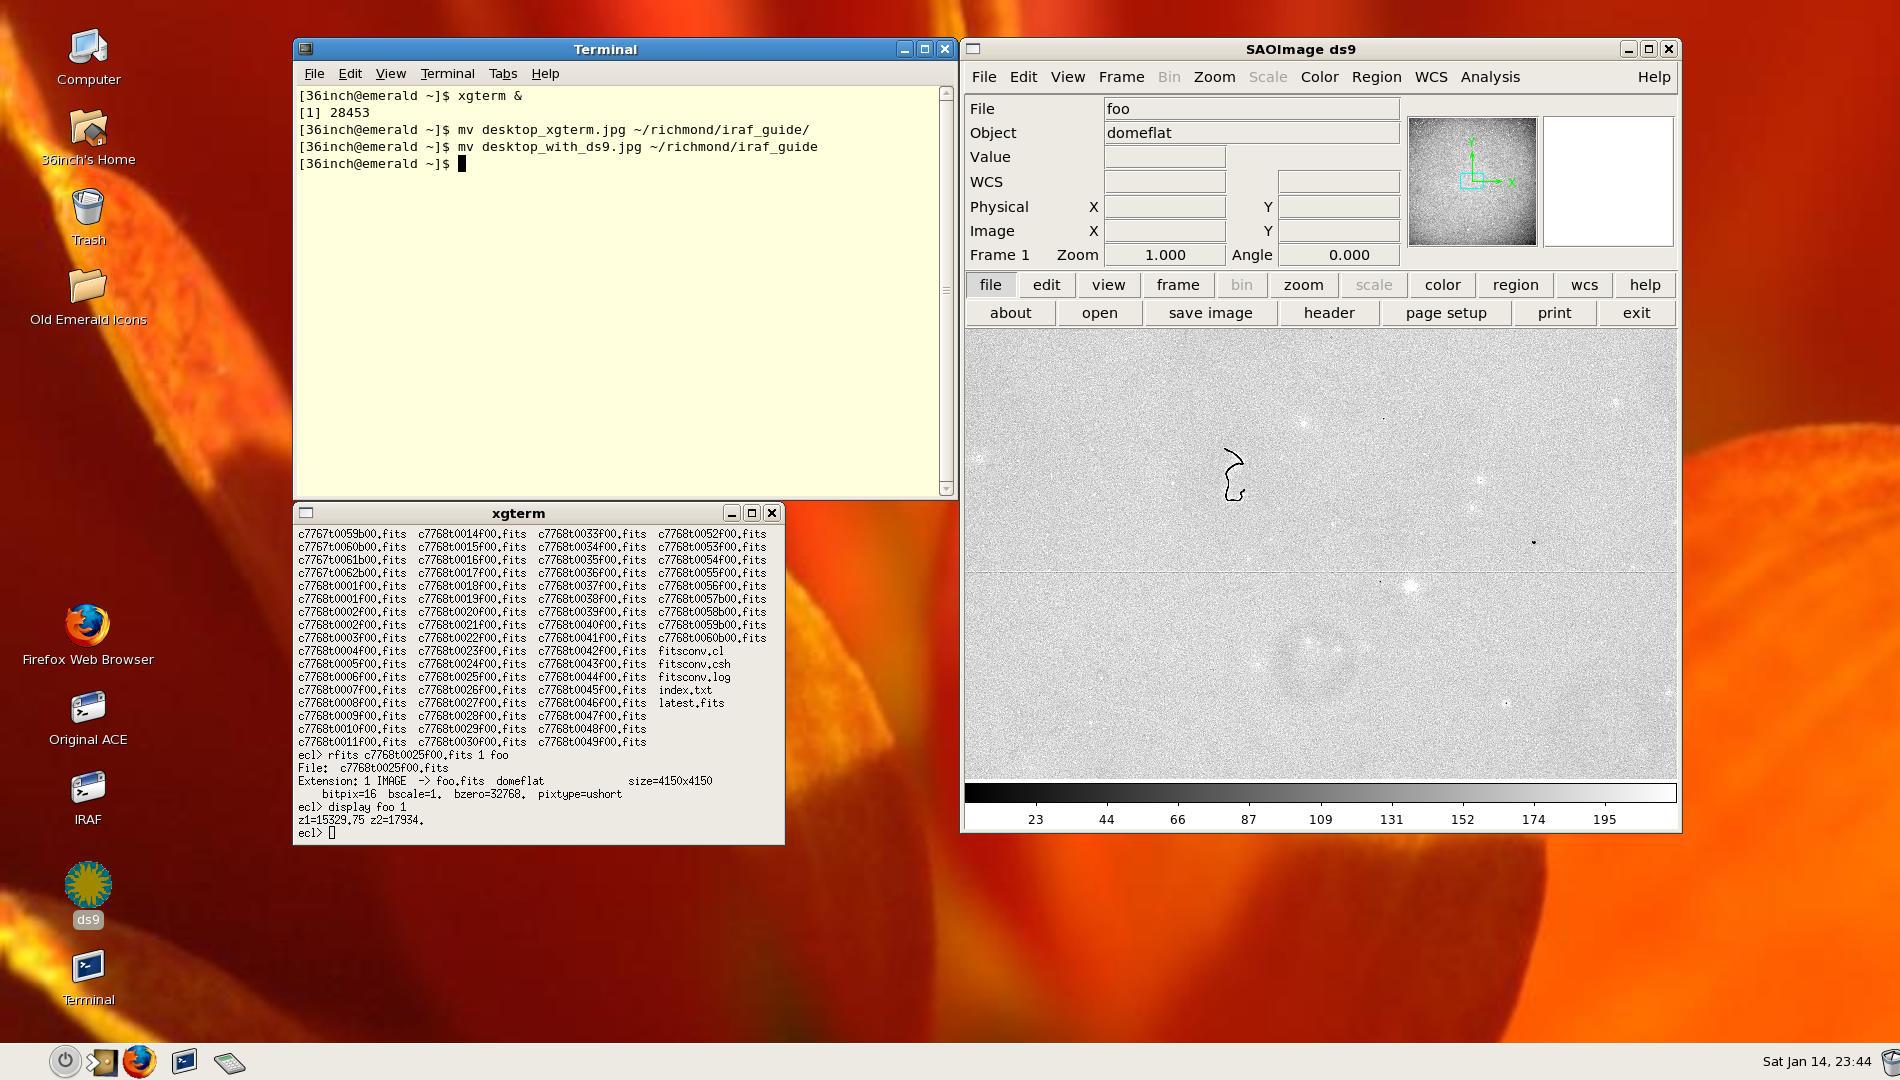
Click on the image above for a full-size version
imexam
The cursor will turn into a blinking black donut in the ds9 window. At this point, you have many options. I often want to examine the properties of a star, so I'll move the cursor to the star and press the r key, which pops up a new graphics window, inside of which is a radial profile:

Click on the image above for a full-size version
q
The cursor should return to its normal size and shape.
imdel foo