

Contents:


At this point, the Eclipse environment should start and give you a big window with a number of panes.
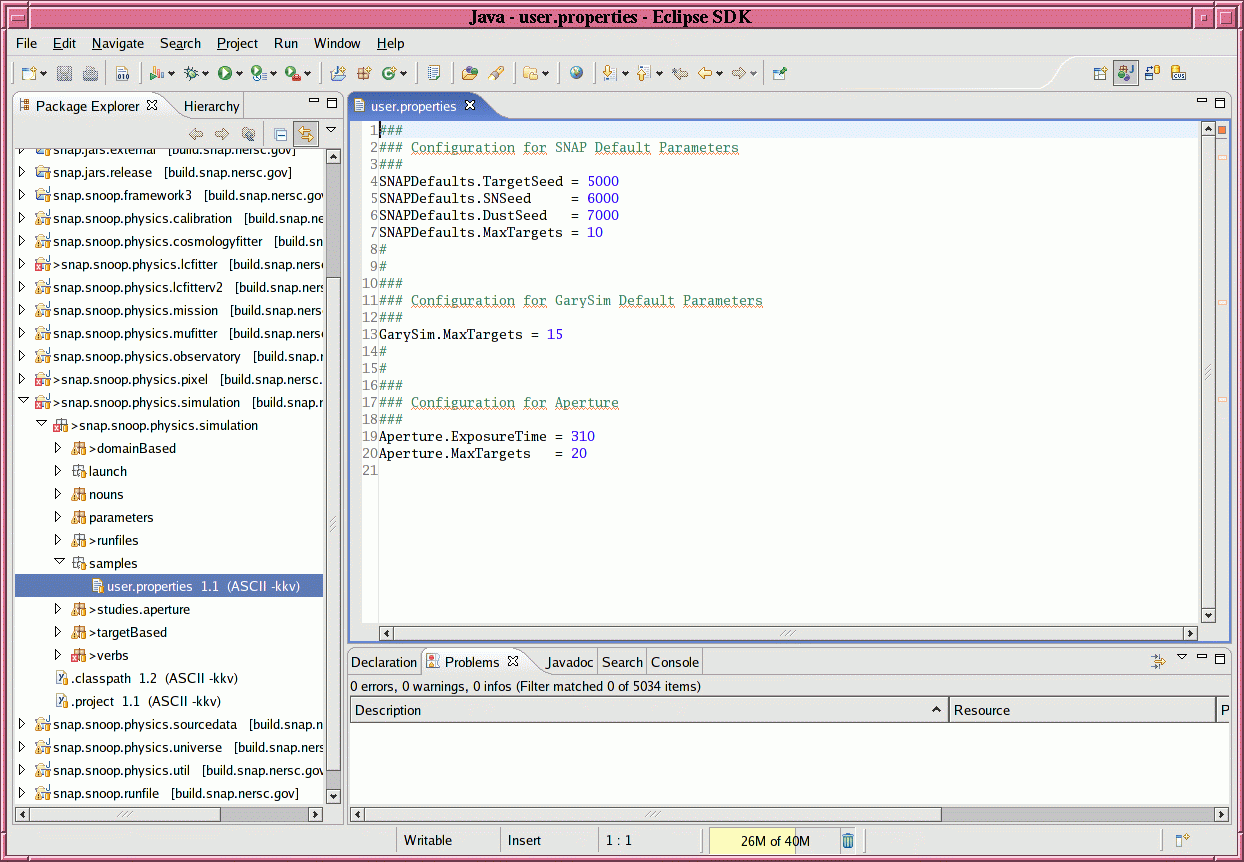
Other people may have modified source code since you last ran SNAPSim. In order to grab the latest version of one package, go to the Package Explorer pane and highlight an item. I'll choose snap.snoop.physics.simulation

Right-click on the item, and choose Replace With ... and Latest from HEAD.
If this is the first time you have requested access to the remote code repository during this session, you'll be asked for a password. A window or two may pop up to show the status of the code transfer.
When the transfer has finished, the package should no longer show the little red "X" in the Package Explorer pane.
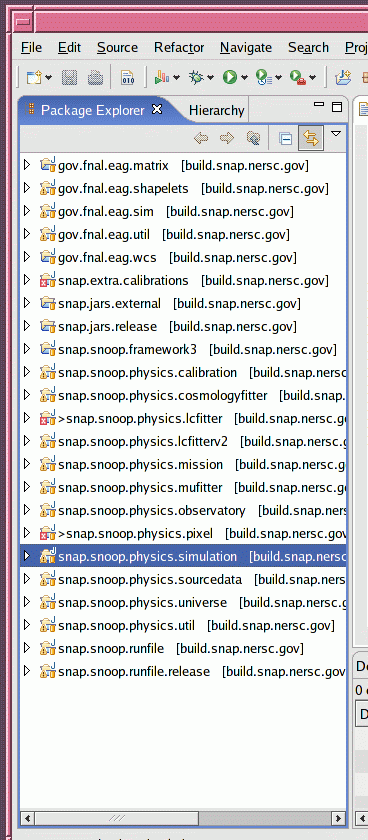
Right now, although the red "X" is gone, my pane shows a yellow "Warning" sign:

Looking down in the Problems pane of the Eclipse window, I see lots of warning messages about the code (but no errors).

I will try to run one tiny little bit of code: a portion of the snap.snoop.physics.simulation project which builds light curve templates for supernovae. It's called BuildQuicklyLightCurveTemplates.java.
First, I go to the Package Explorer pane and, starting with snap.snoop.physics.simulation, click down through the choices to find this routine.
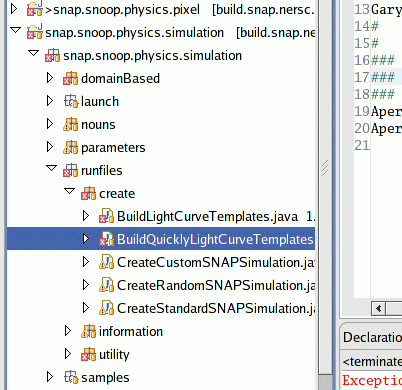
Whoops! The red "X" indicates that something is wrong with this routine. So, first I'll try to update the code ... nope, that didn't help. When I look in the Console pane, I see an error message in red:

By double-left-clicking on the name of this routine in the Package Explorer pane, I can open a new source code viewer/editor pane which shows the code for this routine:
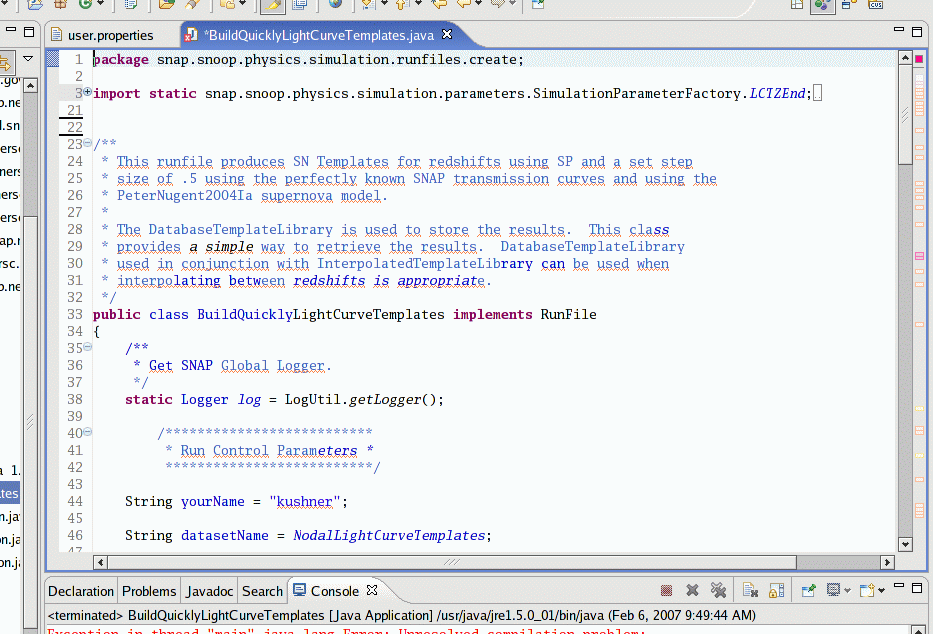
If I choose the Problems tab in the bottom pane of my Eclipse window, I see a short list of errors:

When I scroll all the way to the right end of the first error message, I see that it occurs on line 73 of BuildQuicklyLightCurveTemplates.java. So, I move in the editor window to line 73, and find a little red "X" next to the lines with the error.

Hmmm. We seem to be declaring a variable whose type, NodalTemplateLibrary, is not defined anywhere. There must be some other code, elsewhere, which does define this type. How can I track it down and make sure I include it?
I'll try updating ALL the code in the entire SNAPSim package. I go to the Package Explorer pane and highlight all the packages:
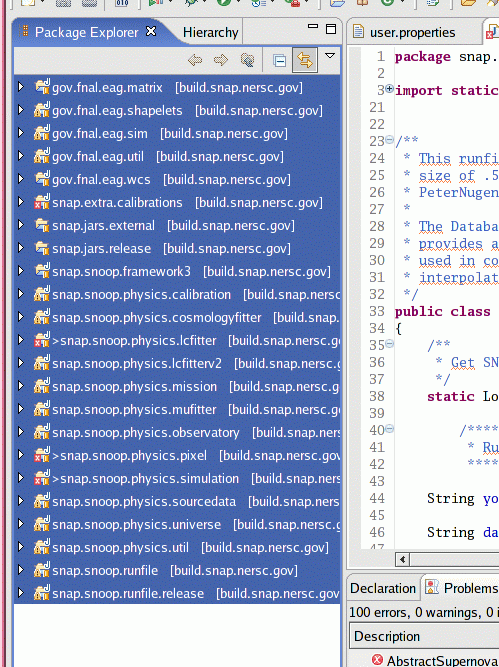
Now I right-click and choose Replace With ... and Latest from HEAD. A status window pops up and much code is transferred. When the transfer finishes, my source code file no longer has little red "X" markers next to the line with the NodalTemplateLibrary declaration:

Hooray! Now I'll try running this routine again. I move my cursor to the Run icon in the toolbar
and left-click it. Several seconds pass, but stuff is happening -- I can see notification messages in the Console pane. Then the routine actually begins to run. I can follow its progress by looking at the Console window. Here's the start of the many, many messages it prints as this routine runs:

Look closely at the picture above. In the toolbar at the top of this pane, just above the date "Feb 6, 2007", there is a small square icon. The icon is normally a greyed-out red (left picture below), but when a program is running, it glows bright red (right picture below).
Let's look at the status messages in a bit more detail. I will enlarge the Console pane by clicking on the "Maximize" icon, at the far right end of the toolbar for this pane. Even those these messages are written in a red color, they don't (necessarily) indicate errors.
At first, I see a bit of bookkeeping information. Then, a long string of parameter values -- these might be useful if one is trying to debug some new routine.
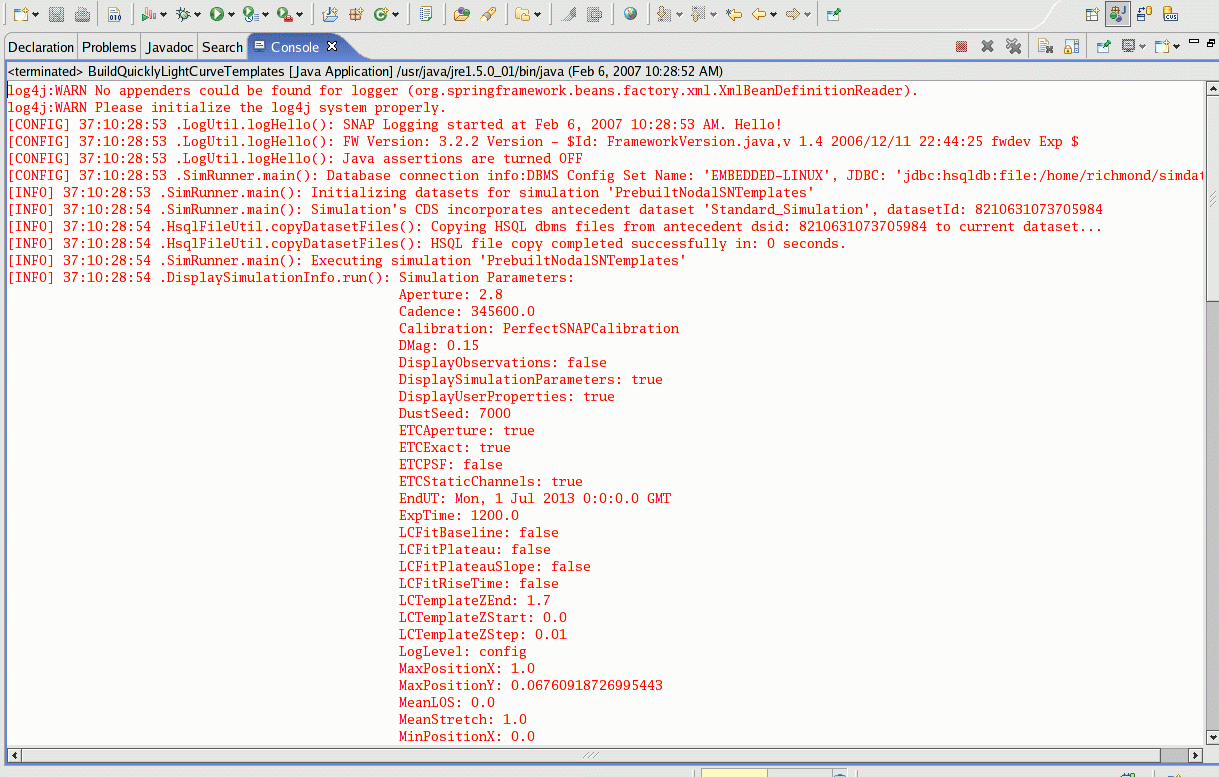
Scrolling down through the messages, I reach a point at which the routine of interest really gets started:
The person who wrote this routine very kindly included special statements which print out the status and give an estimate of the time remaining. Finally, at the end of the routine, there are some statistics and a timestamp.
The routine I ran, BuildQuicklyLightCurveTemplates, presumably created some templates of light curves. Where are those light curves? Can I read them with some external program, to plot them or use them outside the SNAPSim environment?
SNAPSim writes data to disk in a directory which is specified in a file called snoop.properties. That file should have been placed into some specific directory when the SNAPSim framework was installed on your computer. In my case, this file lives in a directory called ~/.snoop.

The snoop.properties contains simple ASCII text setting a number of global parameters for the SNAPSim framework. A short distance into the file is a set of "Common application parameters".

The exportDirectory line provides the location of the directory into which SNAPSim will write (and read) datafiles. In my case, it is /home/richmond/simdata. Let me list the files in this directory.
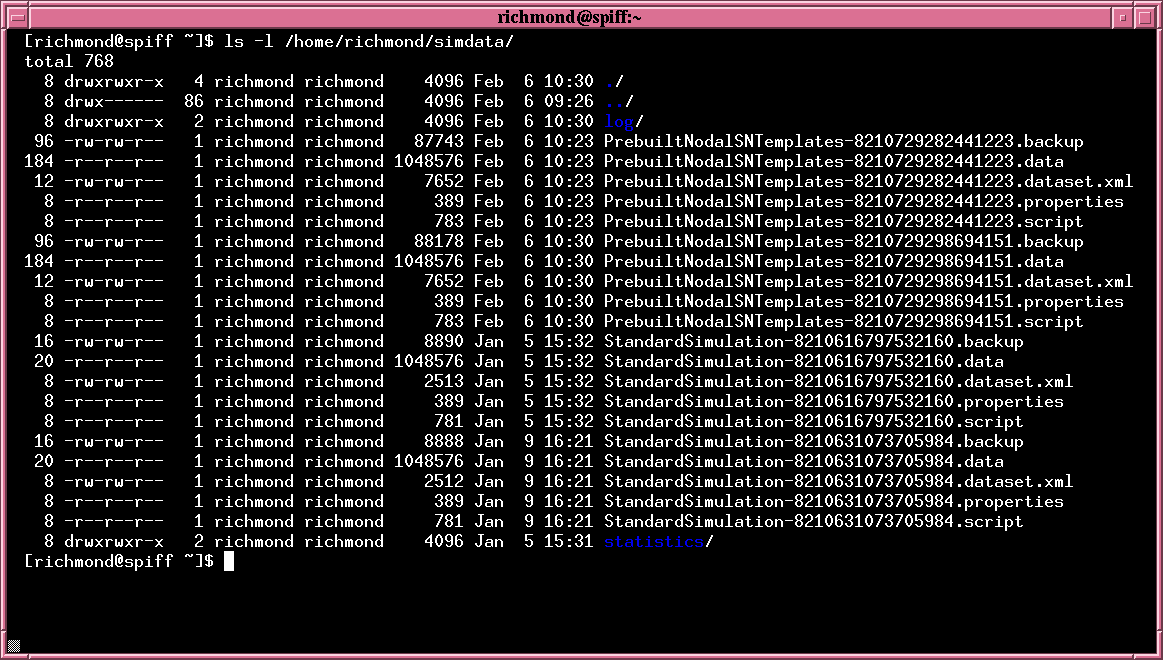
Note the two sets of files with names that start StandardSimulation-. There are two sets because I ran the BuildQuicklyLightCurveTemplates twice, once at 15:32, and a second time at 16:21. The two sets are distinguished by an ID number, which is called the datasetID value. Each time one runs the framework, a unique datasetID will be generated and attached to the results.
A single dataset consists of 5 files, as you can see in the figure above. The information I want is stored in the largest of the files, the one with a suffix .data. Unfortunately, the file is not a simple ASCII text file; instead, the information within it is compressed. So, how can I examine the numbers?
One way to examine datasets is to use the data browser built into SNAPSim. This facility permits one to use any web browser (such as Firefox or Safari) to sift through the contents of a dataset, and save them in plain ASCII or HTML format.
Using the browser is a two-step procedure:
Here's how I was able to use the browser on my Linux box. First, I opened the snap.snoop.framework3 package in the Package Navigator pane and worked my way down to the "tools" section.
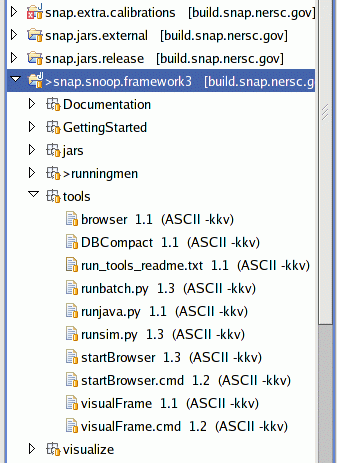
I then clicked on the startBrowser item to see the source code in the editor pane.

This item turns out to be a simple, two-line shell script. I reproduce it in full below -- note that the second line is very, very long.
   #!/bin/bash
   java -cp ../jars/framework3.jar:../jars/colt.jar:../jars/commons-cli-1.0.jar:../jars/commons-lang-2.0.jar:../jars/commons-logging.jar:../jars/hsqldb.jar:../jars/jasper-compiler.jar:../jars/jasper-runtime.jar:../jars/javax.jar:../jars/org.mortbay.jetty.jar:../jars/pg74.1jdbc.jar:../jars/spring.jar:../jars/javax.servlet.jar snap.snoop.framework.web.browserapp.BrowserServer -war ../war/browser.war
I copied this text and pasted it into a text file on my computer, which I called "browser.sh".
I copied this text file into one of the directories which contains the SNAPSim source code for the snap.snoop.framework3 package. Specifically, the subdirectory called runningmen.

Now, what this shell script will do is to start running Java on a set of source code files. The Java program that results will read information saved by SNAPSim in its workspace directories, and make that information available to any other process which requests it. We'll call this the server process.
I run the shell script ...

If I open a new shell window on my machine and use the ps program to look at all the processes running on my computer, I'll see a new process; in fact, two processes, one the shell script, the other a new Java process (they are the final two processes shown in the list below)

This step is easy. Once the server is running, we just point a web browser to a special URL. You can find this URL described in the Readme.txt item in the snap.snoop.framework3 "Getting Started" package.
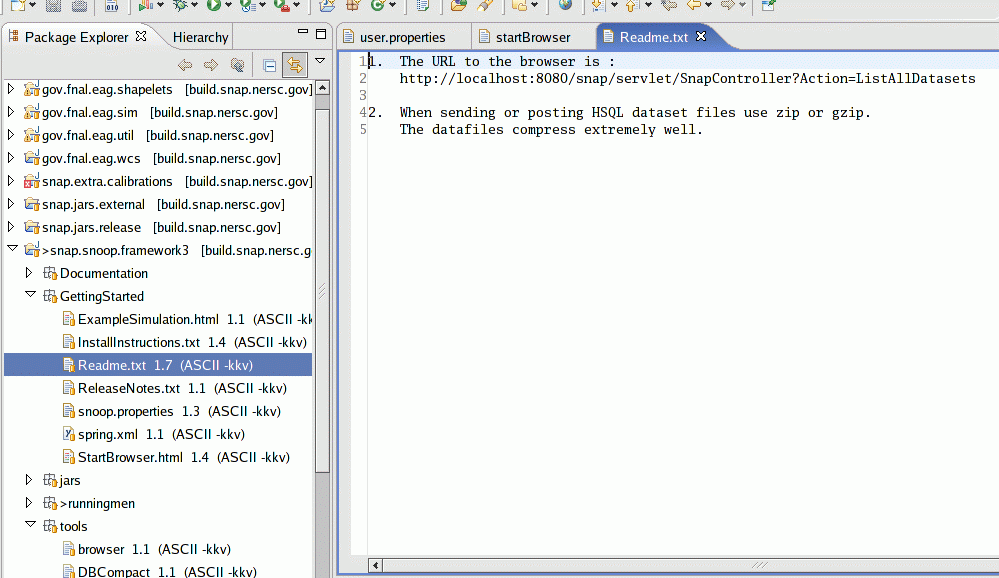
The server process listens on port 8080 of your computer. So, if we point to the URL, we should connect to it. You can try by clicking on the link below.
On my computer, running Firefox under Linux, my browser window looks like this:
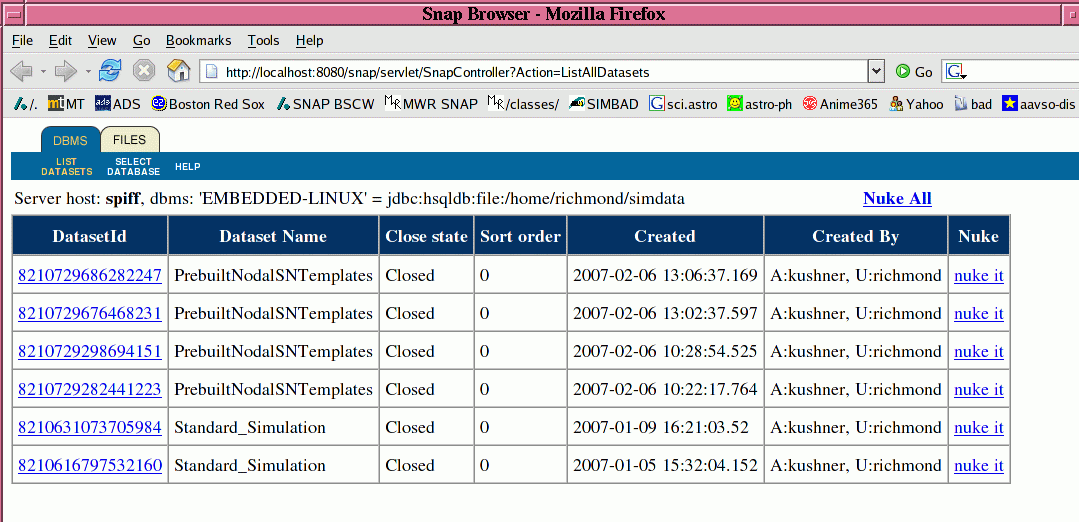
Once we have the server and browser talking to each other, things are easy. Let me look at the more recent of my two datasets of light curve templates. When I click on the link circled below
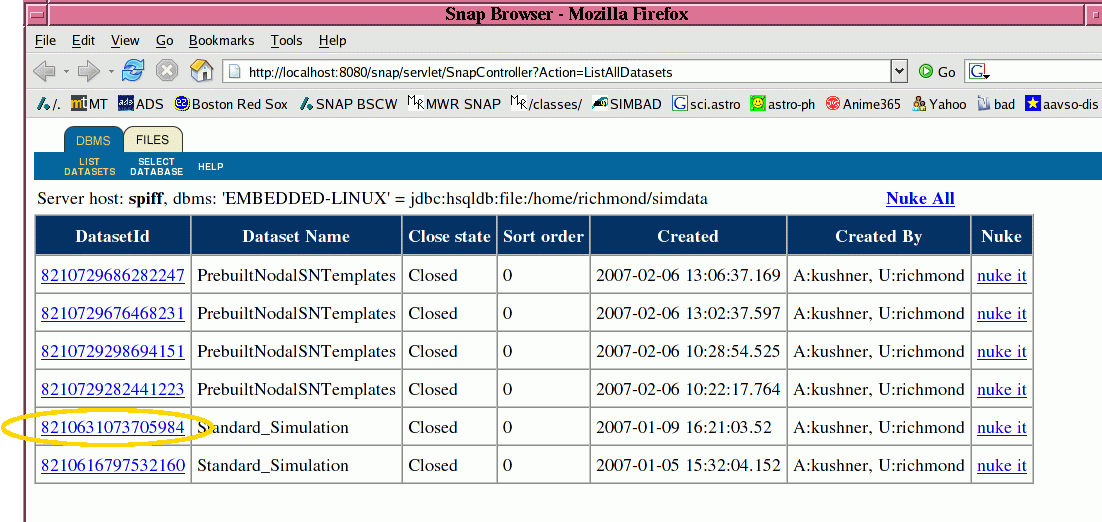
my browser opens up the dataset, showing all the variables which were saved:

Now, it turns out that when I ran this code to create Light Curve Templates, I didn't ask for the curves to be saved! None of the variables listed in the browser window contain the information I want. Rats.
So, let me try to modify the code so that these light curves ARE saved to disk. Can I do it?
I'll open the BuildQuicklyLightCurveTemplates.java item by double-clicking it in the Package Explorer pane. That will put a copy of the Java source code file into the editor pane.
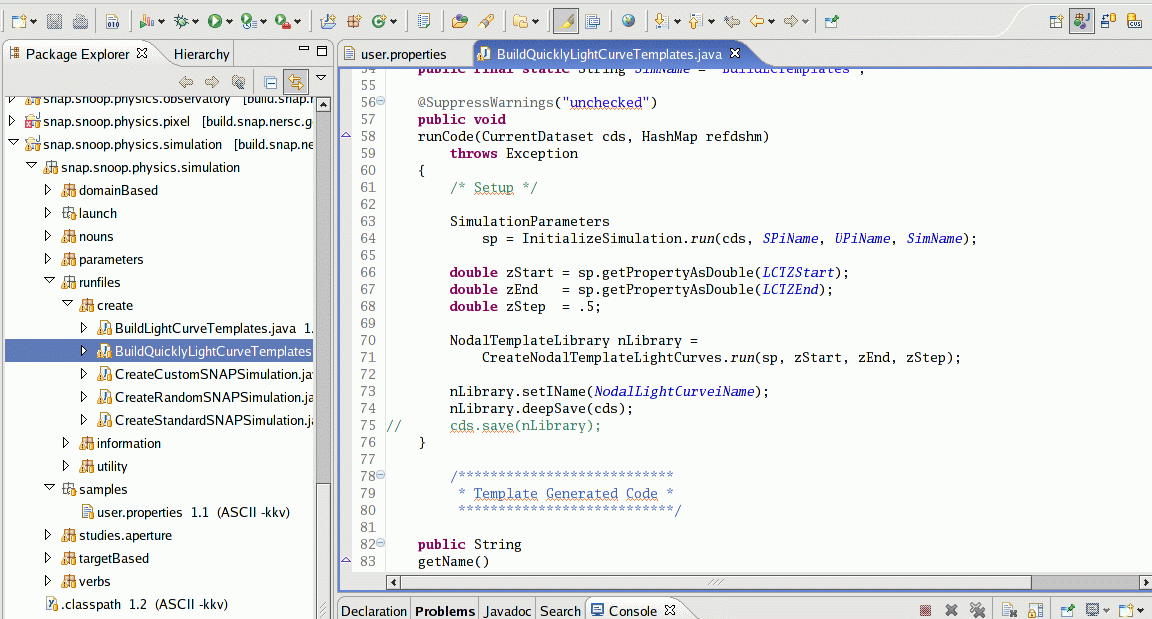
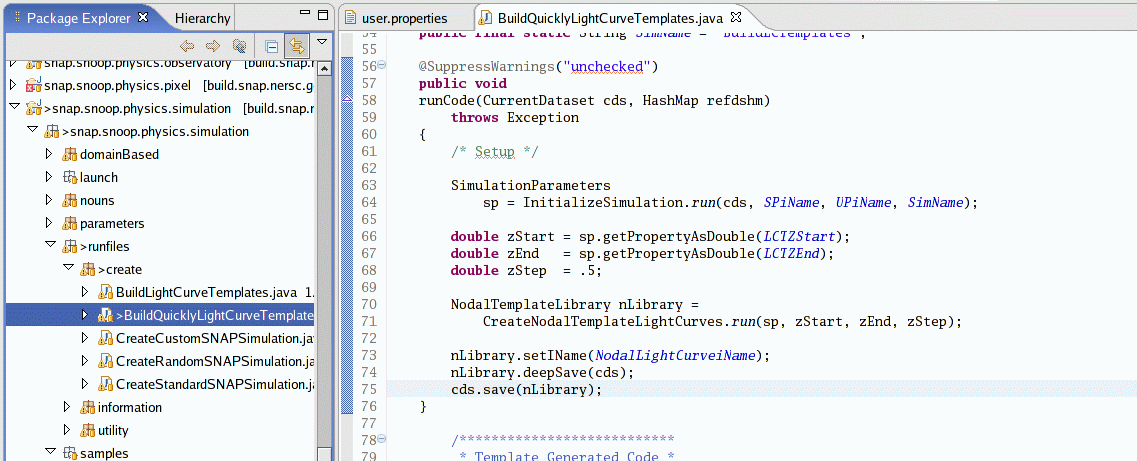
Look carefully at line 75, which actually saves the data to disk via a call to the method cds.save. The line has been commented out with two slash characters, so that the light curves are never saved.
I will delete these two slash characters in the editor pane, then save my changes using the File -> Save menu item at the top left of the Eclipse window. After I've performed these steps, my window looks like this:
Okay, I'll try running the code by moving my cursor to the editor pane, right-clicking to bring up a big menu, and choosing the Run As -> Java Application choice on the menu. The program runs, showing its progress via red text in the Console pane. I can maximize the Console pane to watch:

Aha! The console messages indicate that this time, the program saved 527 nouns to disk when it finished. If you go back and look at the messages in the console from the first time I ran the code , you'll see that only 471 nouns were saved to disk. Good -- I was hoping that more information would be saved this time.
So, I'll point my browser to the latest dataset. Here's the list of all datasets, with the one I just generated circled in gold:
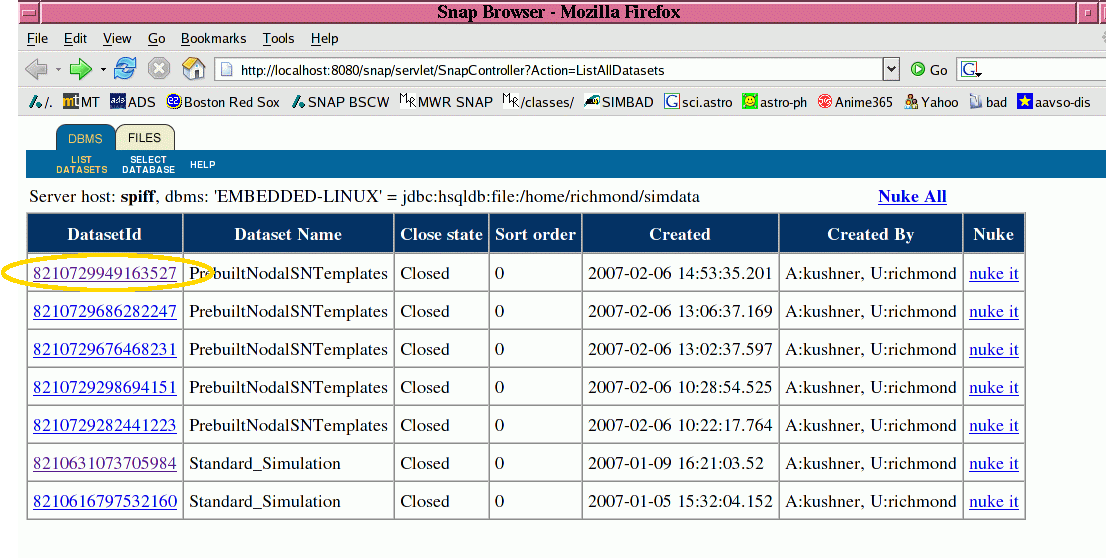
So, clicking on that link brings up the first of six pages of variables saved in the dataset:
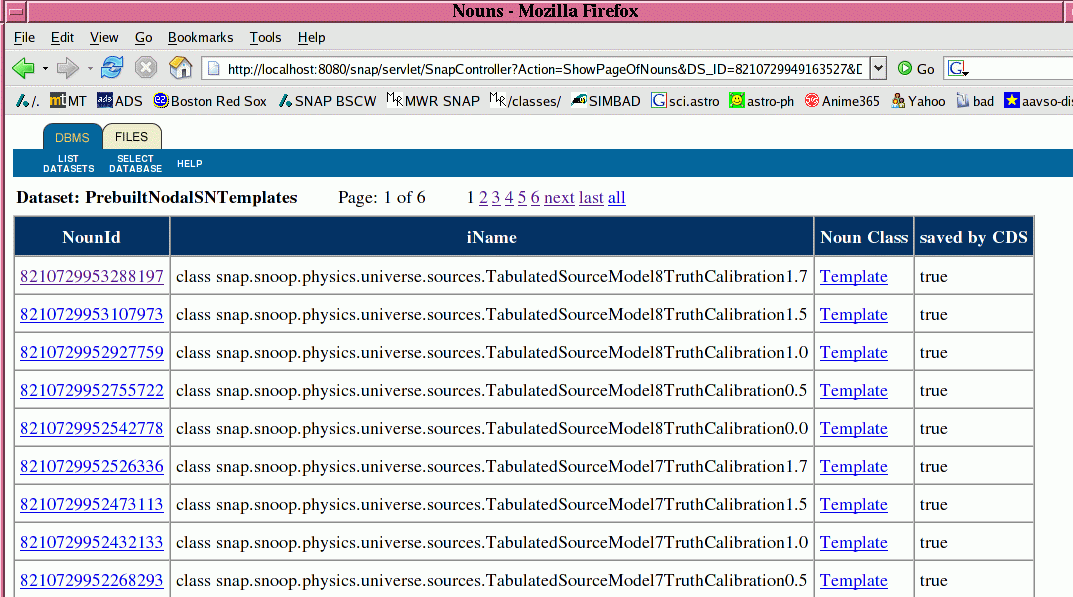
It's not completely clear which variable corresponds to which light curve, but one can figure some things out from the name (I could figure more out by reading the source code, I'm sure). Let me click on the very first item, TabulatedSourceModel8TruthCalibration1.7 of Noun Class "Template".
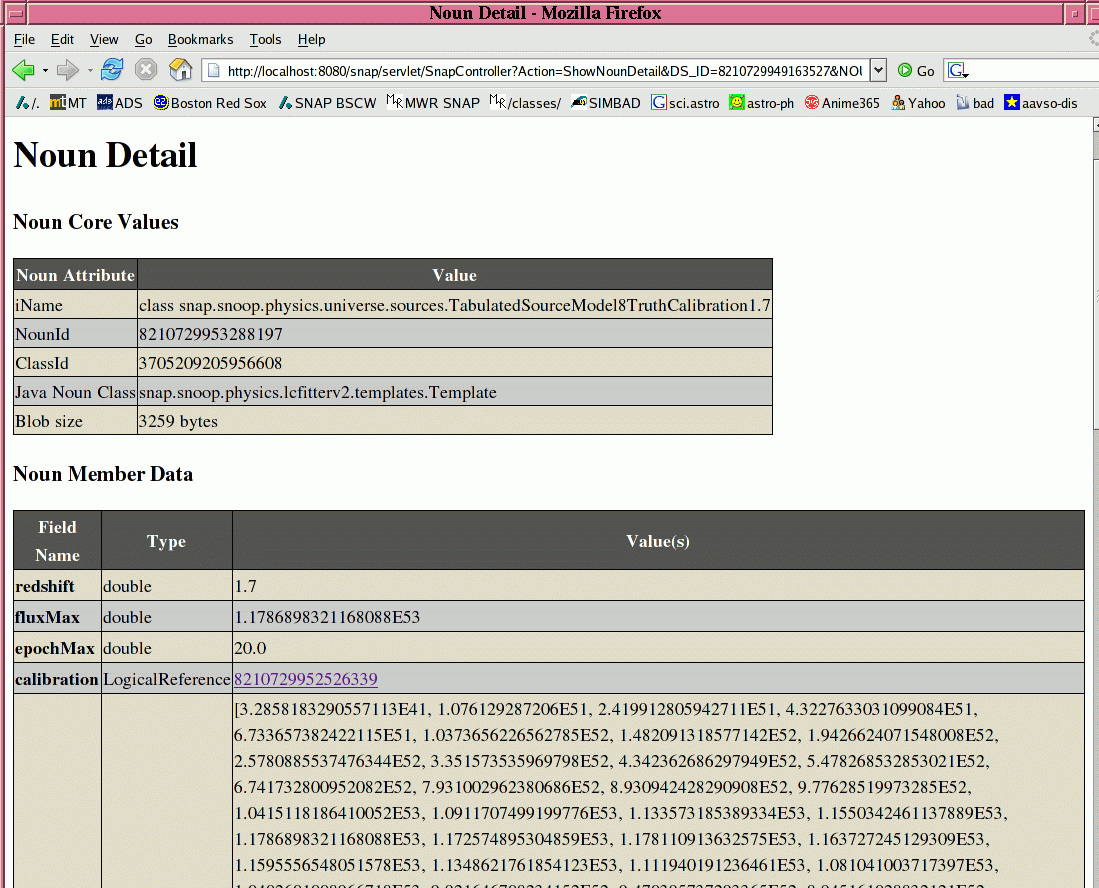
Yes, this looks like a light curve. I see that this "Template" consists of one group of values labelled flux, and another called date. I can use my browser to save this page as plain ASCII text. With a little manipulation, I can re-arrange the ASCII text into a simple form:
And I can then use my favorite tools to analyze the data, which appears to be the light curve of a supernova (in ergs per second) as a function of time (in days).
