Low grey clouds covered the sky during the early evening of July 16, 2003. As I waited for the sky to clear, I investigated the Astrovid PlanetCam, which I've been using to take pictures of Mars for the past couple of nights.
I looked up what I think is the CCD Technical Spec sheet. Astrovid's documentation refers to the Sony ICX0208AK chip, but the ICX228AK was the closest I could find on Sony's WWW site. The array is 768 x 494 pixels, each of which is not square, but 4.75 x 5.55 micrometers. I am guessing that software on the camera itself resamples the data to put out a signal which is 640 x 480 pixels; the axis ratio 1.33::1 matches the physical size of the chip.
Settings on the camera: there are 4 DIP switches on the back of the camera. The values are currently (and have been for all my tests)
I suppose I ought to play with the "gamma" value via DIP switches 3 and 4. They relate to gamma like so:
      DIP 3       DIP 4           gamma
      ---------------------------------
       low         low             1.0
       high        low             0.60
       low         high            0.45
       high        high            0.2
      ---------------------------------
Since I want all the contrast I can get on Mars, it seems reasonable to decrease gamma: that should enhance the number of levels used at the bright end of the image: i.e., on the bright surface of Mars, and decrease the number of levels devoted to low light levels, i.e. the blank sky background.
There are also eight smaller DIP switches hidden under a panel on the top of the camera head. Their current settings are:
Switches 5, 6 and 7 together control the camera's shutter speed: the current values select "Automatic Variable Shutter Speeds." I can also choose fixed values of 1/60 second with 5=low, 6=low, 7=low, or 1/1000 second with 5=high, 6=low, 7=low.
Finally, there are two knobs on the back of the unit. The gain knob is set to Minimum; I see blooming and saturation on the chip when I point the telescope to Mars and increase the Gain setting, so this seems best. The Color knob is currently set to Maximum Red; I think I ought to put it back at neutral.
This evening, I decided to take some test pictures in "greyscale" mode. I set the video capture software to save images in both BMP and JPG formats at the "greyscale" setting (the other settings are "24-bit color" and "black-and-white"). I pointed the camera (without any lens) at a brightly lit wall, and fooled around with the software's Brightness and Contrast settings. Let's look at the results. There are a pair of images for each setting: first a BMP, then a JPG. I provide a link to the BMP, and both a link and picture of the JPG file.
Brightness = 50%, Contrast = 50%.
Brightness = 75%, Contrast = 50%.
Brightness = 50%, Contrast = 75%.
Brightness = 50%, Contrast = 100%.
Brightness = 50%, Contrast = 25%.

Brightness = 25%, Contrast = 25%.
Images of Mars from previous nights
My first attempts at taking pictures of Mars took place early on the morning of July 13/14, EDT. We can see Mars only for about one hour, between the time it appears over the treetops to the SE and then disappears behind the roll-off shed's roof to the S. The arrangement of optical elements is:
During the night of July 13/14, Tracy Davis, Tom Schwarting and I did our best to collimate the 16-inch optics. We removed the internal baffle tube's cap, which appeared to be off-center, and also cut off quite a bit of light. After a couple of hours of work, the out-of-focus donut of a bright star appeared much more symmetric than it initially had. Good.
Unfortunately, later in the night, when I tried taking pictures of Mars, the electric focuser didn't work. It turned out later to have been jammed slightly. Anyway, that meant that I had to focus by loosening a set screw, sliding one of the extension tubes by hand, and then tightening the screw. Yecch. Here's a sample image from the night.
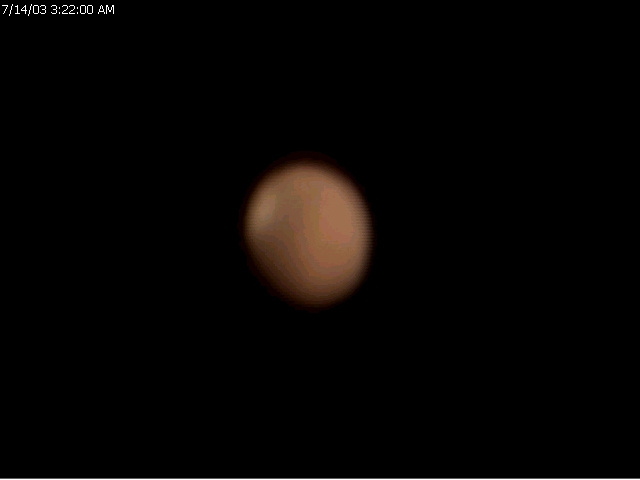
For comparison, here's what Mars really looked like:

During the next day, Tracy Davis fixed the focuser. I tried taking pictures again that night, July 14/15. As before, I used no filters, and chose the "24-bit color" option in the video software. Here is one of the best pictures from that night. Note that I must have rotated the camera by 180 degrees with respect to its previous orientation when I mounted it on this night.
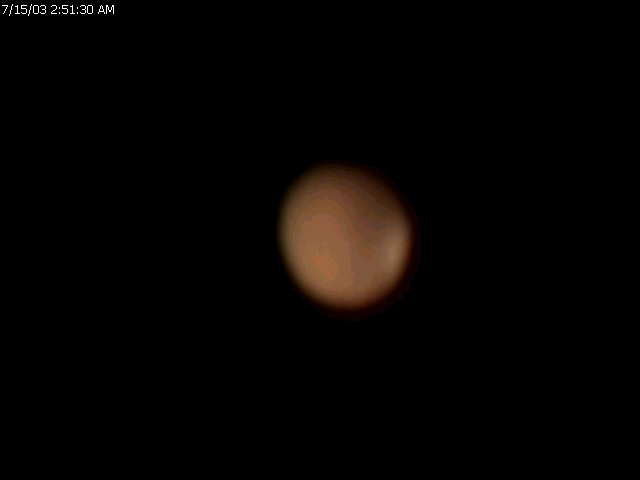
The actual features are basically the same as those in the map above, since it was nearly one Mars day since the previous night's pictures.
Note that the disk of Mars is approximately 20 arcseconds across in these images. Since the diameter of the planet is about 150 pixels, we conclude that the pixel scale of this arrangement is about 0.13 arcseconds per pixel! It's no surprise that the images look fuzzy...
For a more precise determination of the plate scale, look at this picture of Albireo:
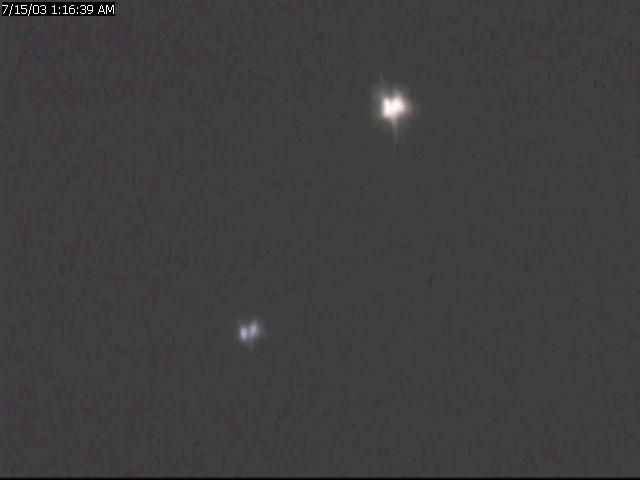
The two components are separated by 297 pixels. Since their angular separation is 35 arcseconds, this means that each pixel covers 0.117 arcseconds; or, that there are 8.5 pixels per arcsecond.
Last modified 7/16/2003 by MWR.