A very basic guide for beginners ...
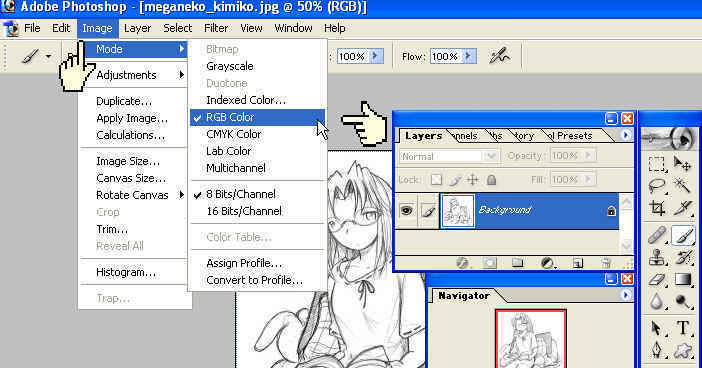
Most of our basic material is in .gif format. You need to open it in Photoshop, and start by going into the Image menu, the Mode option (first in the drop-down), and switch your image to RGB or CMYK.
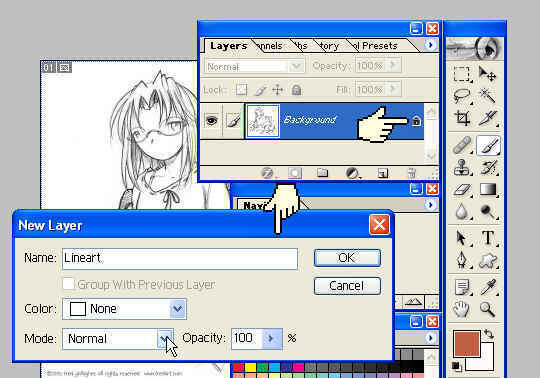
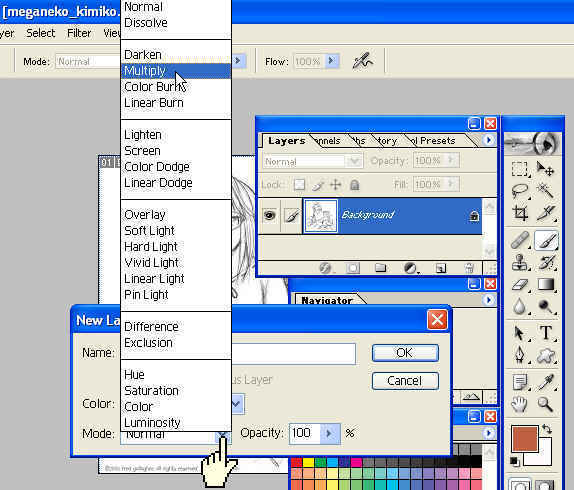
Now look to see your layer navigator (one of the floating boxes). It will display your only layer as Background, and it's locked. Double-click the lock, and another menu will pop up, with a layer name, fill option, and type (the lowest option). Open that drop-down, and chose 'Multiply' (second option I think after 'Normal').
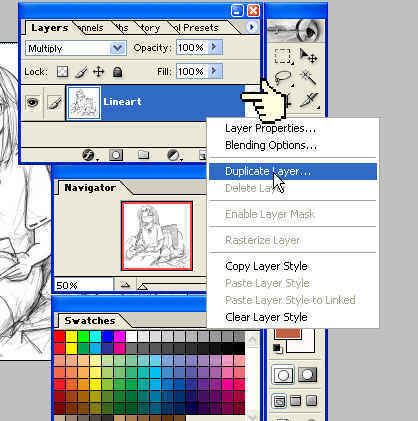
What you have now is the lineart layer (you should name it Lineart, helps keeping track of things). Right-click this layer, and chose 'Duplicate'.
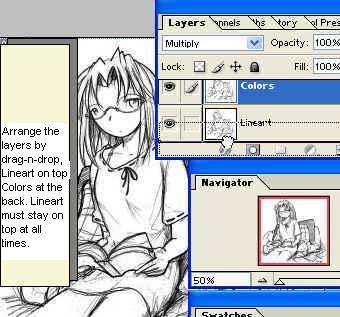
Your line definition will jump up suddenly, as you are now seeing two layers. You can move this layer to the back either by click-and-drag or by using the Layer menu, Arange --> Send to back. Name this layer Colors (or, if you like making a different layer for each color, name it after your color of choice).
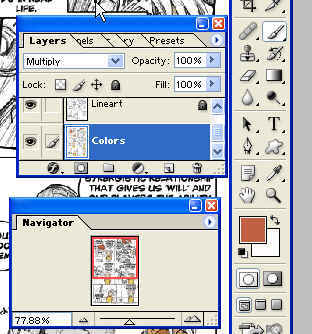
This is the most elementary set for CG. Lock your lineart layer first (the lock icon in the layer box). You can color away on the color layer underneath now, your lines will be preserved on the top layer.
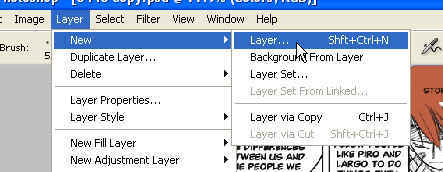
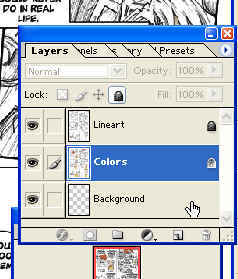
If you plan doing backgrounds, go to the Layer menu, and create a new layer. Name it Background, drag it to the back, and put whatever you fancy in it. Better start with it, so you can erase any color bleeding into the characters, or other things.
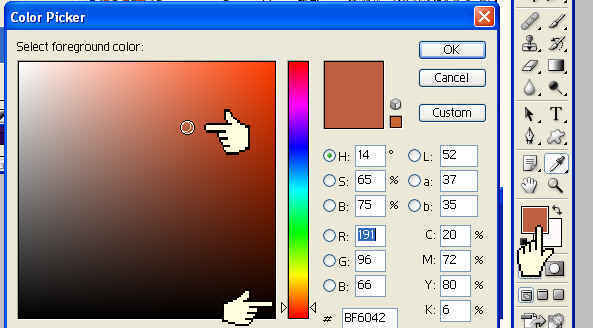
When you work on a layer, better lock the others. When you get the hang of shading (pick your basic color, sample with eye dropper, click the color square on your tools box, and drag the spot to a darker shade, then color Fred's hatching areas),
you can be as bold as unlocking the lineart, and erasing the hatchings themselves. Just mind you don't erase essential contours. Best shading is done in soft brush, or airbrush, with opacity set bellow 100%. Apply, and if you like the shade, re-sample the color and set opacity back at 100. This way, you avoid color streaks where you brush over twice.