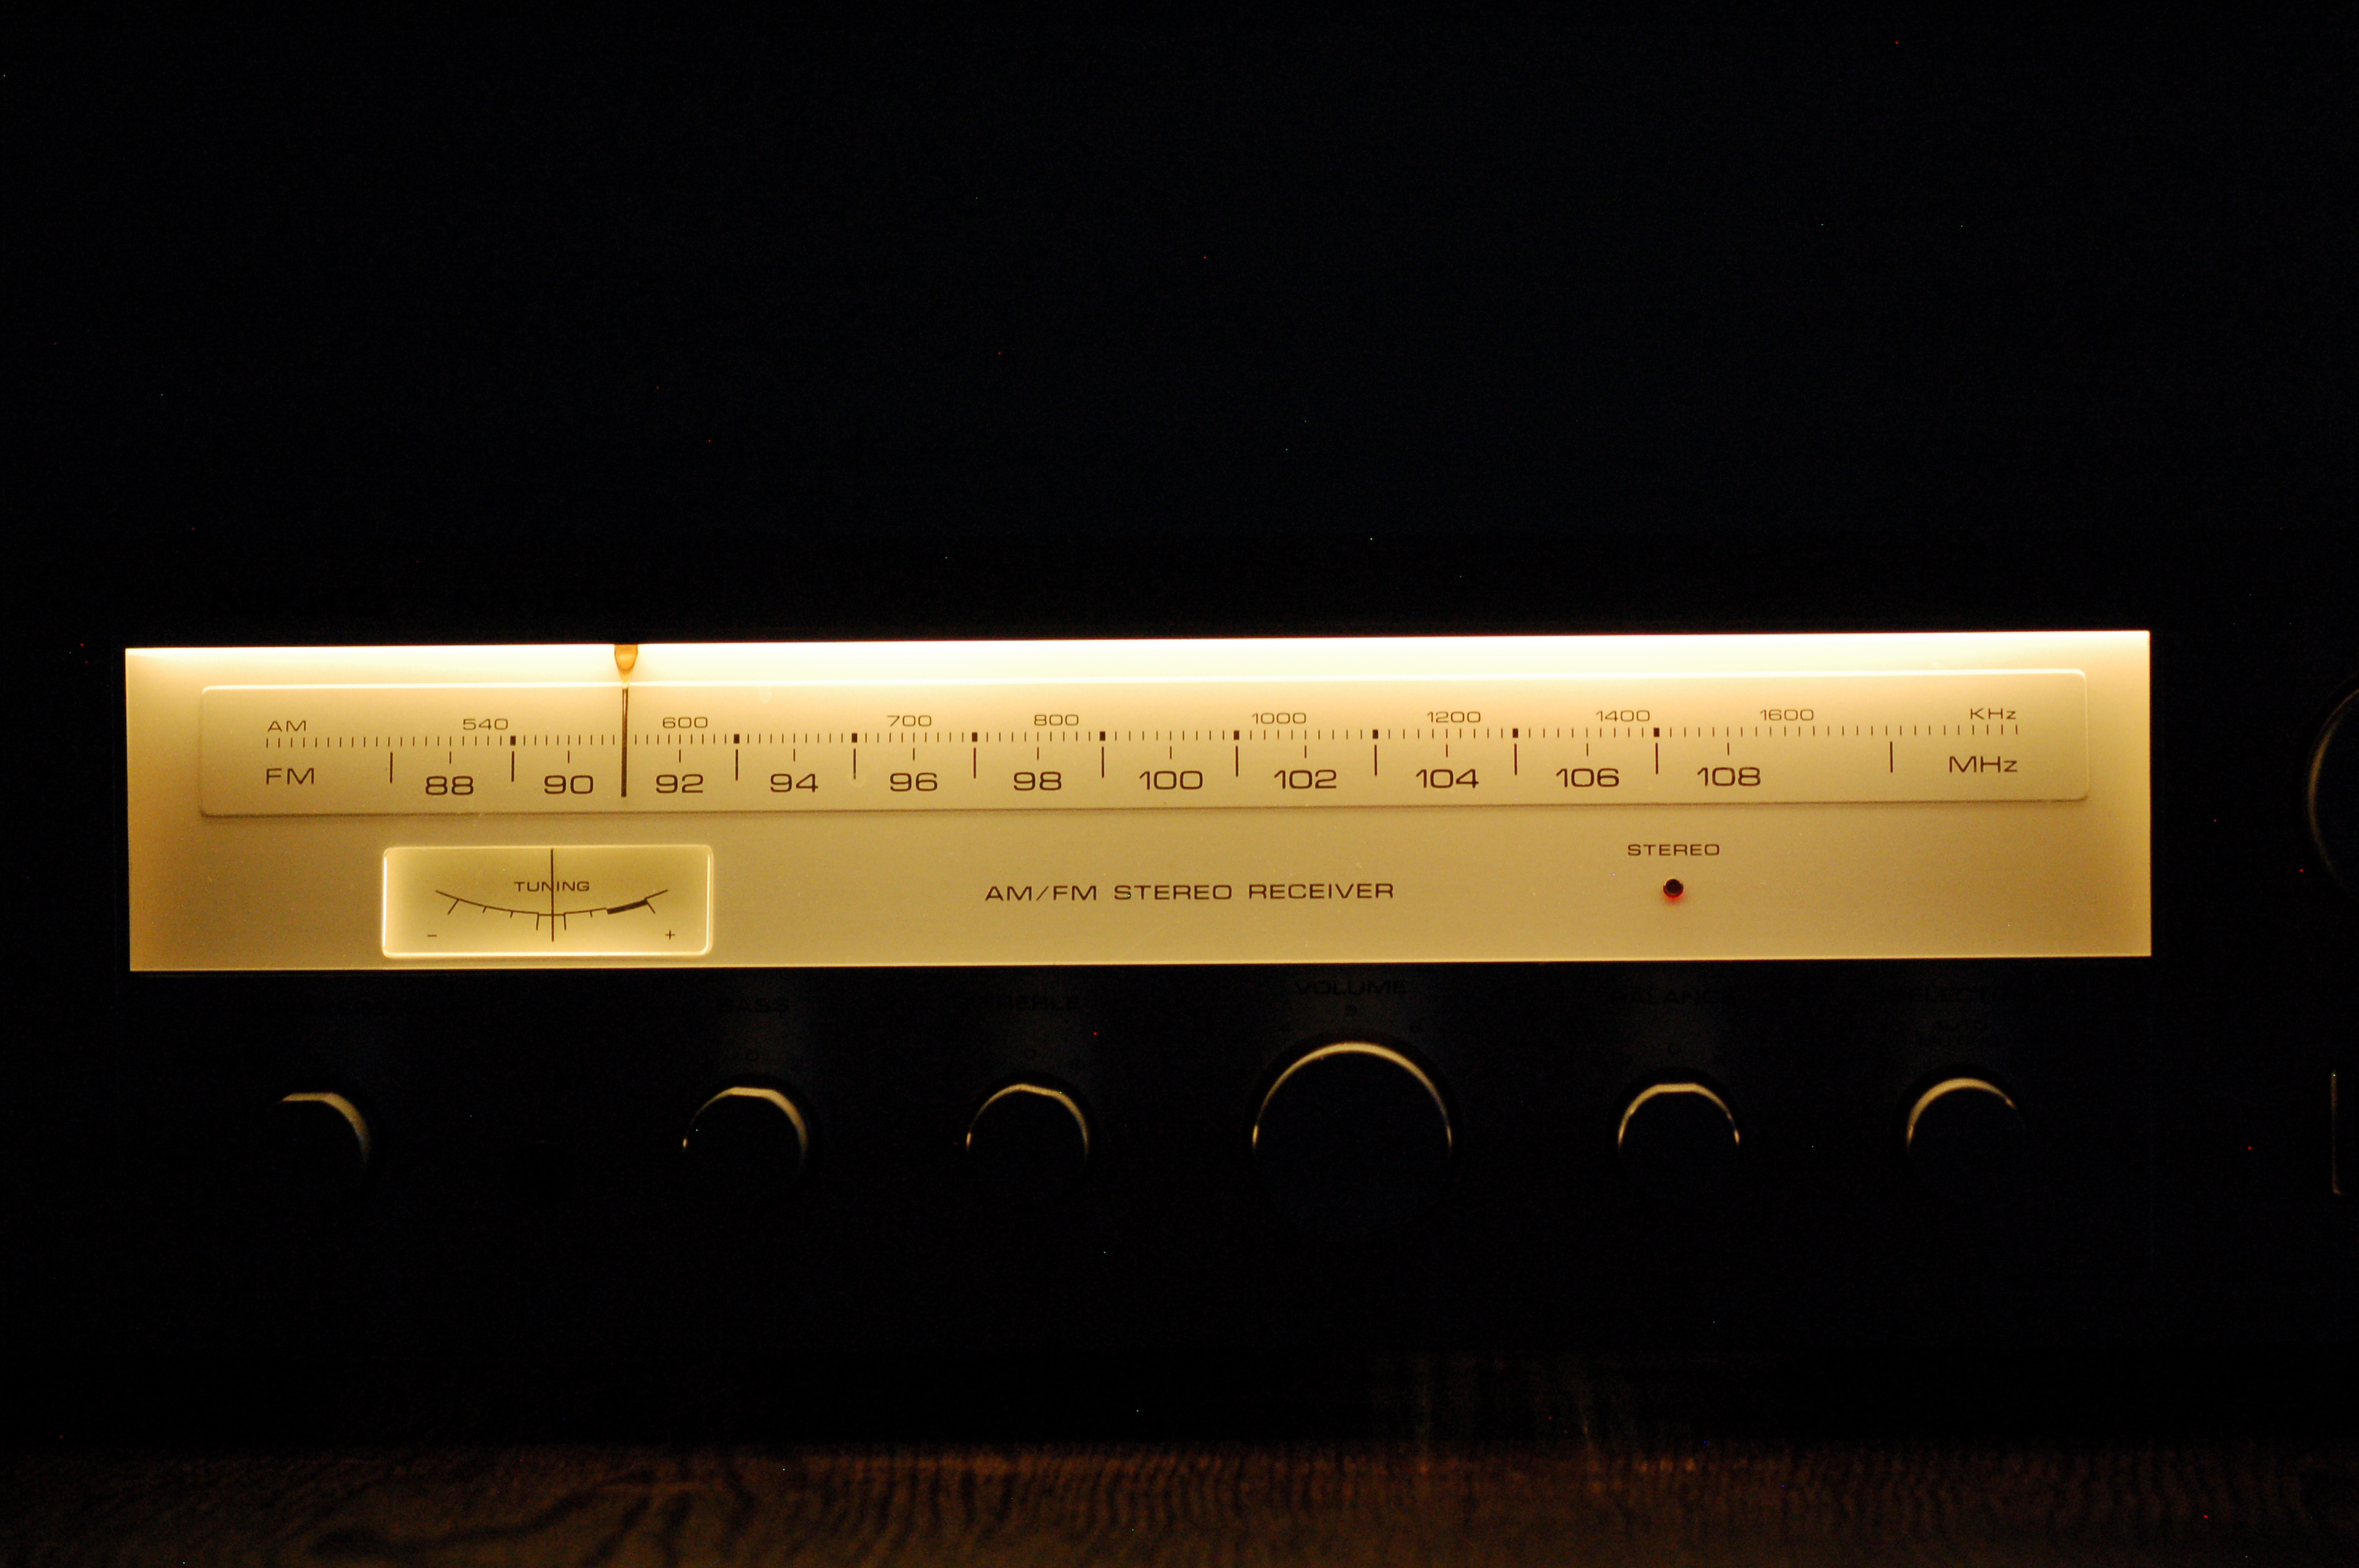
I own a Nikko NR-519 stereo receiver, one of the items I purchased just before heading to college in 1981. When I pulled it out of the attic recently and set it up in my office, I was pleased to hear that it sounded great ... but unhappy to see that the dial was dark. The little lamps above the dial were not working.
I opened up the unit a month or two ago to look inside. There were three small lamps, wired in series, suspended just below the top of the unit. When I examined the electric connections closely, it seemed that each one was soldered to the wires carrying electricity through the chassis. So, I ordered some replacement lamps and waited for them to arrive.
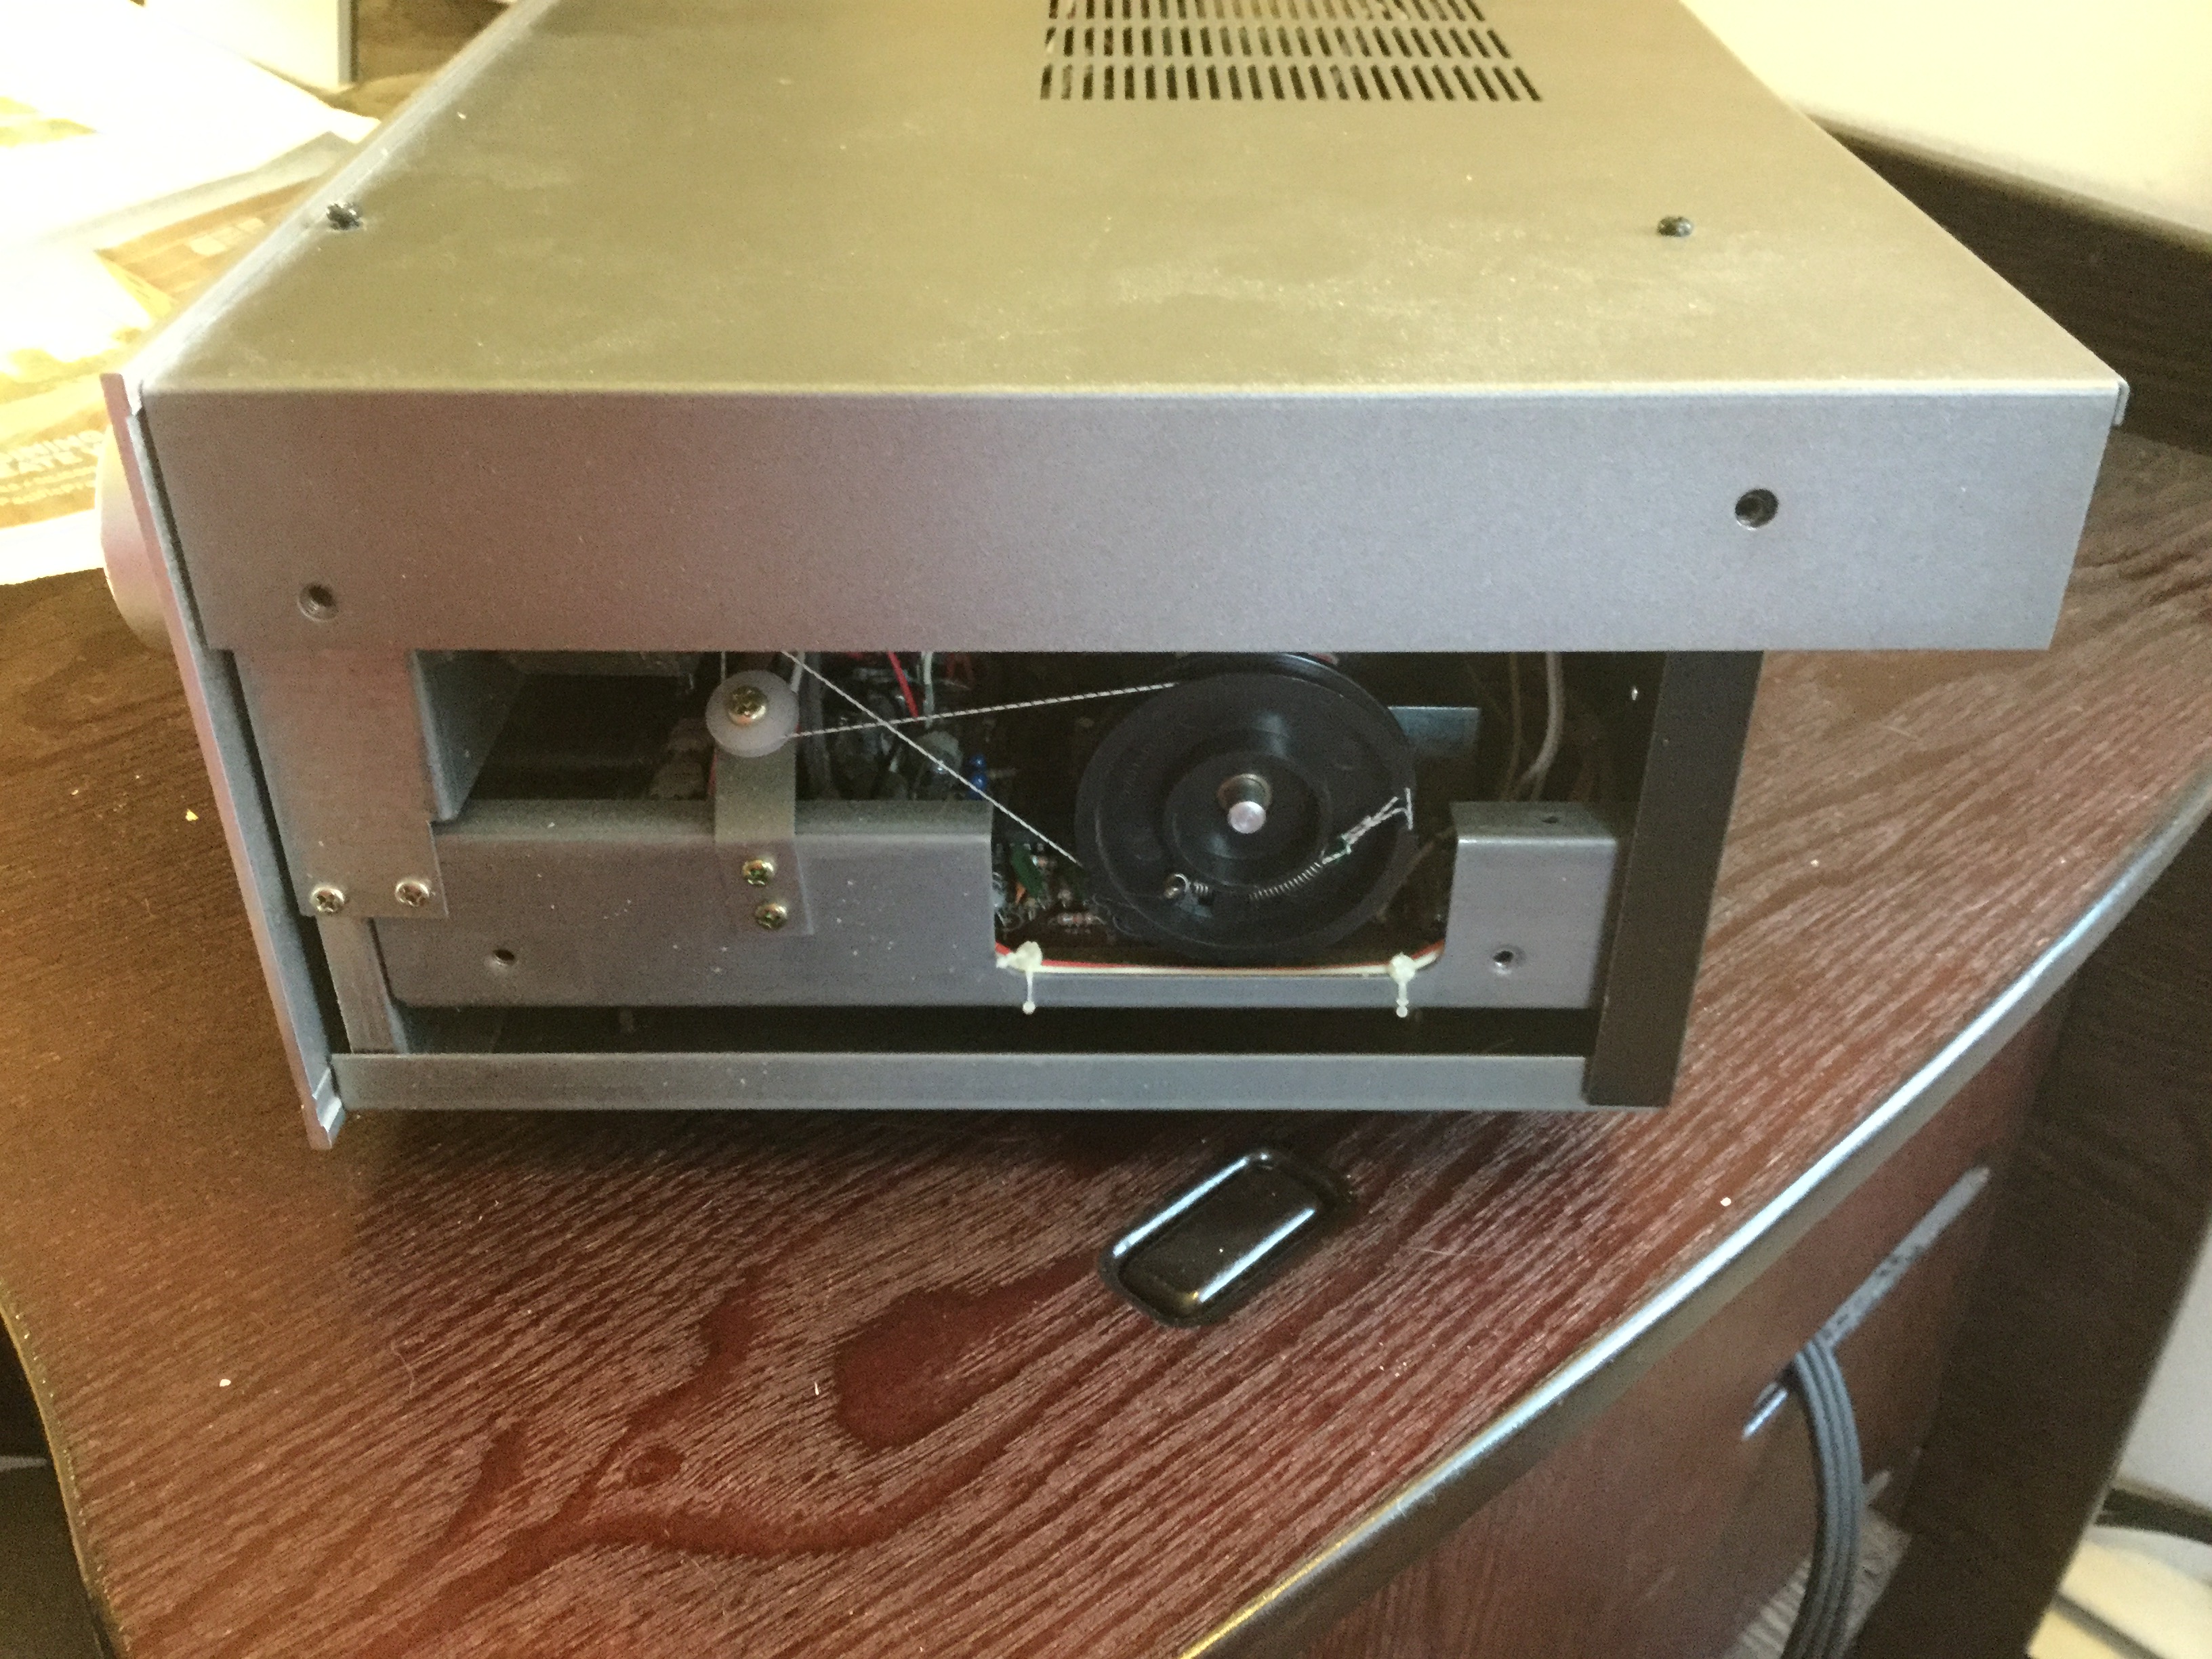
Today, I got out the soldering iron and the package containing the lamps, and got to work. First step, take off the wooden side panels.
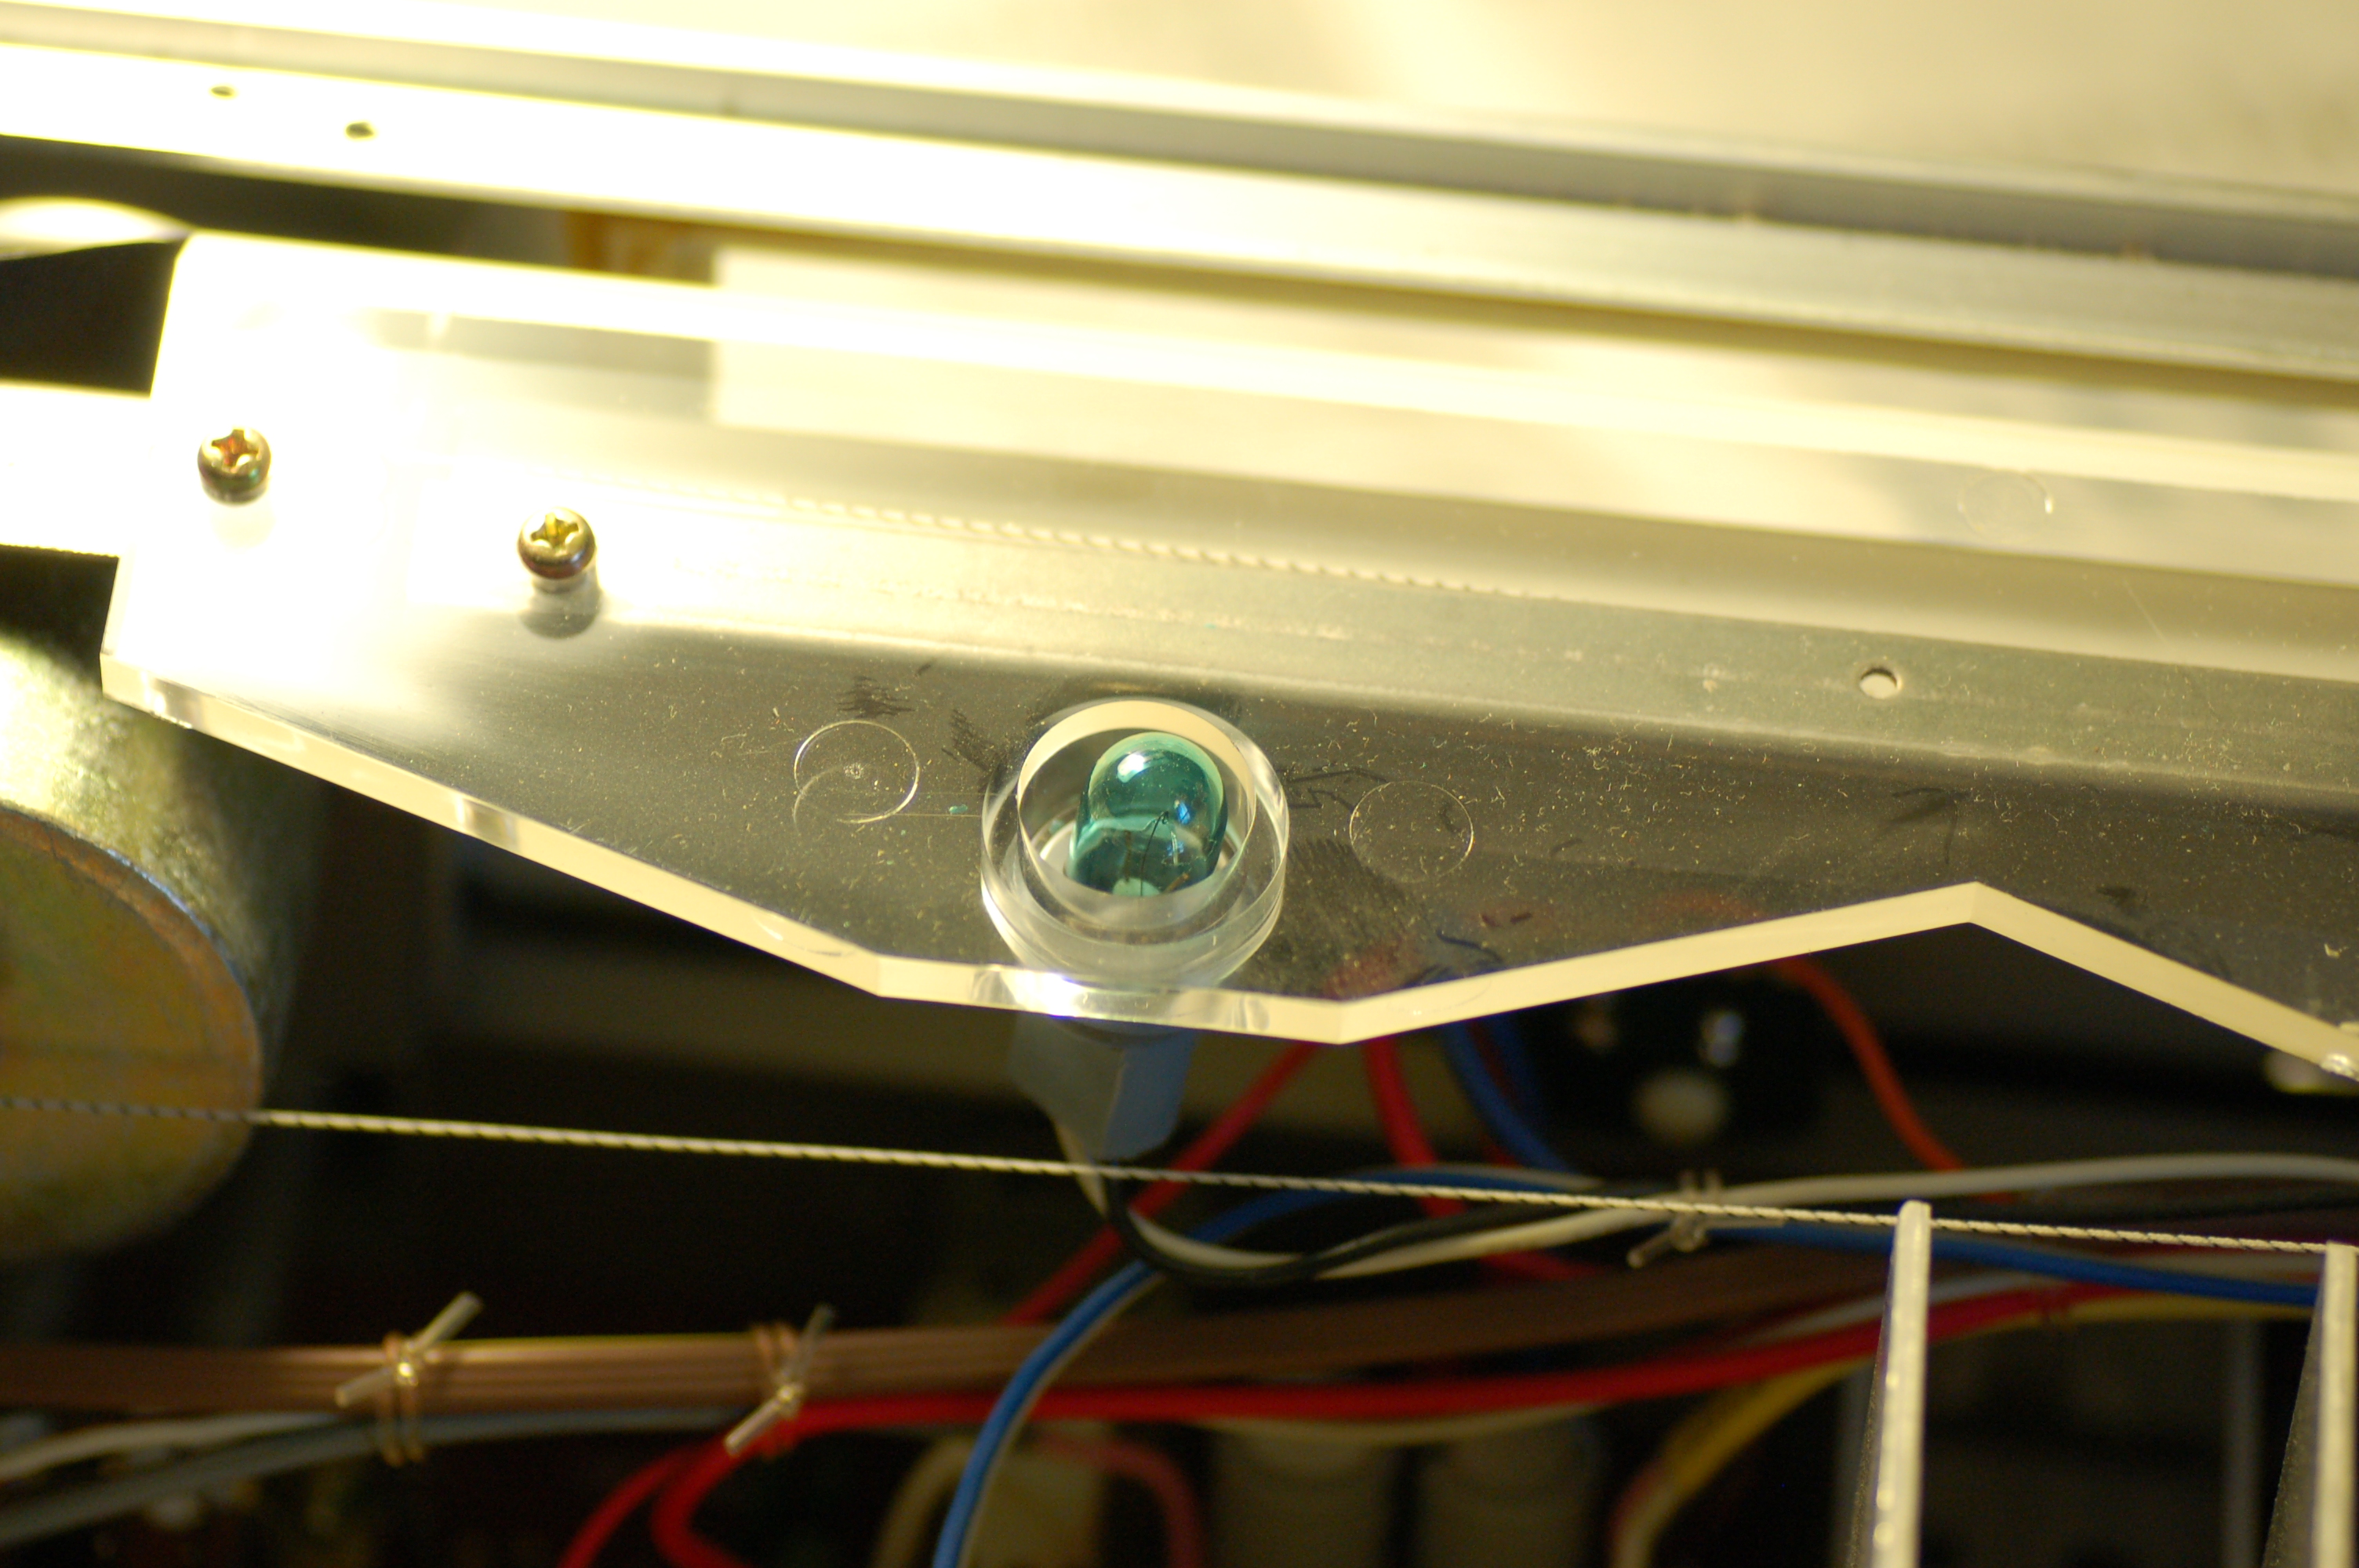
Second, remove the metal "lid" of the receiver. You can see the power supply at lower left and the three lamps running along the right side; each one is encased in a blueish plastic shell.
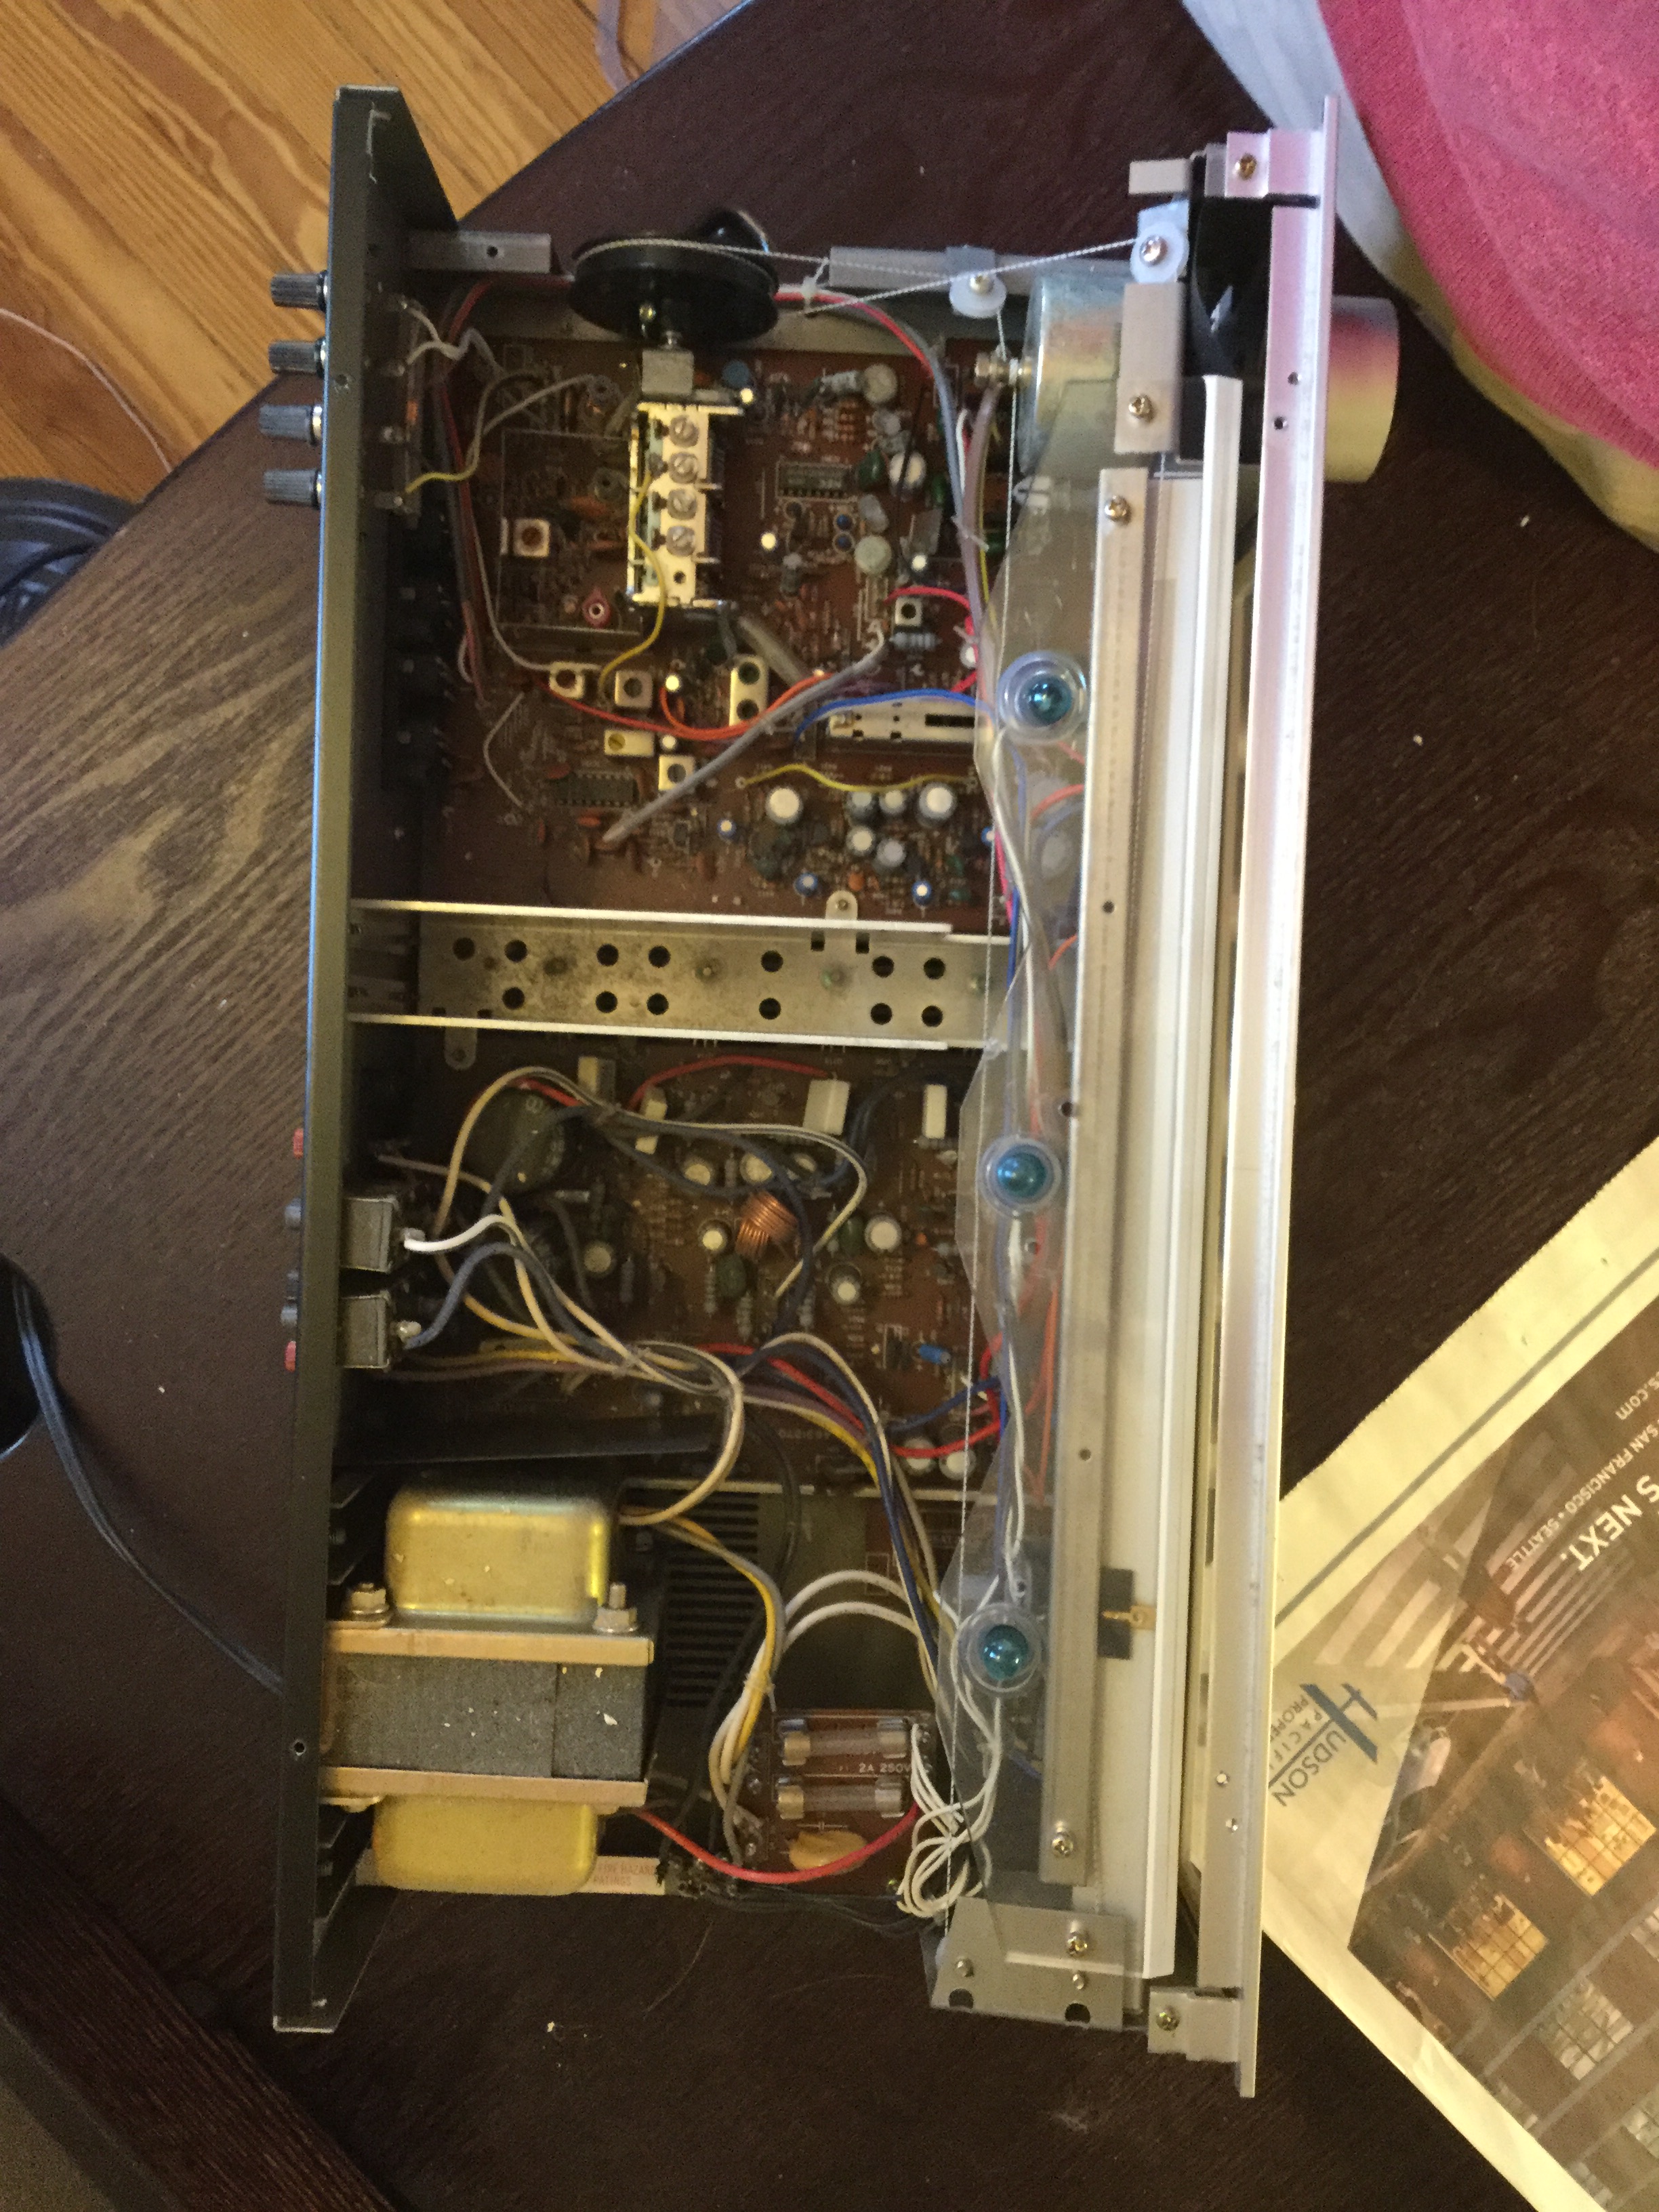
There's quite a bit of dust scattered over the horizontal surfaces inside, as this closeup shows. I used Q-tips moistened with rubbing alcohol to remove some of the worst of the dust.
I concentrated on the leftmost of the lamps. Here it is in its original position.
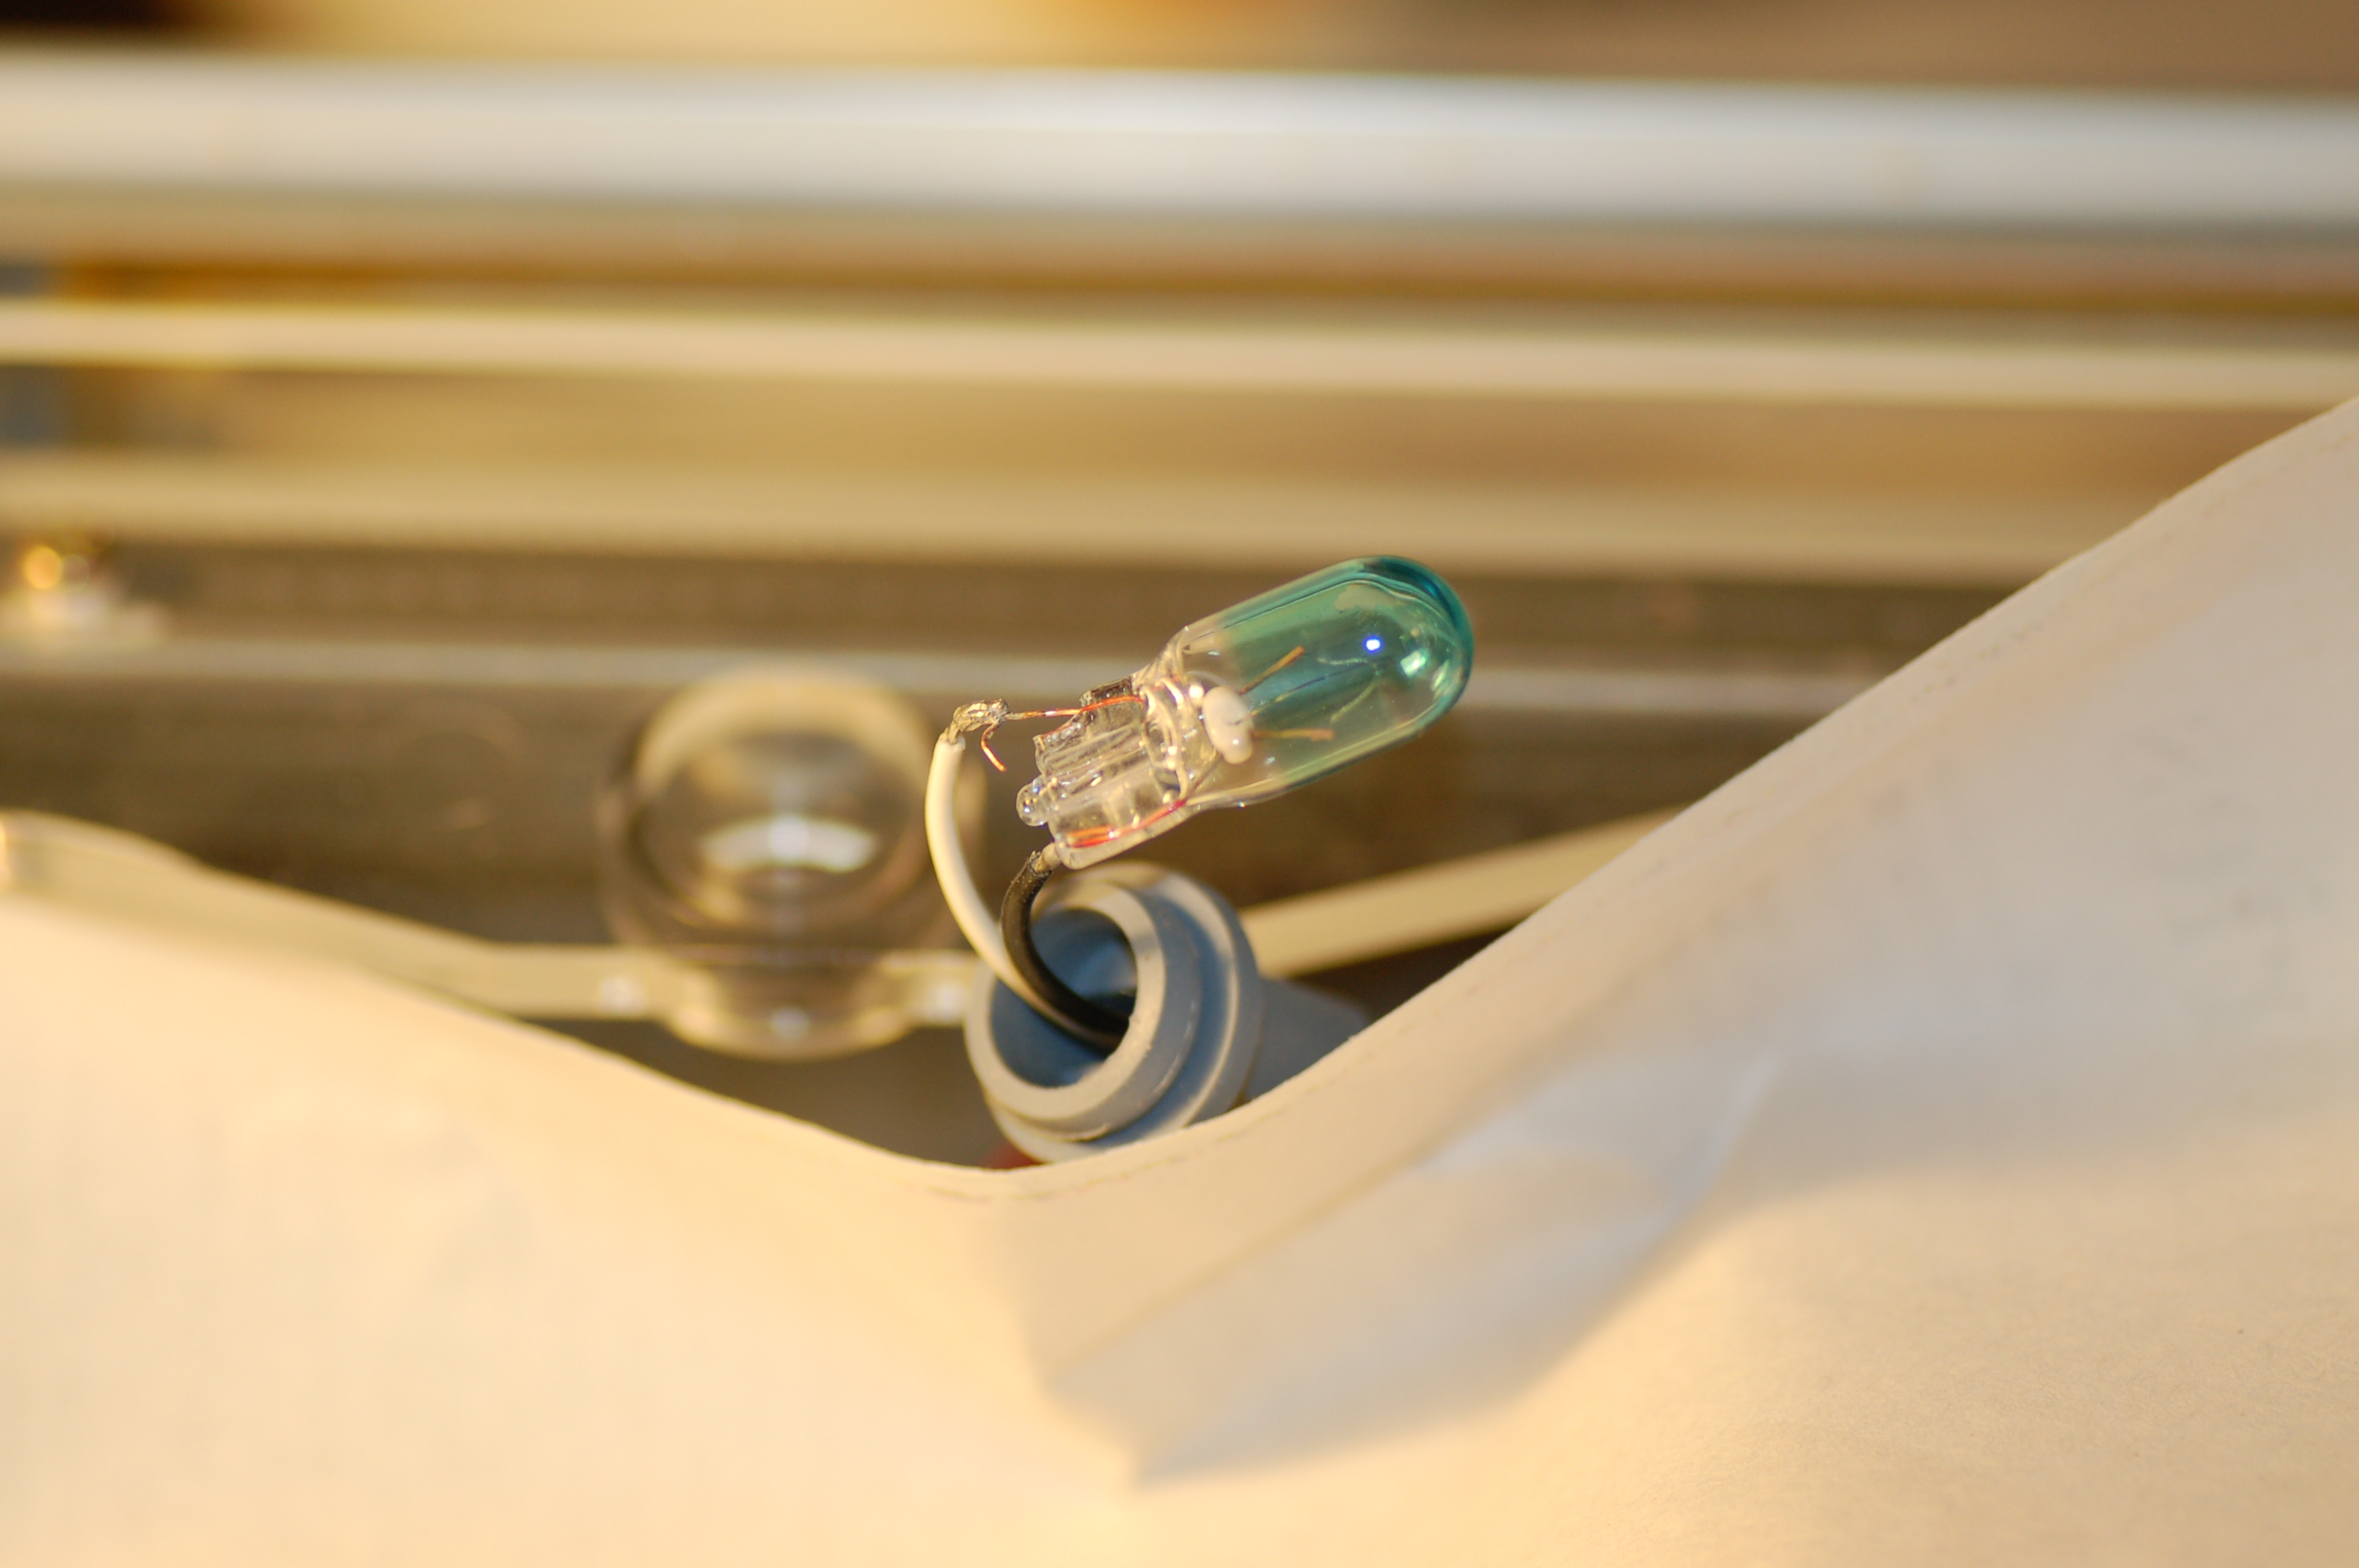
It was easy to pull the lamp and its sleeve out of the clear plastic bar holding them in place.
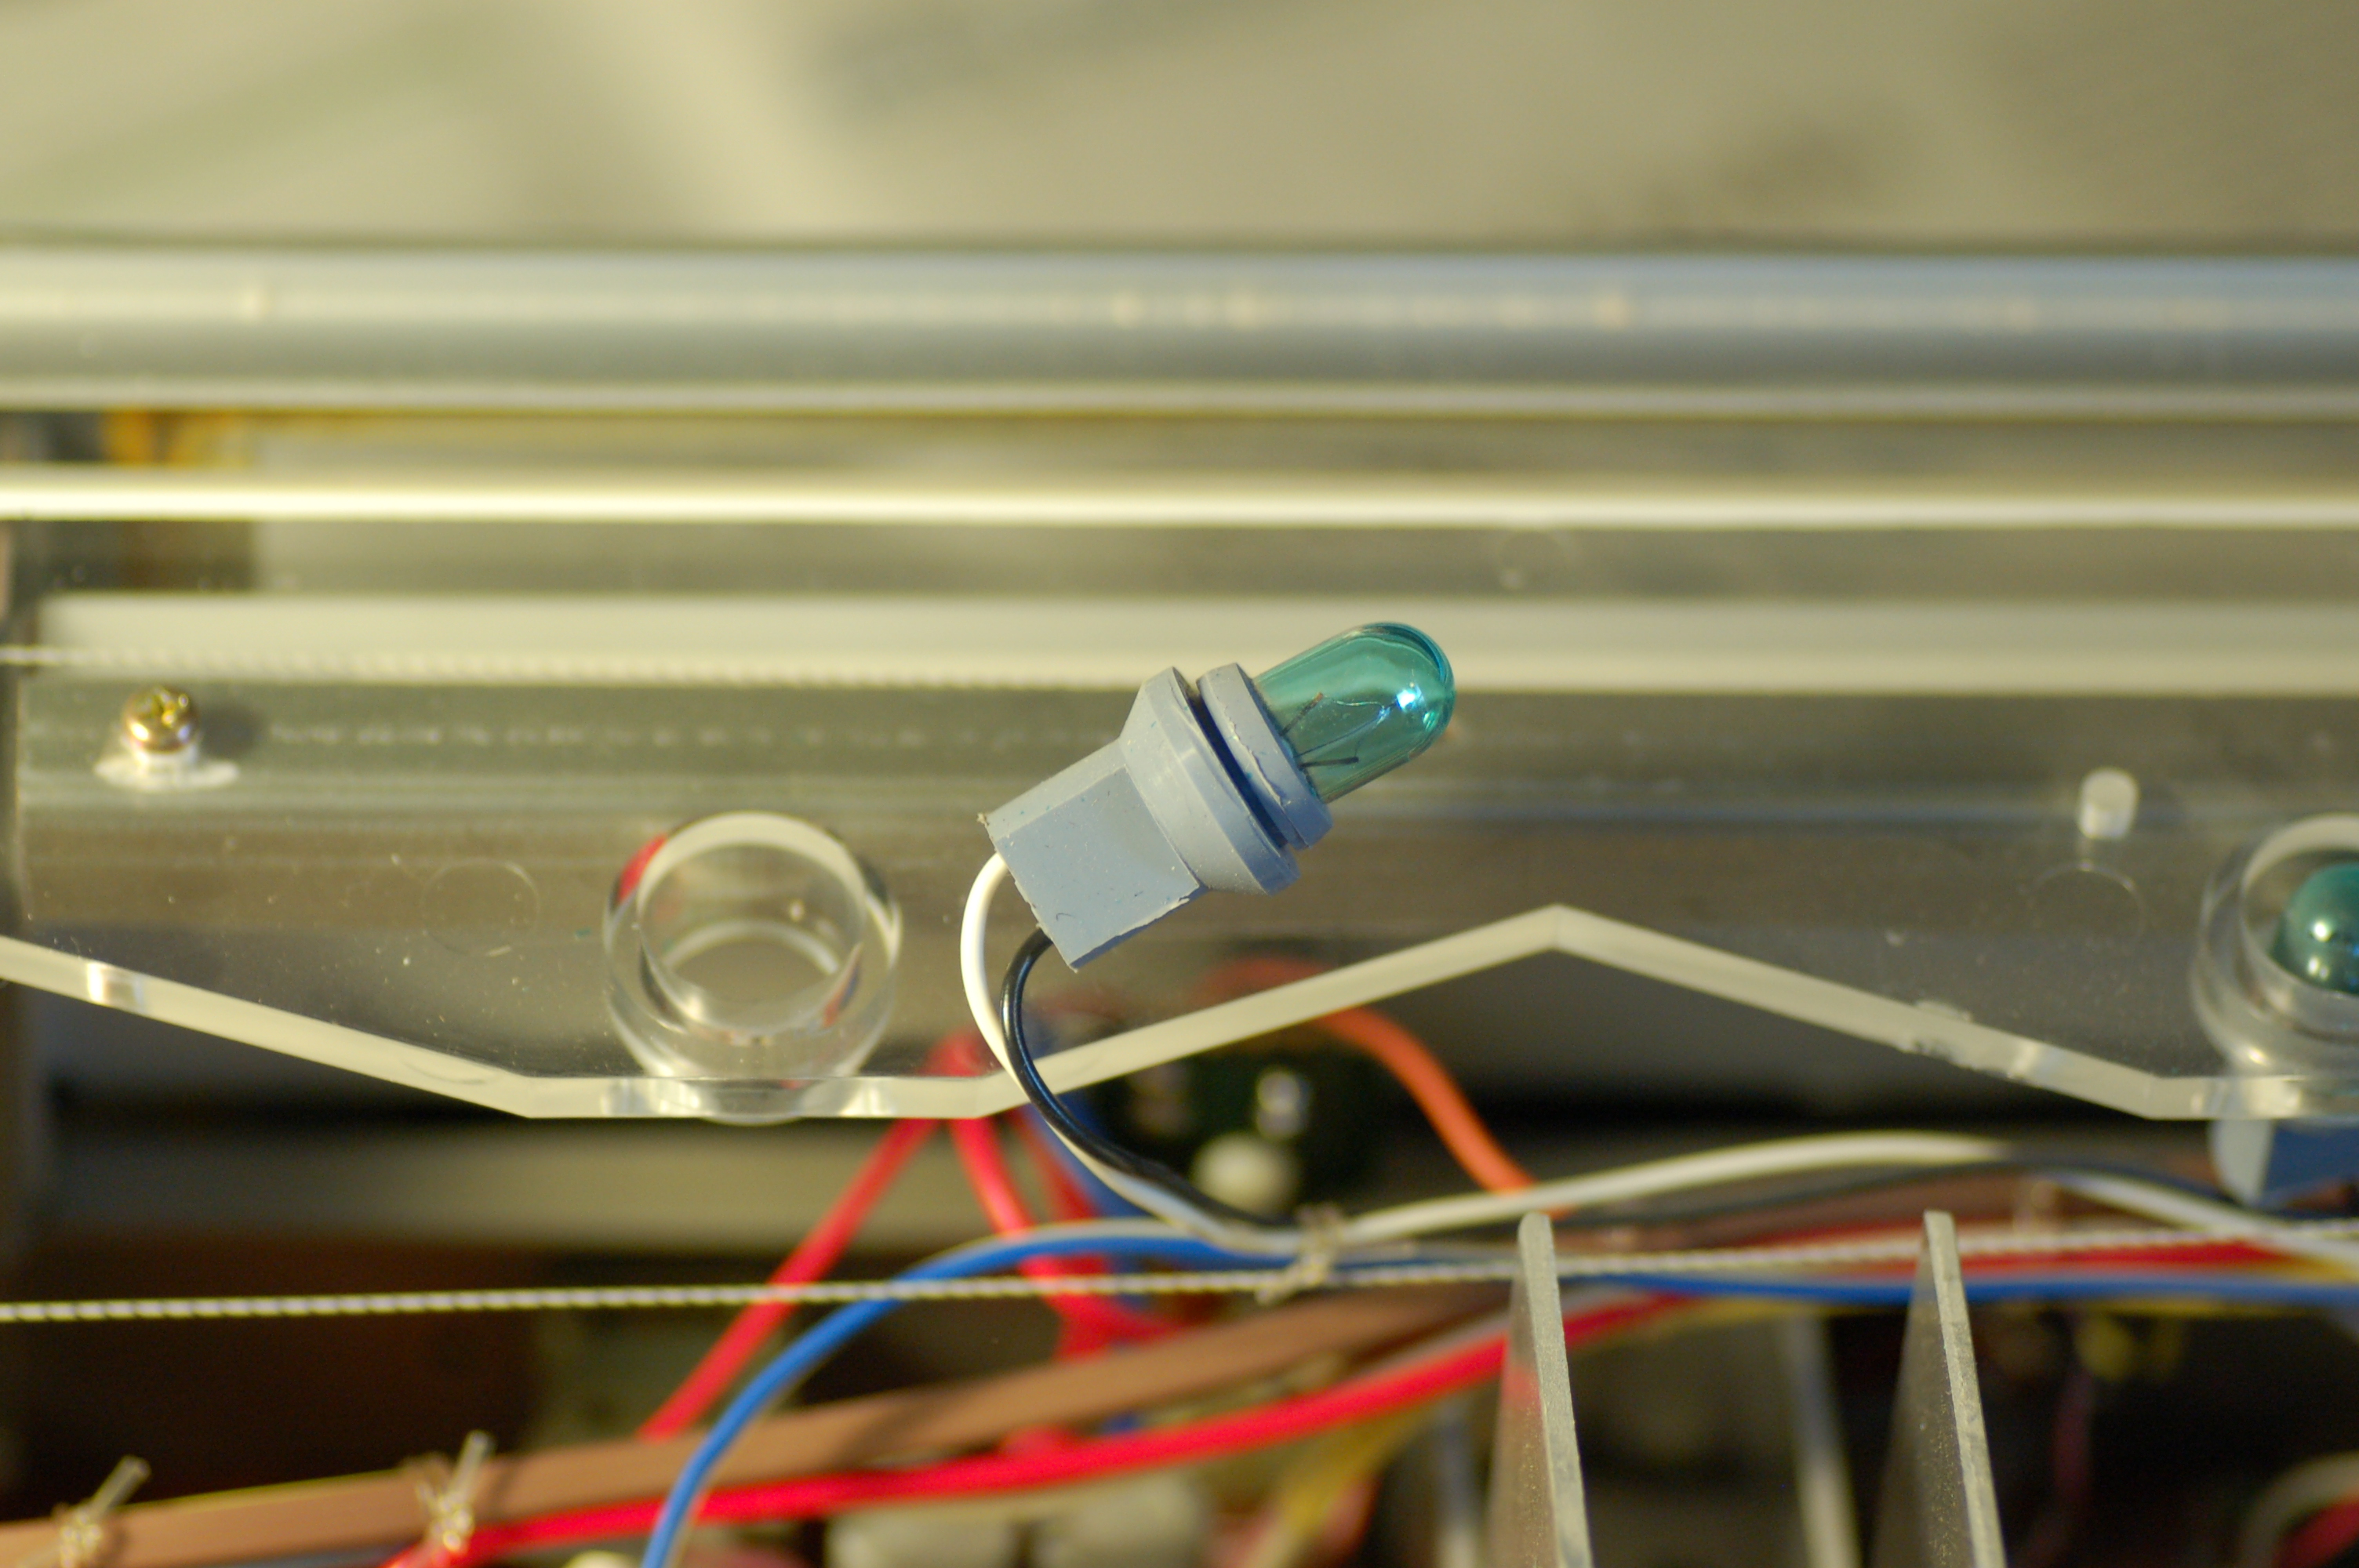
Pulling the plastic sleeve down reveals the connection between wires and lamp. This photo isn't sharp enough to show it clearly, but it seems that the wires are soldered to the lamp's terminals. Strangely, though, when I touched a hot soldering iron to the area of connection, the silvery smooth substance did not soften.
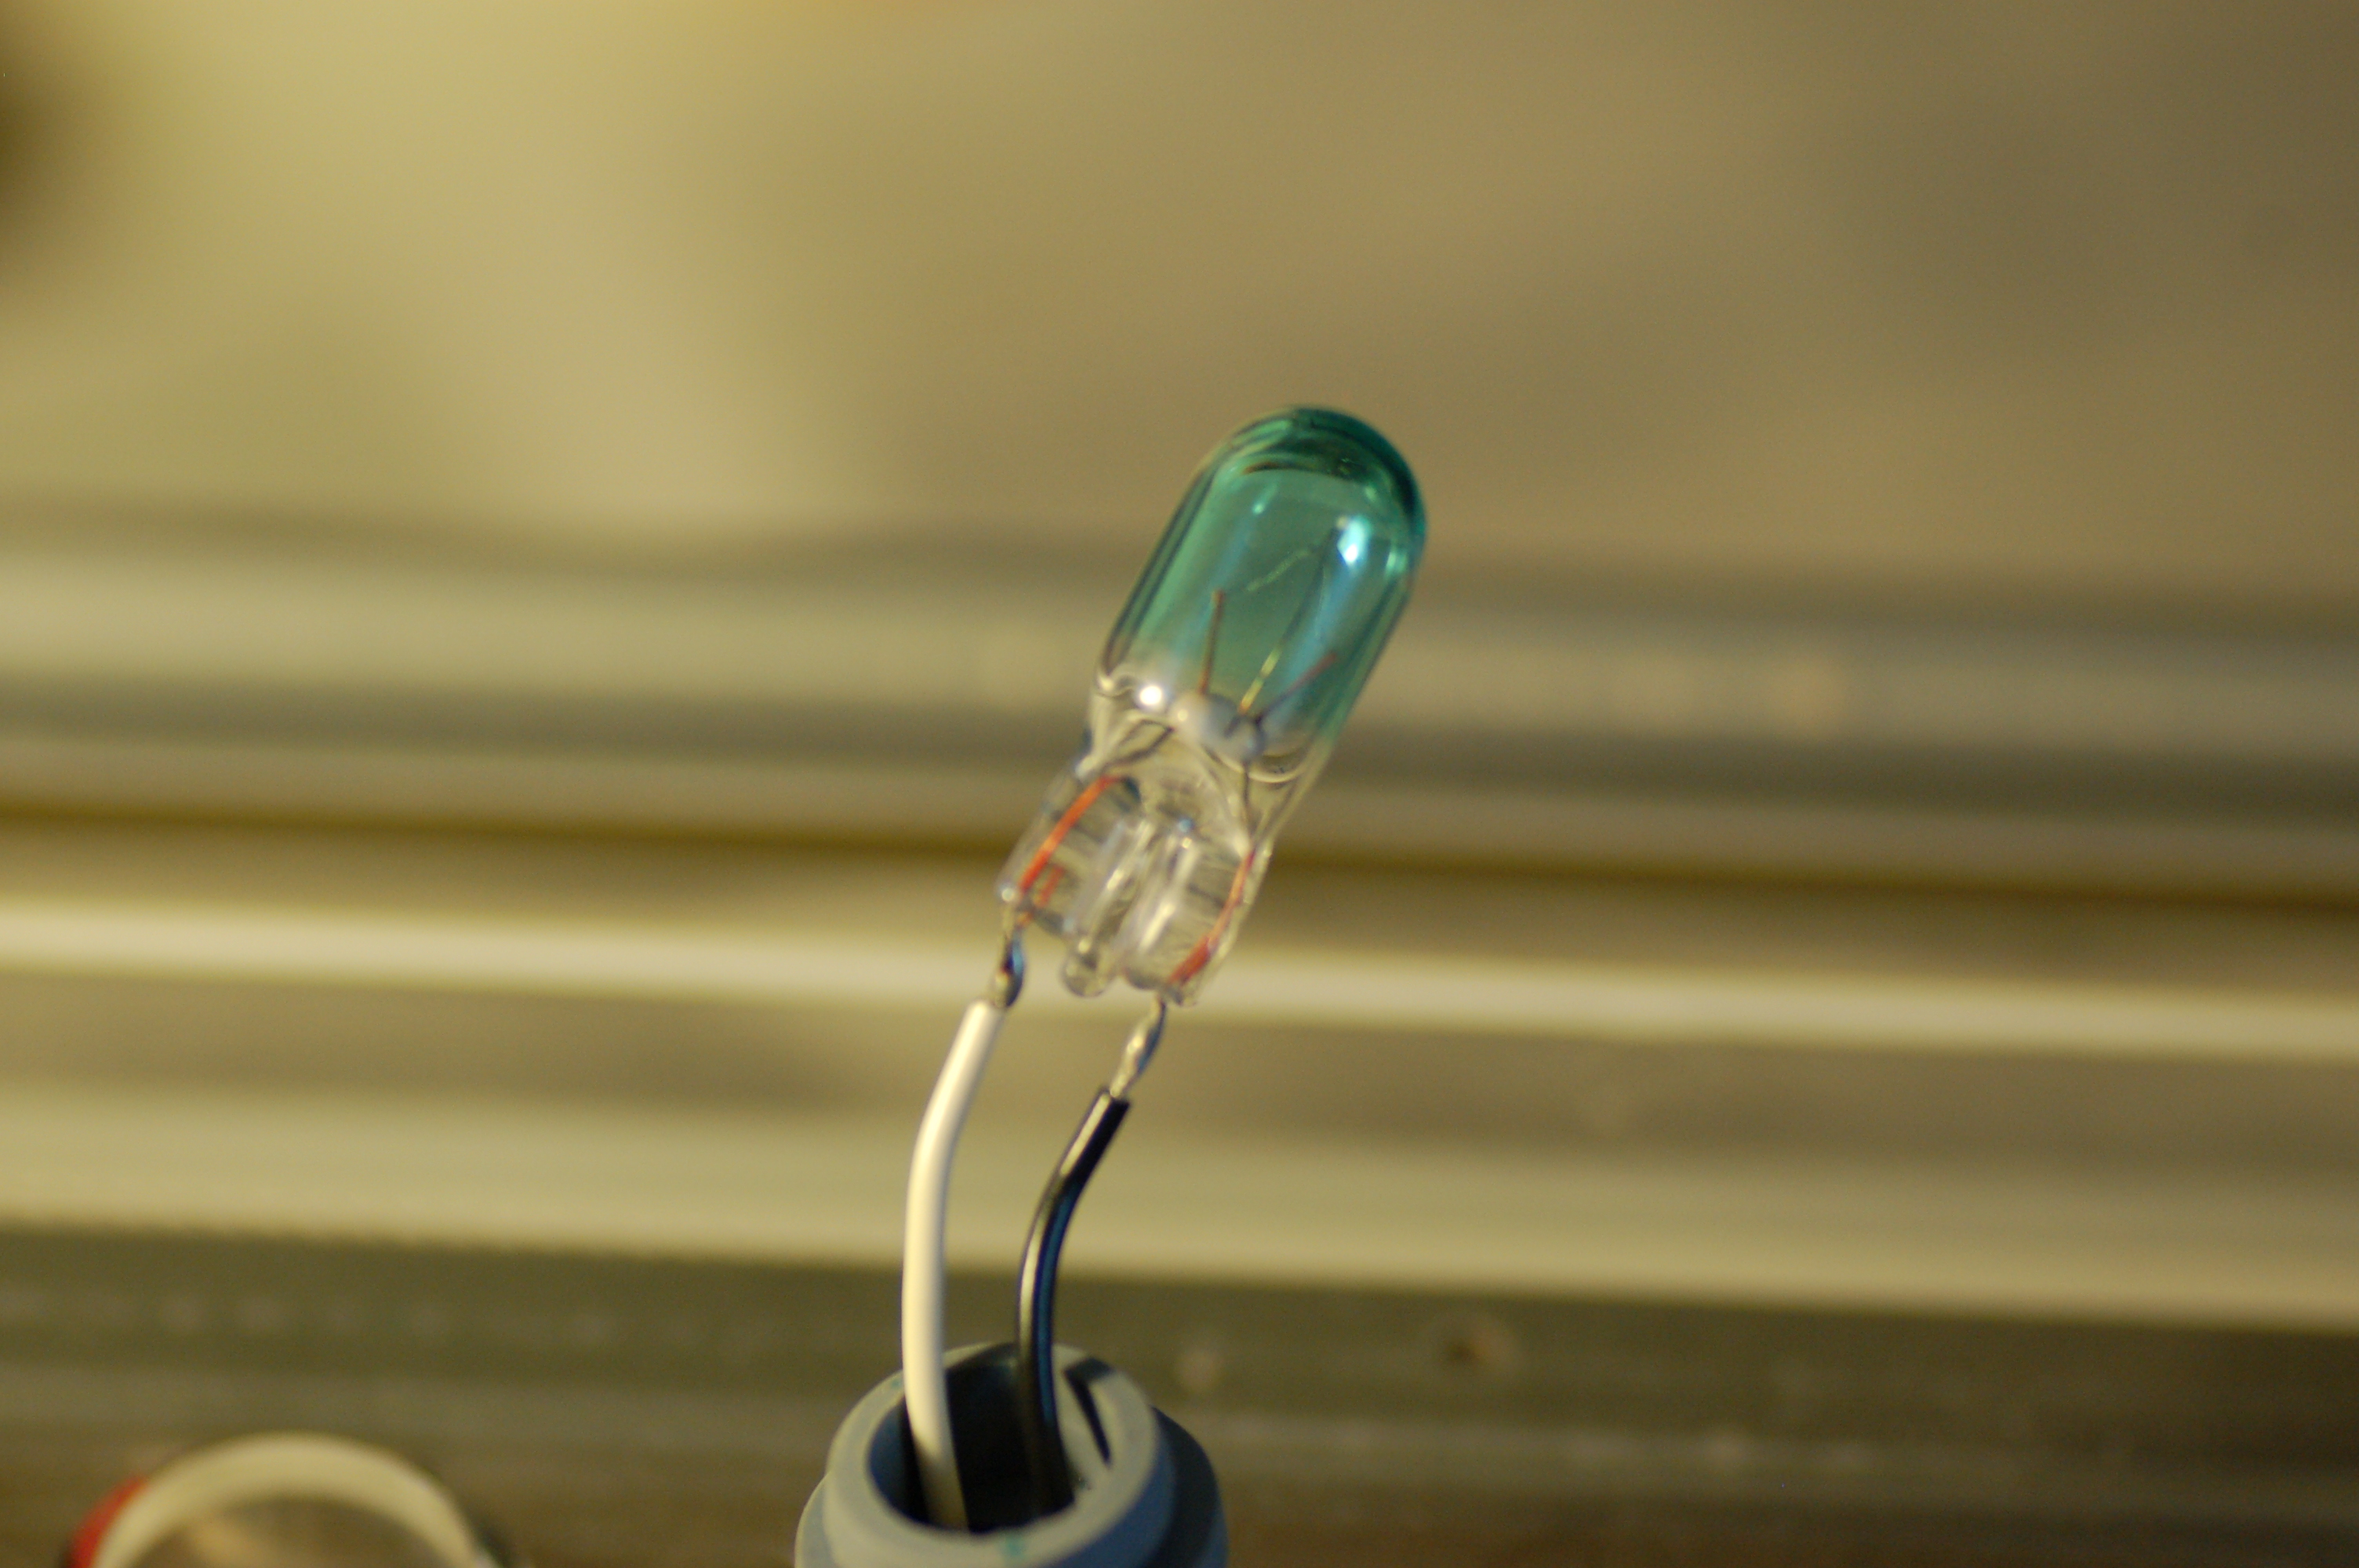
I tried pulling one of the connections, but it held onto the lamp tightly. When I grabbed onto the lamp with needle-nosed pliers, I broke a bit of the glass from the bottom of the lamp. Whoops.
I was puzzled and stumped at this point. How to remove the lamp from these wires, so I could put on the new lamp?
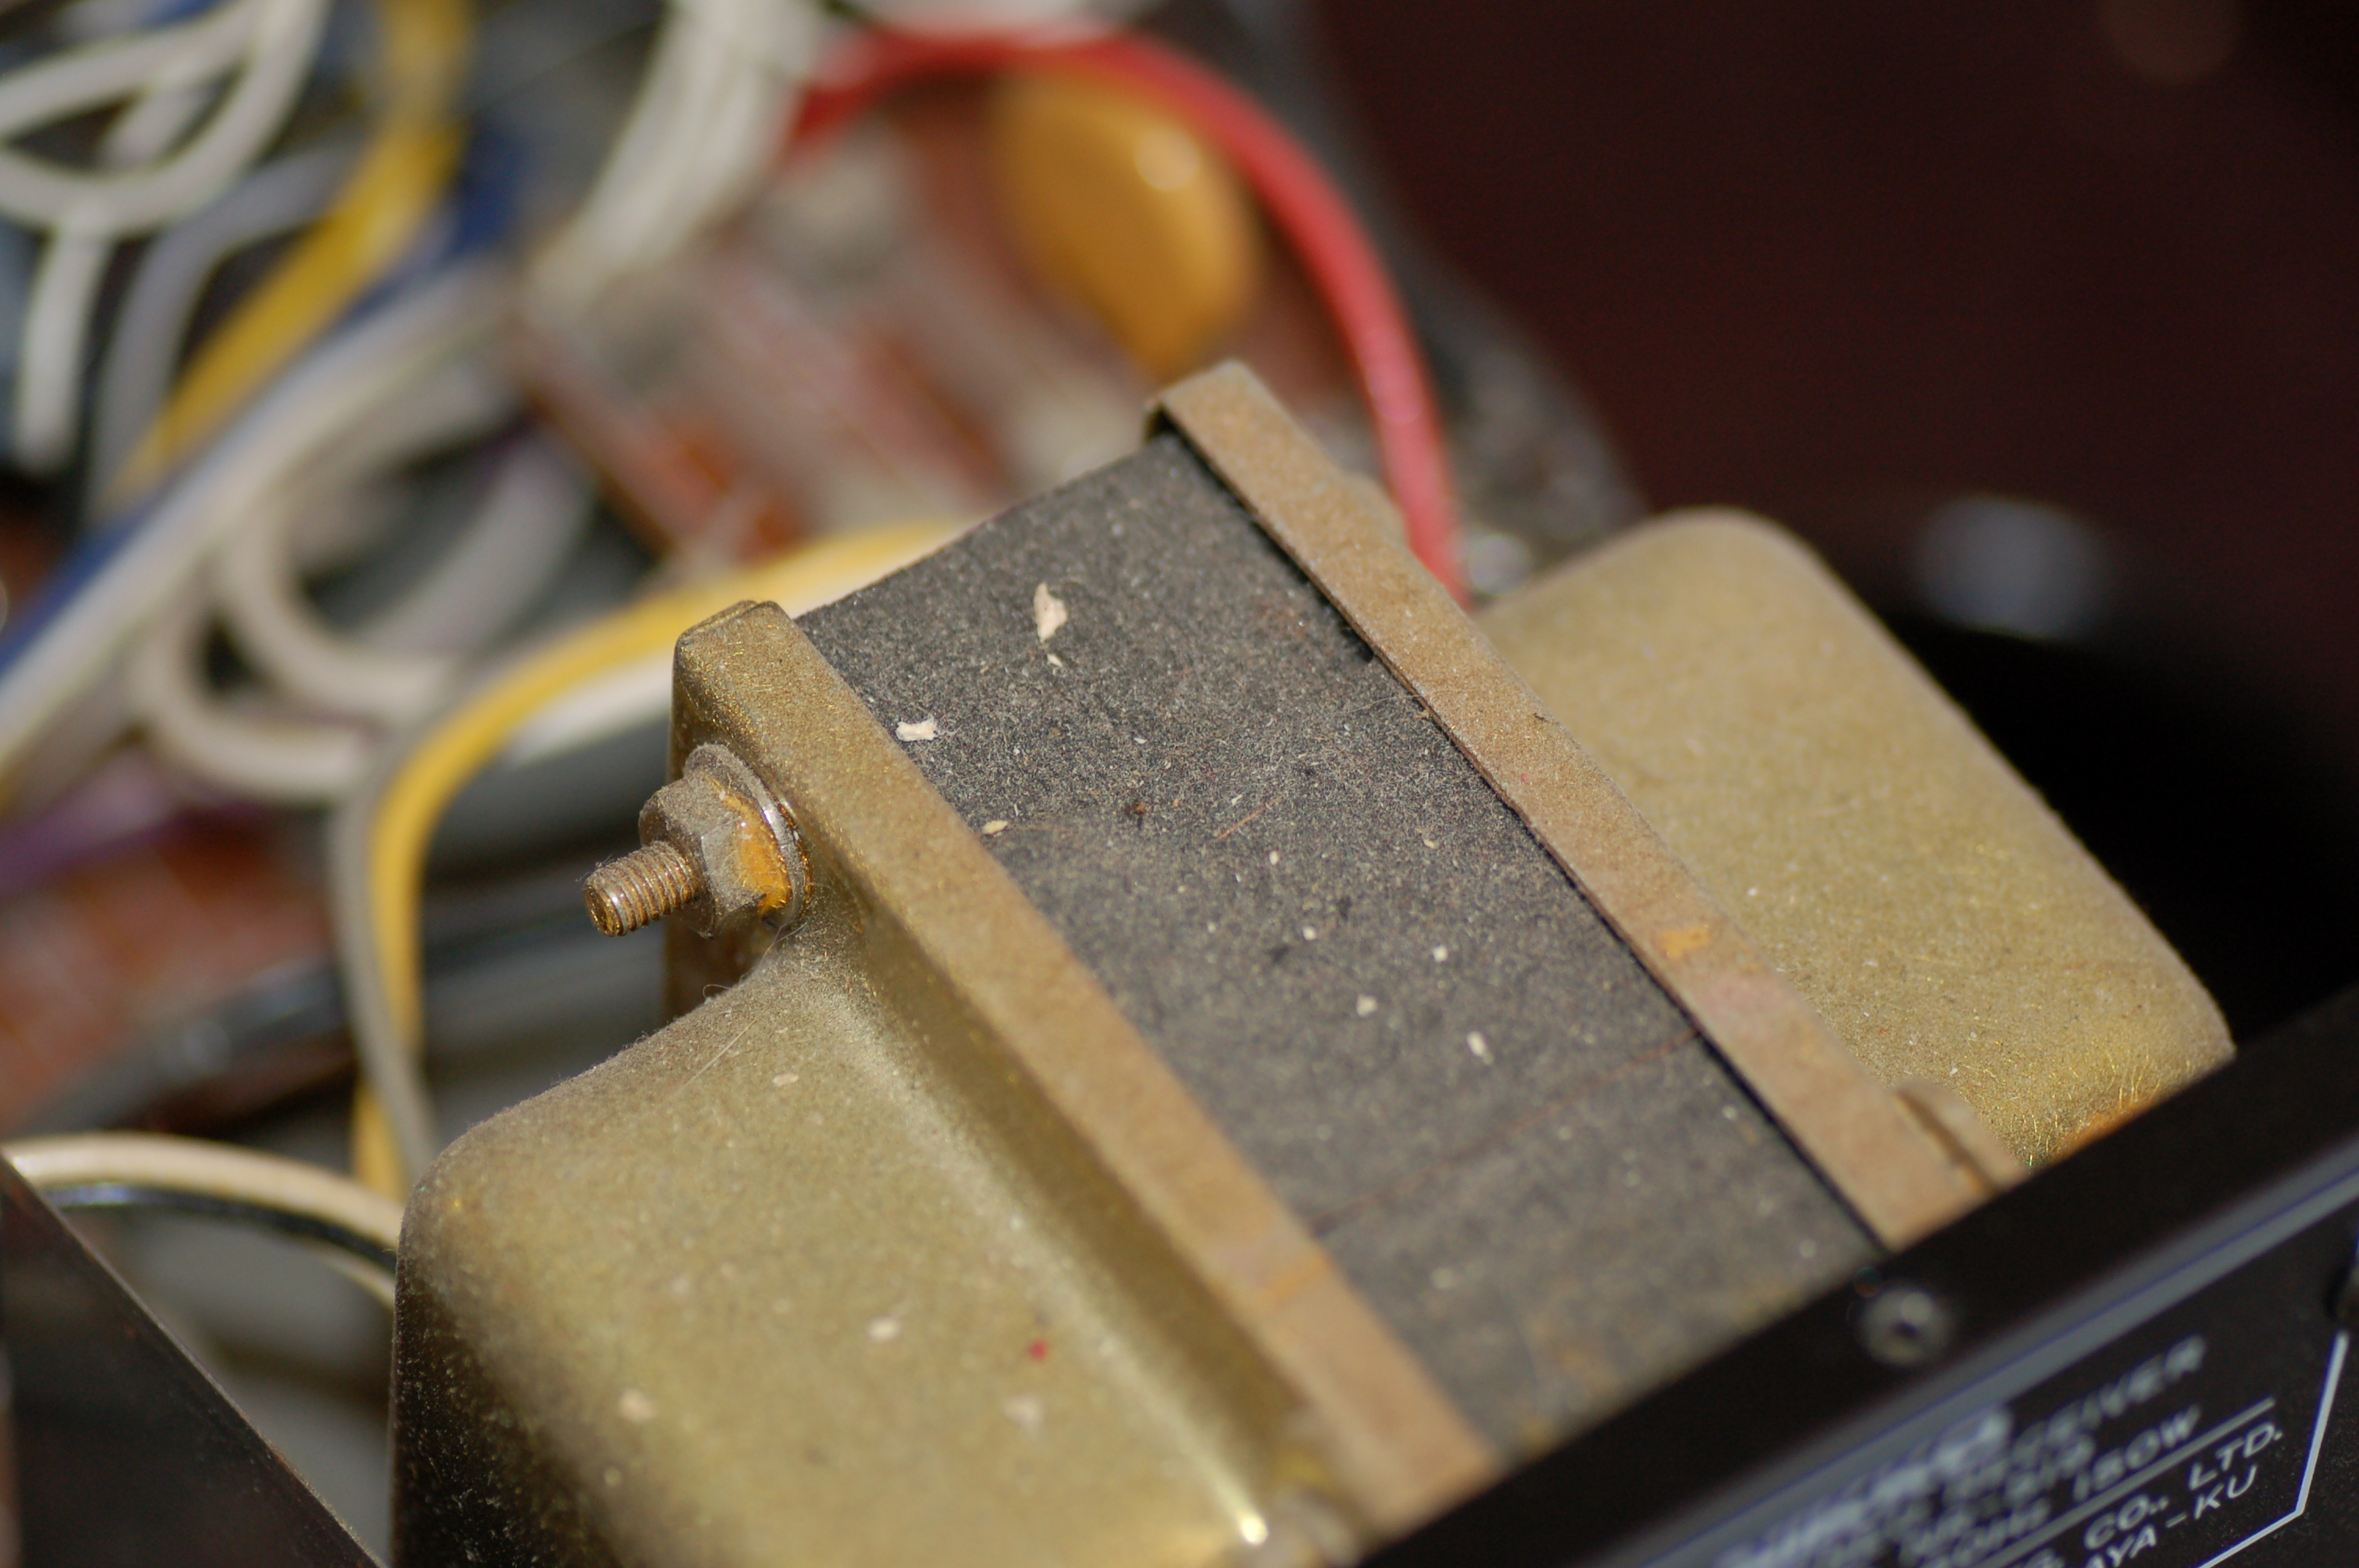
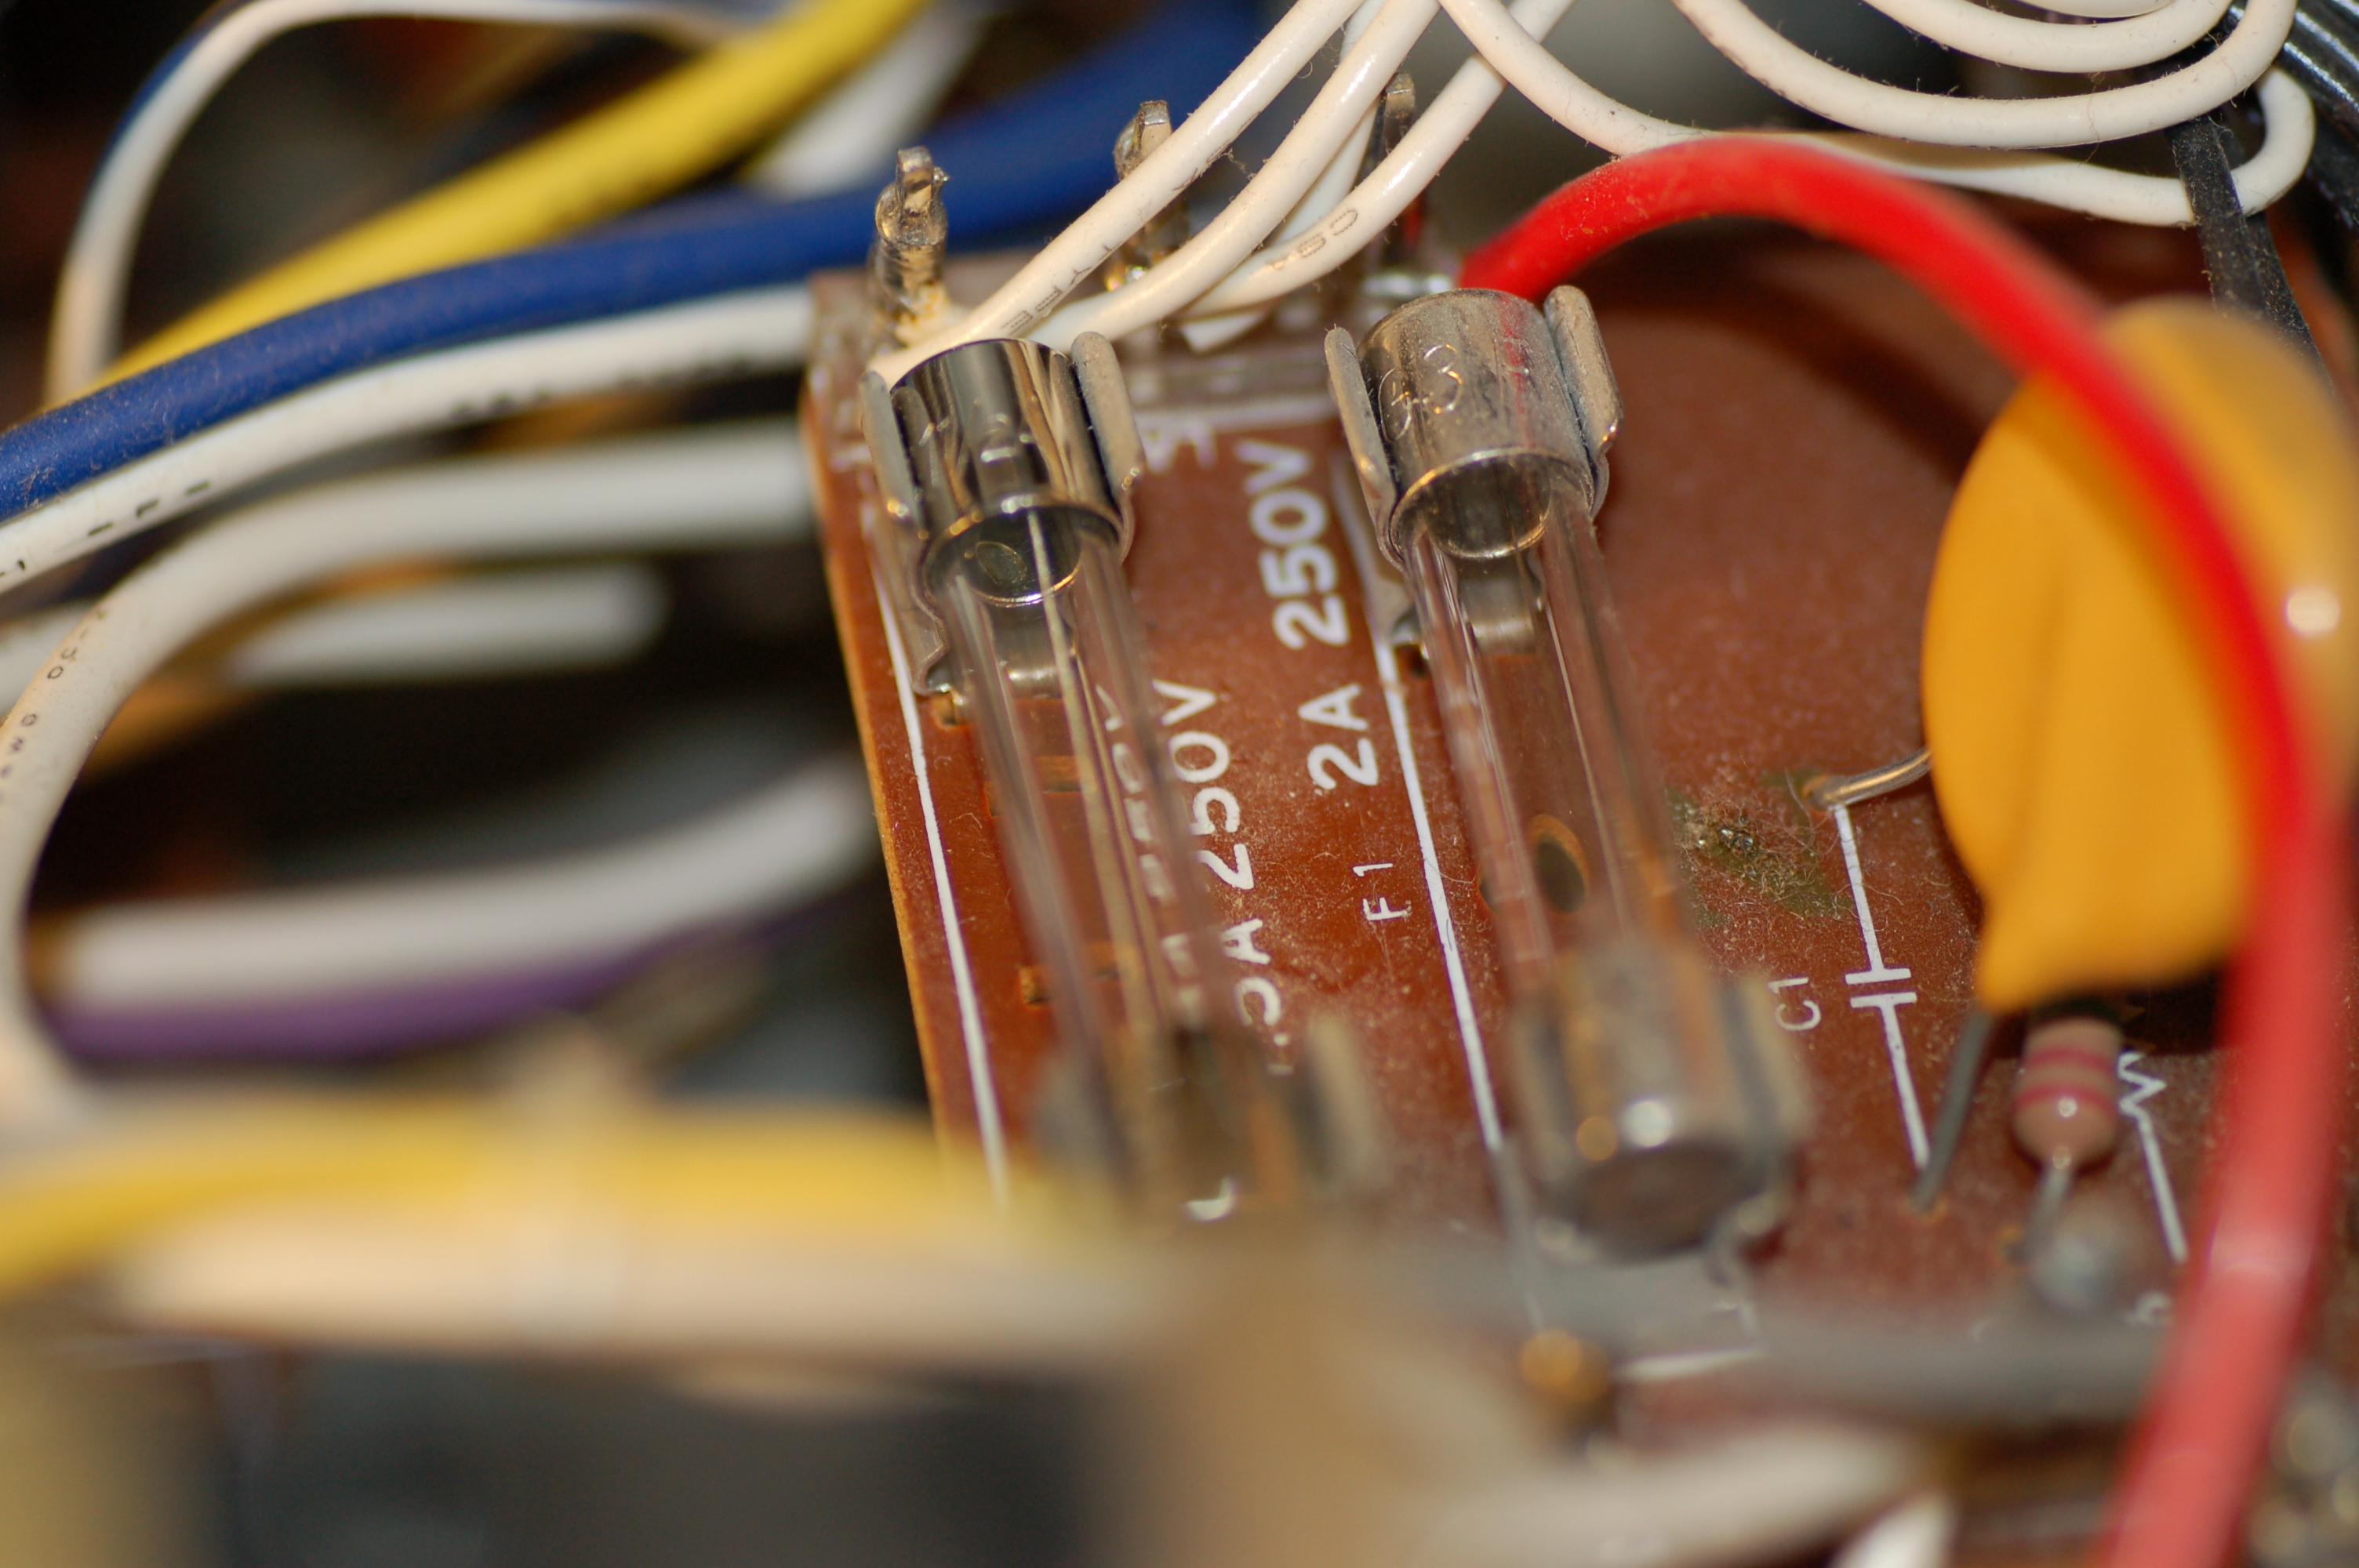
It was at this moment that I noticed that the wires ran through a pair of fuses before reaching the power supply. The fuses! I should have checked those first.
There were two fuses, side-by-side. You can see them at the bottom of this photo, between the power supply and the first of the lamps. just above a red wire.
When I pulled out the "left-hand" fuse and looked at it carefully,
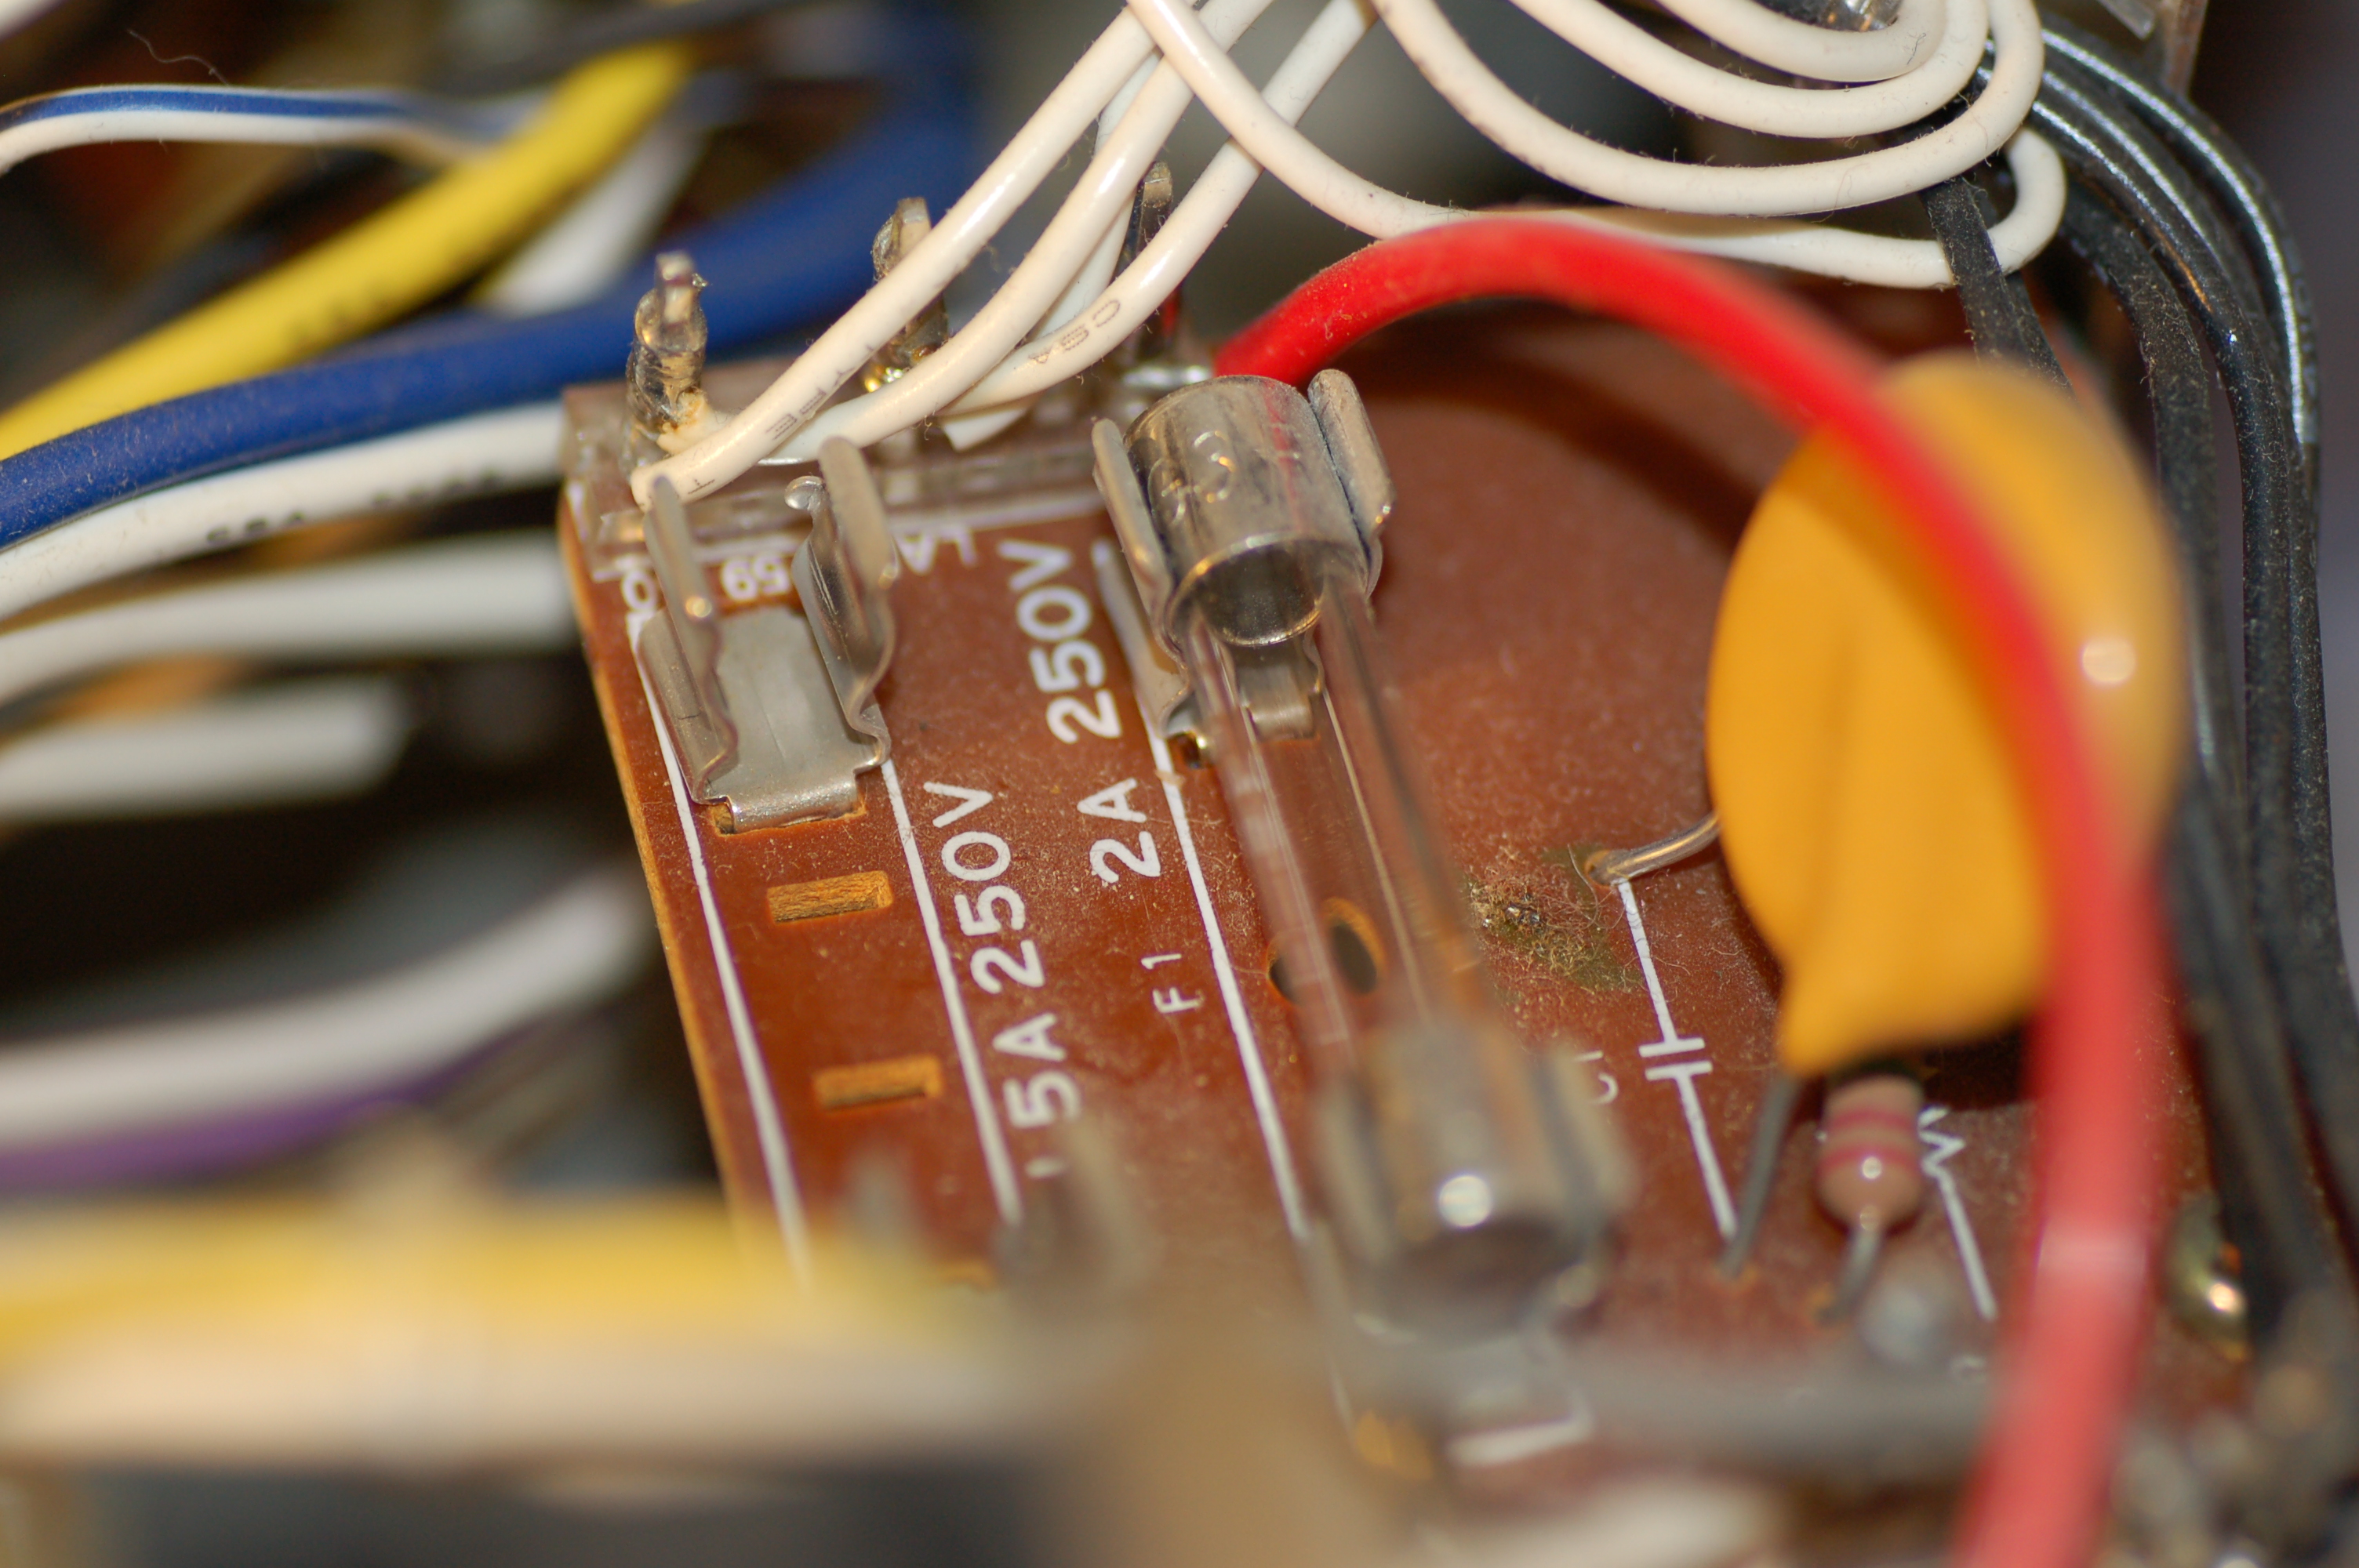
I could see a break in its thin little wire.
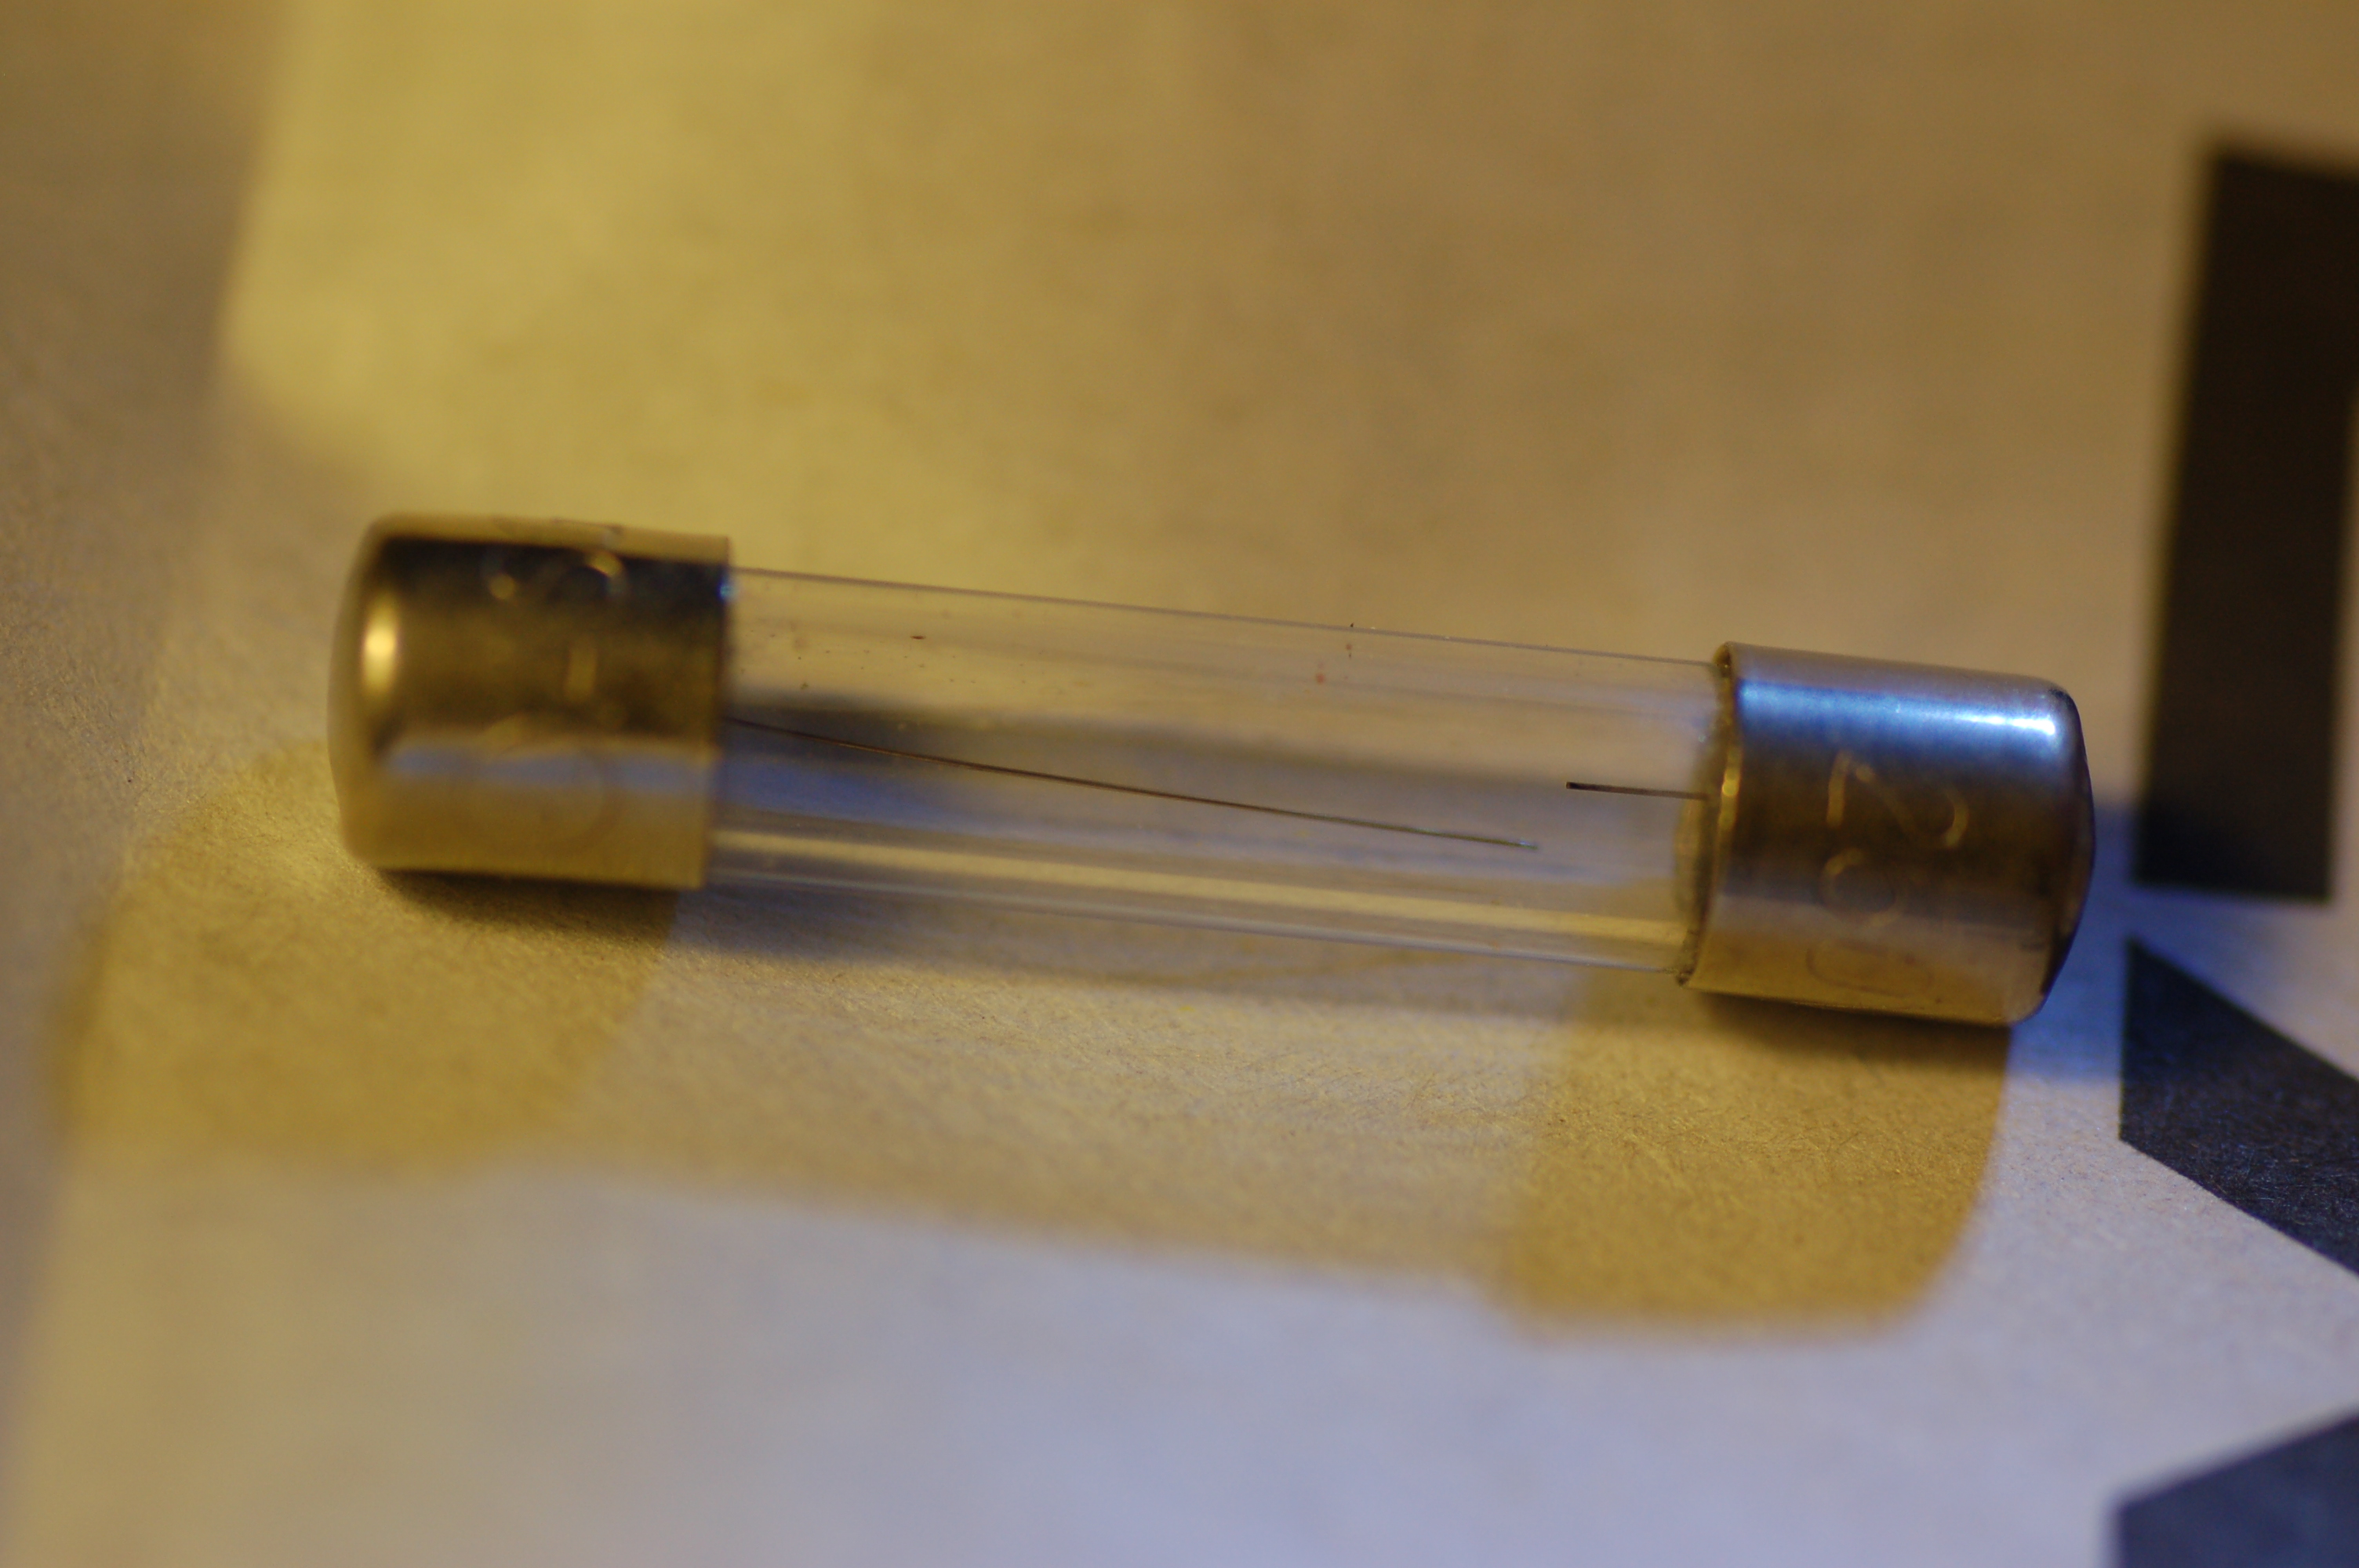
The fuse was labelled "ASG3 FKD 250V 1.5A" -- a standard 250-Volt, 1.5-amp unit. I picked up a set at Home Depot and popped one in.
Success! The problem wasn't the lamps themselves -- it was a simple blown fuse.
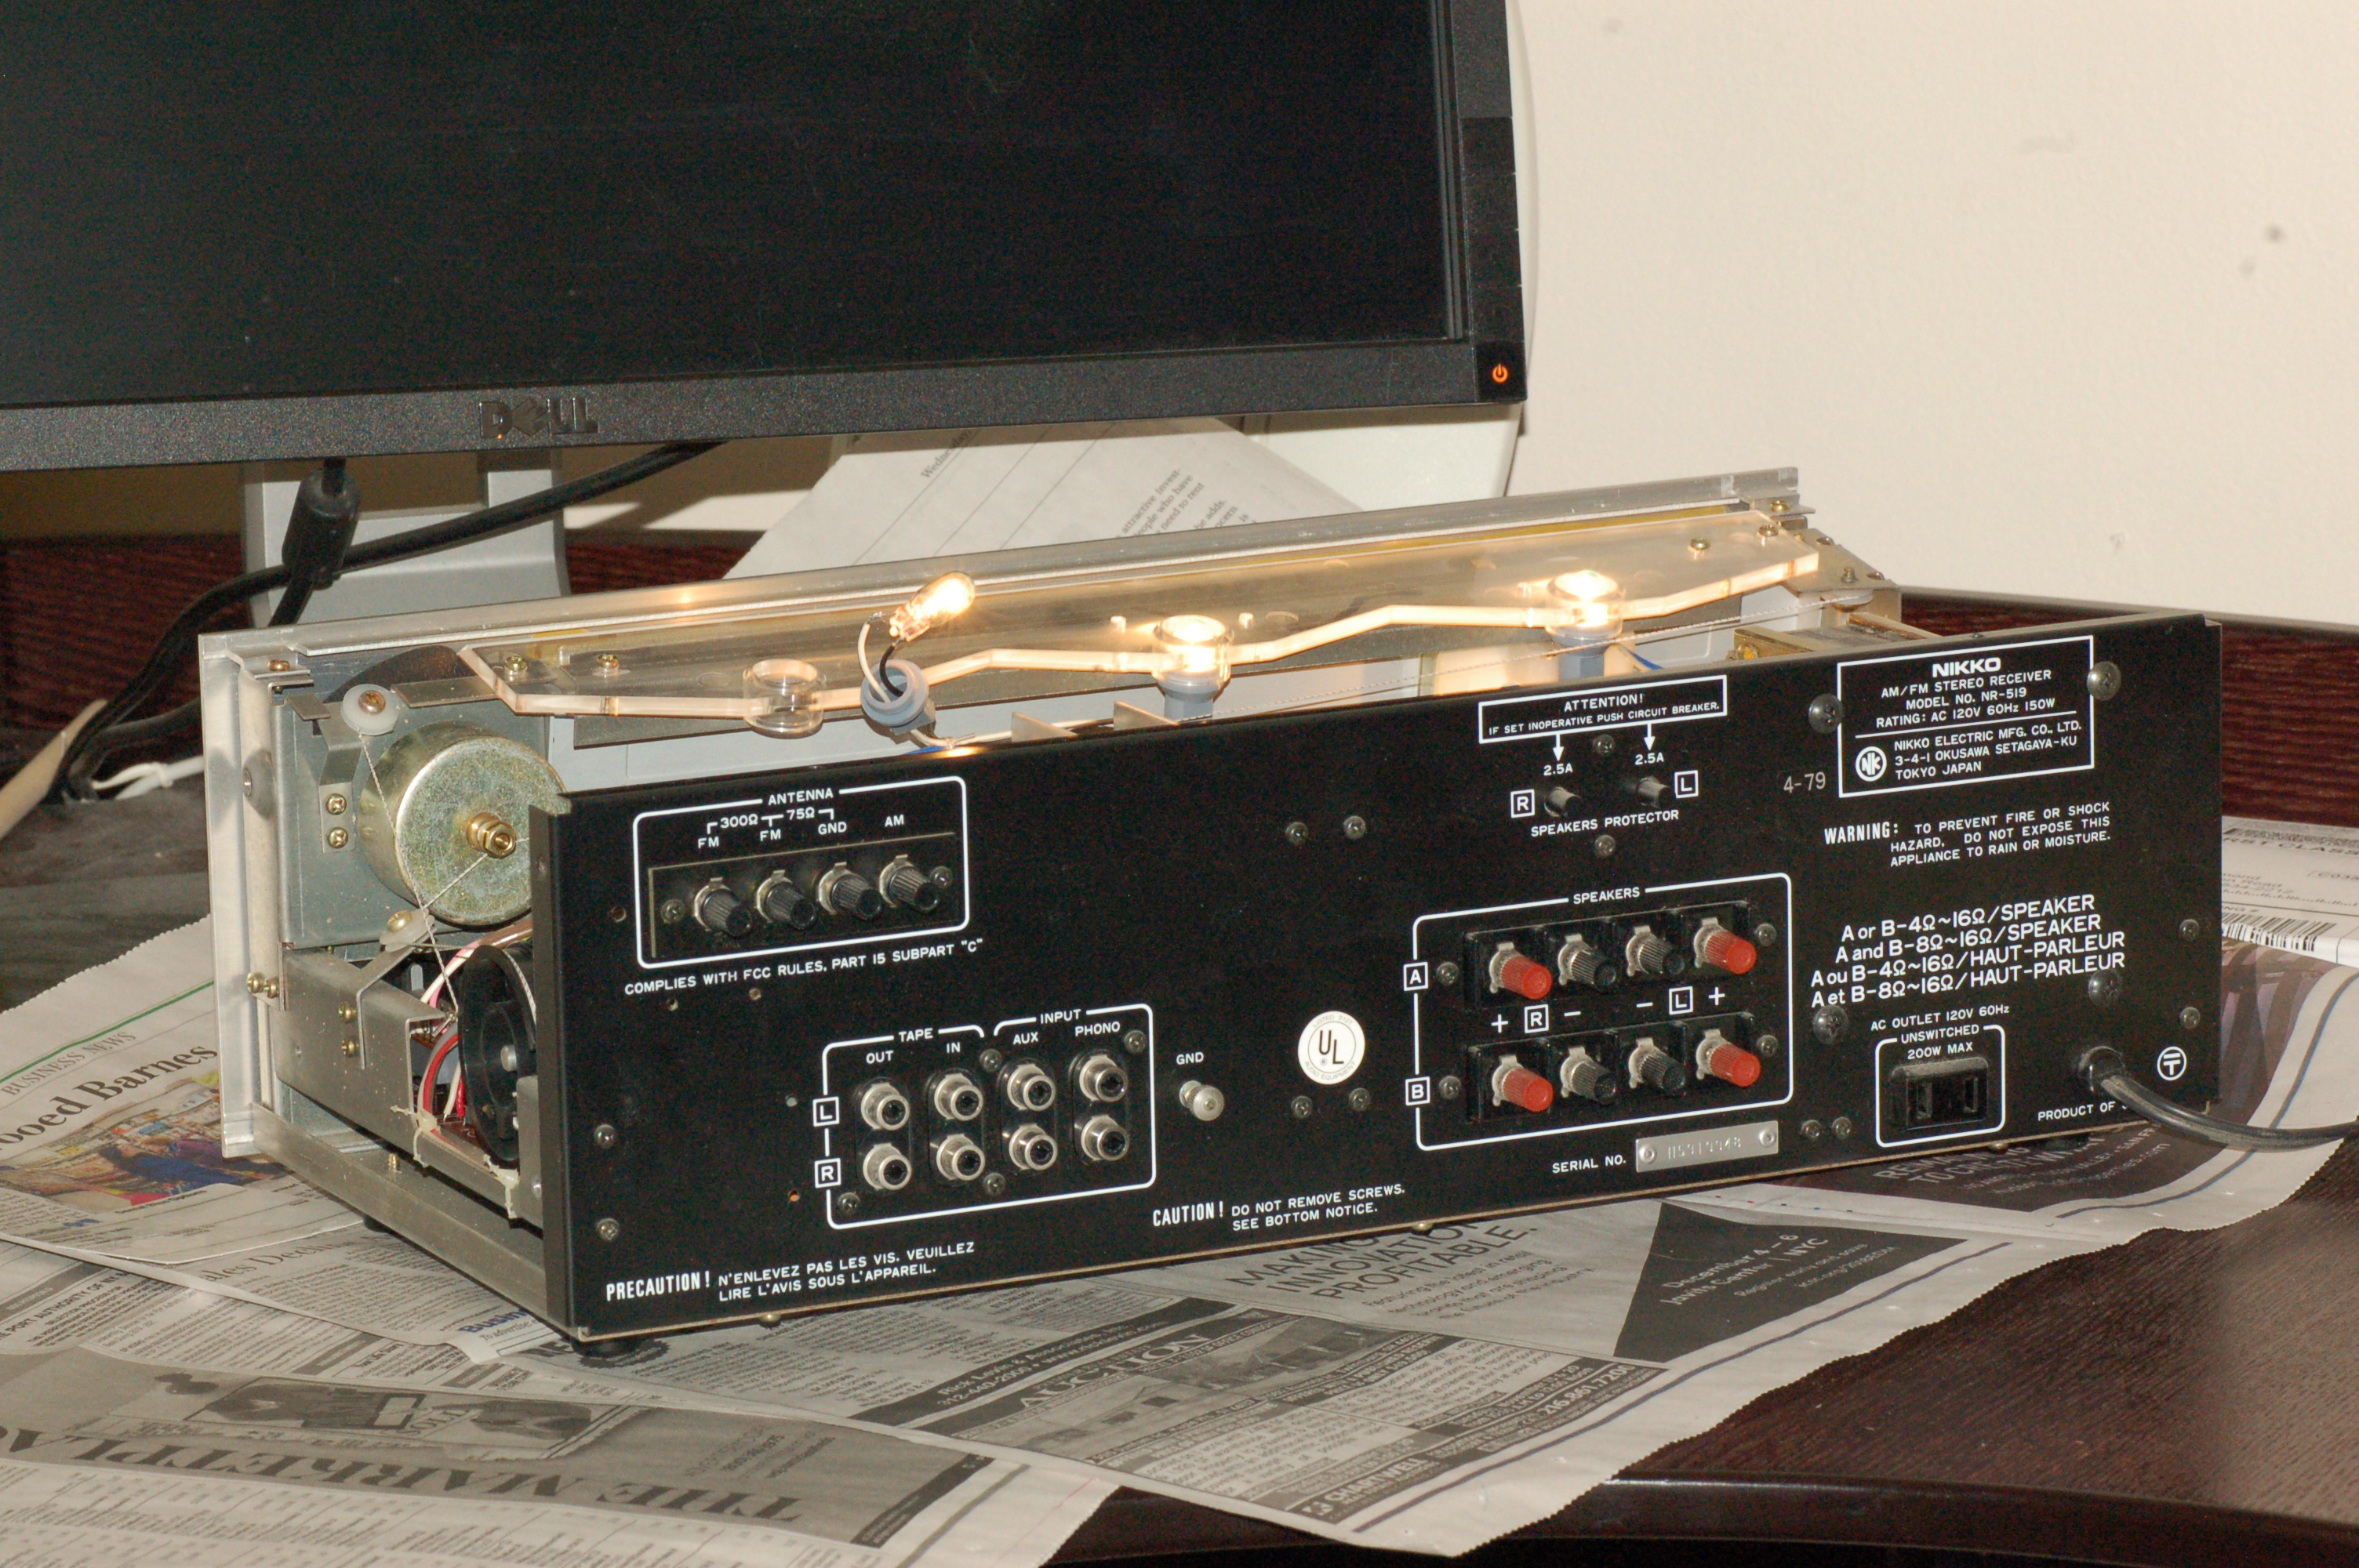
Now I can listen to music in the dark!