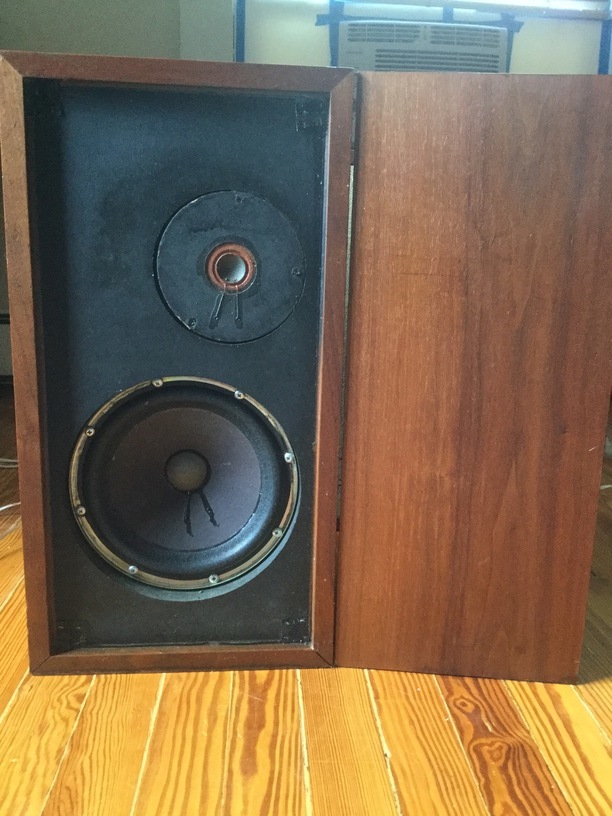
One of our local churches raises money each summer by selling items donated by members of the local community. This year, I purchased a pair of speakers for $22.50 -- 25% off the marked price. The cabinets were somewhat beat up ...
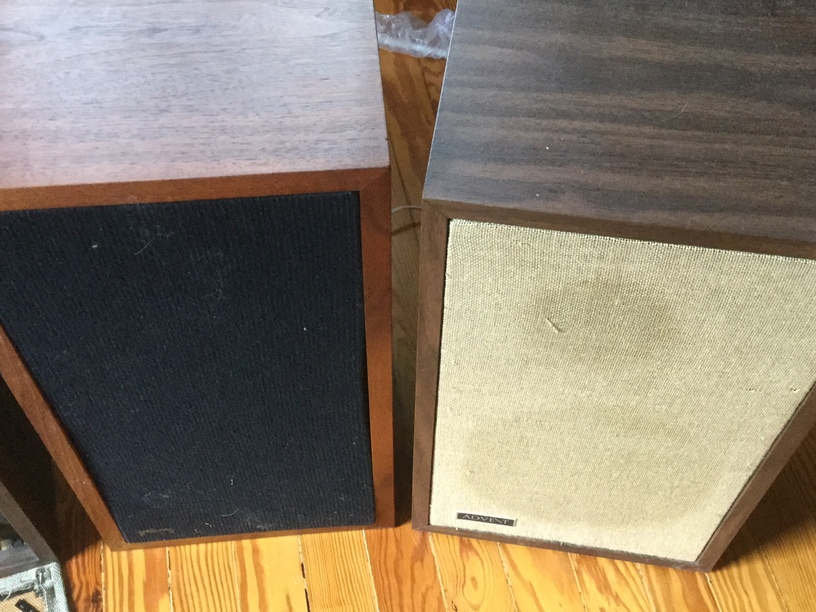
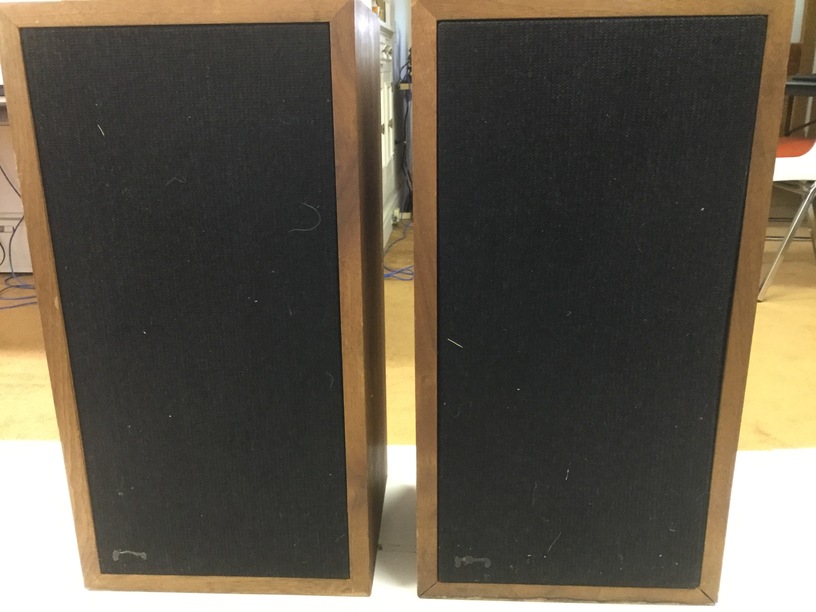
... and the badges on the front fabric were missing.
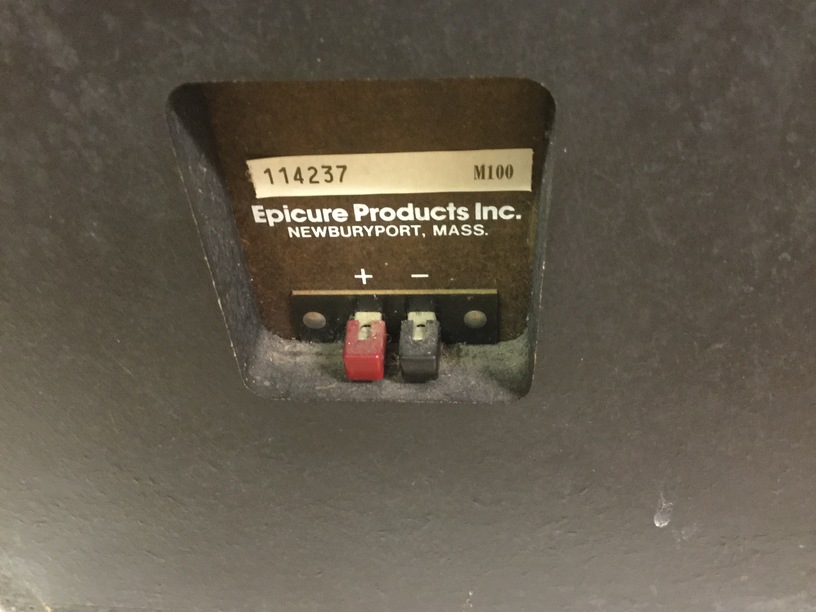
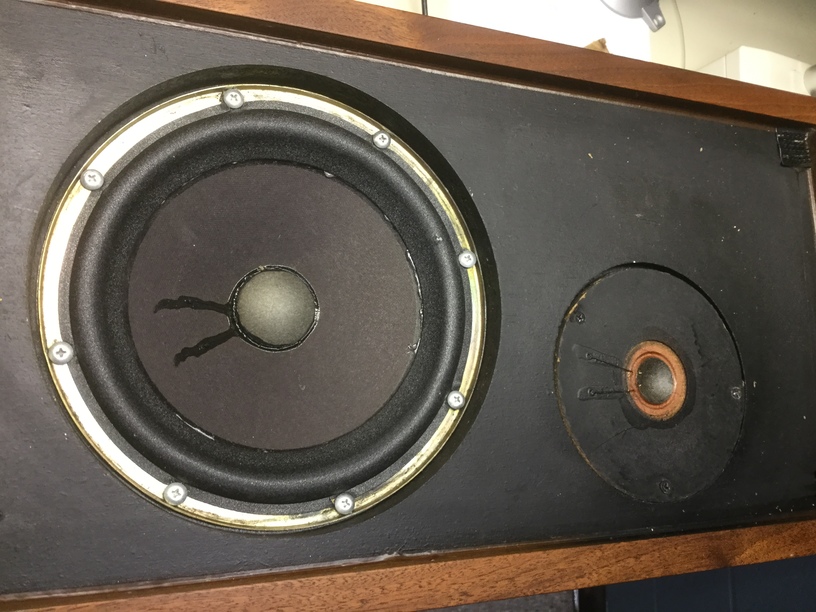
Looking at the connectors in the back showed that these were a pair of Epicure M100s, originally manufactured back in the 1970s. You can find more information about these speakers at
My pair were serial numbers 114237 and 113974; I'll refer to them as "113" and "114" for short.

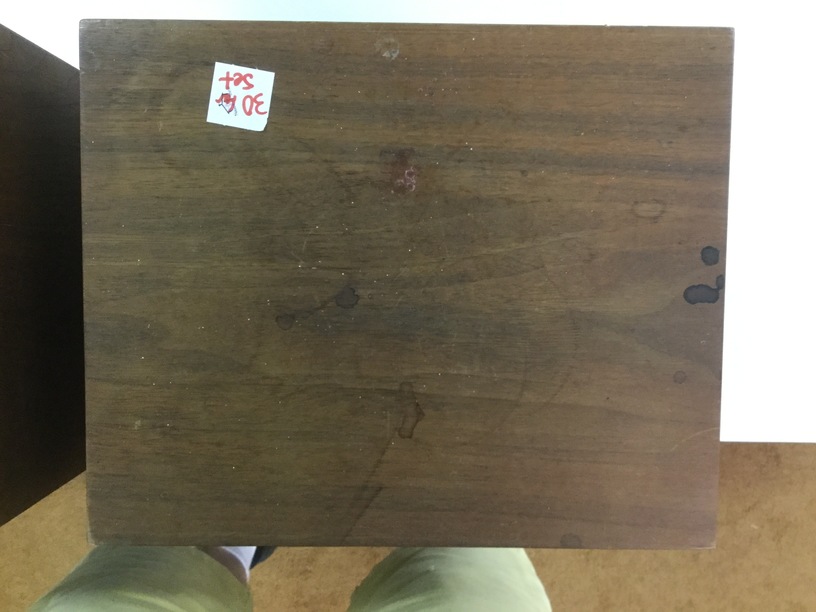
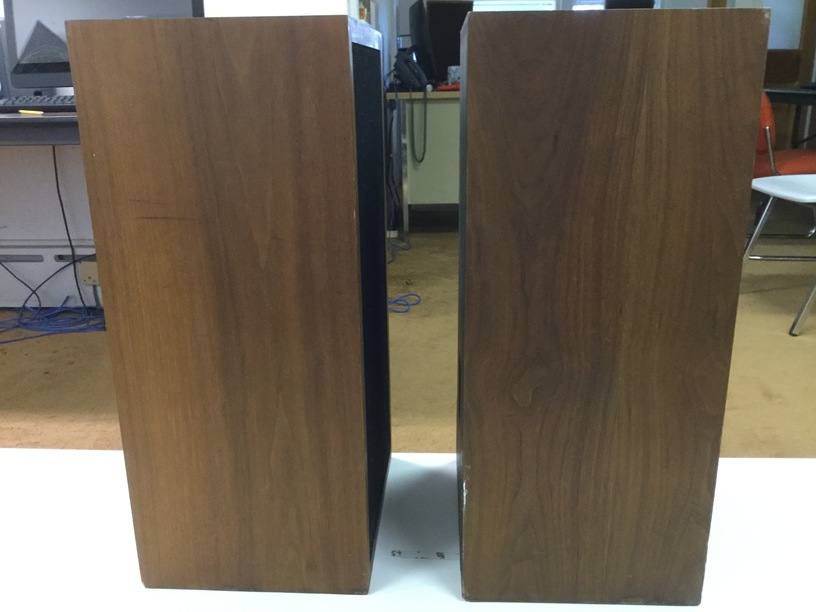
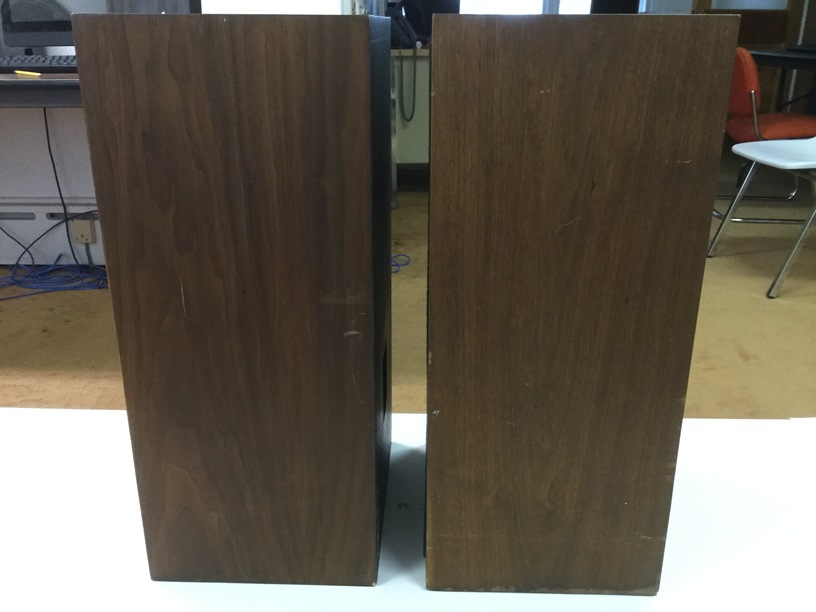
I took them to the Observatory to fix them up. Although the tops of the cabinets were in rough shape, the sides weren't too bad.
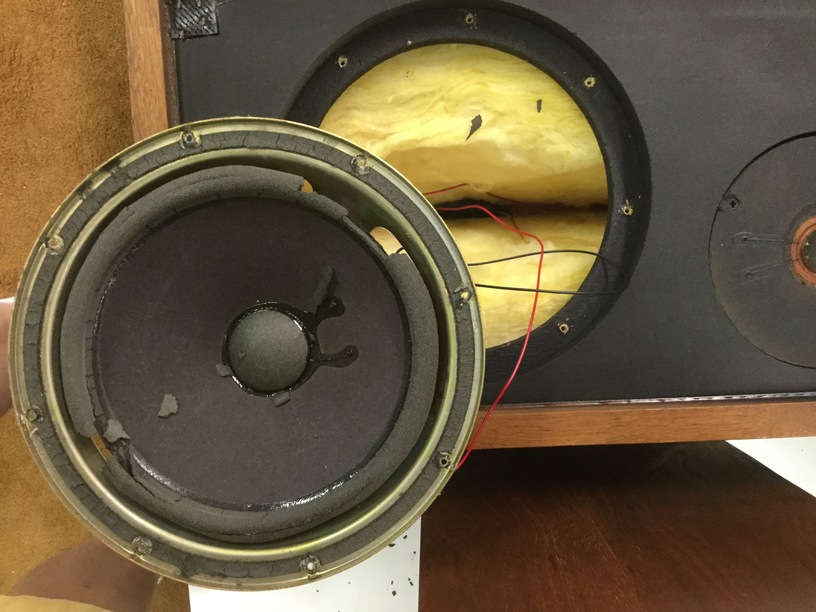
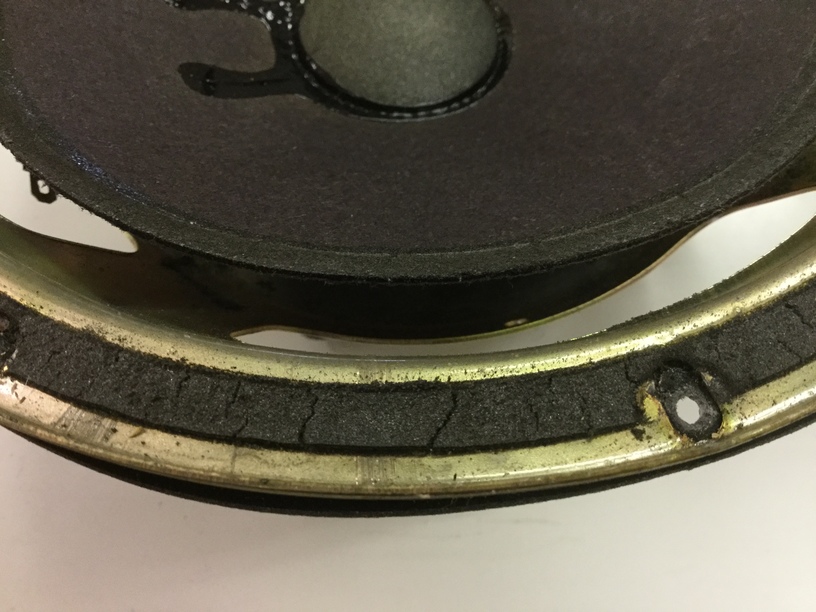
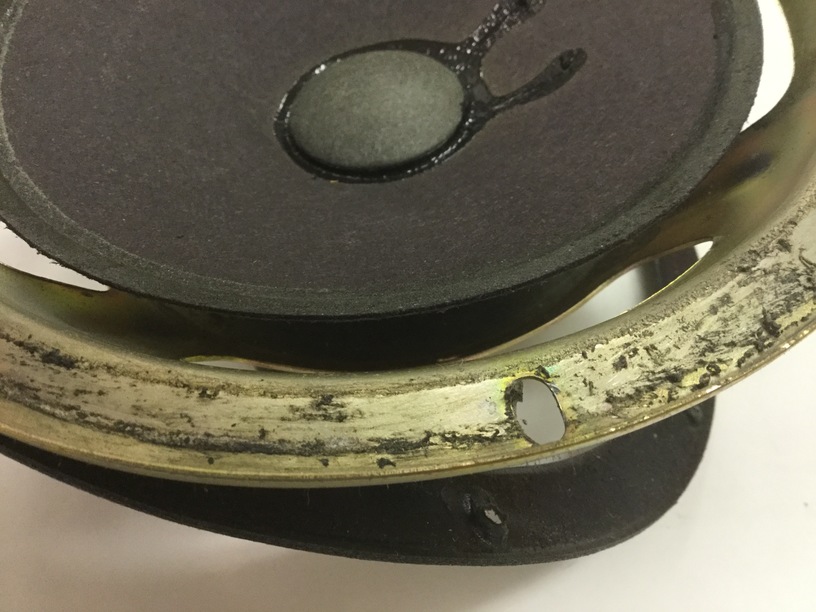
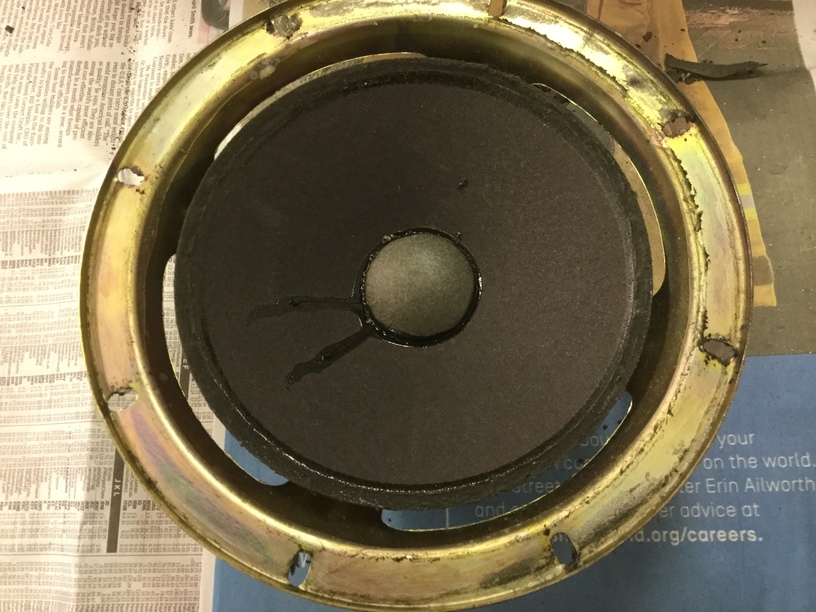
The woofers needed new surrounds -- no surprise, given their age.

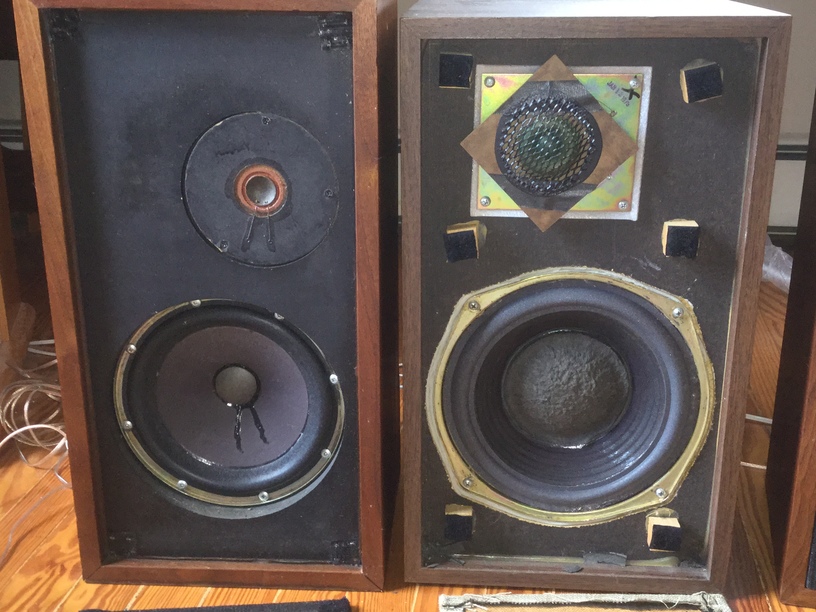
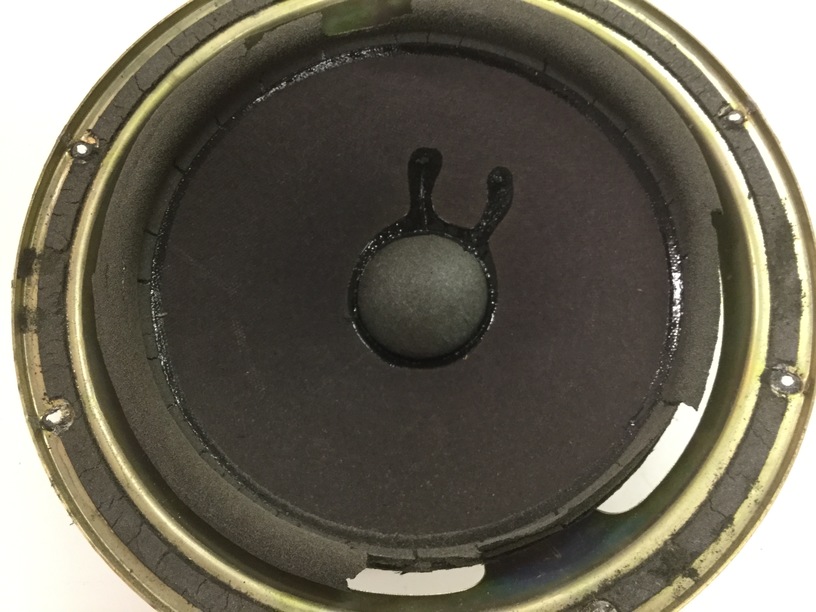
I set to work, removing the woofers from the cabinet of unit 113.
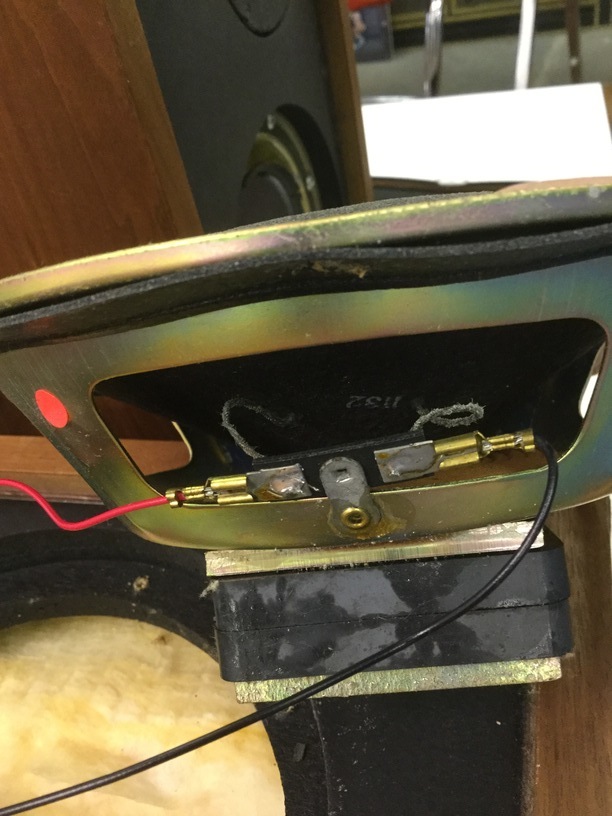
Note the use of a red dot to mark the positive terminal.
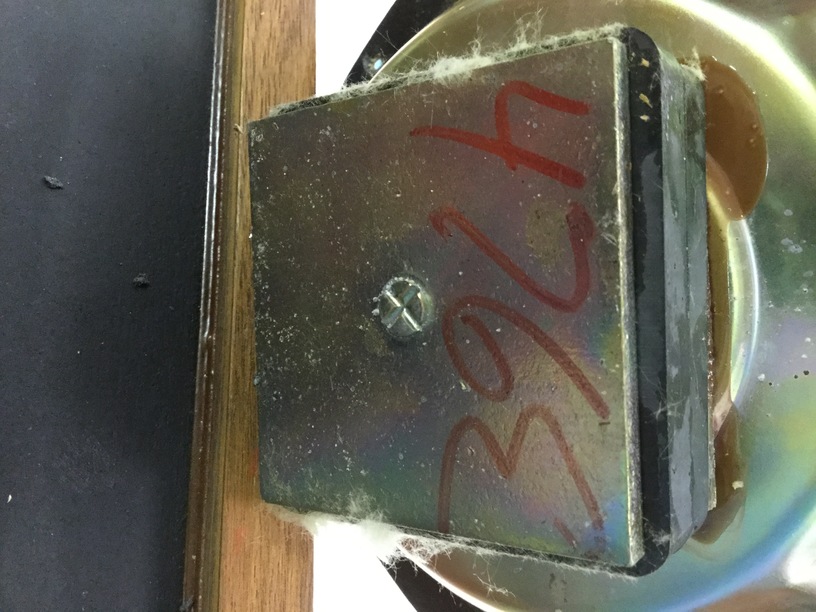
On the back of the woofer was written in red marker or paint "476E". I don't know what this means.
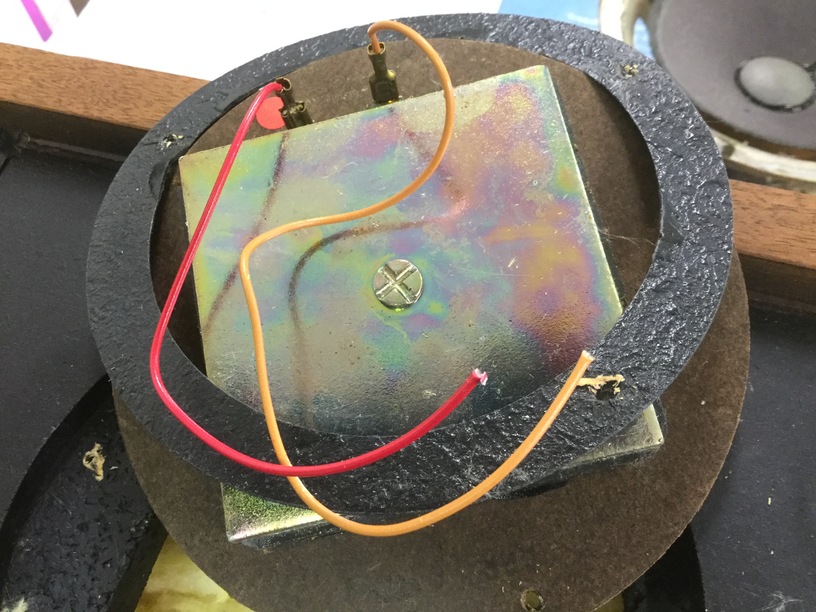
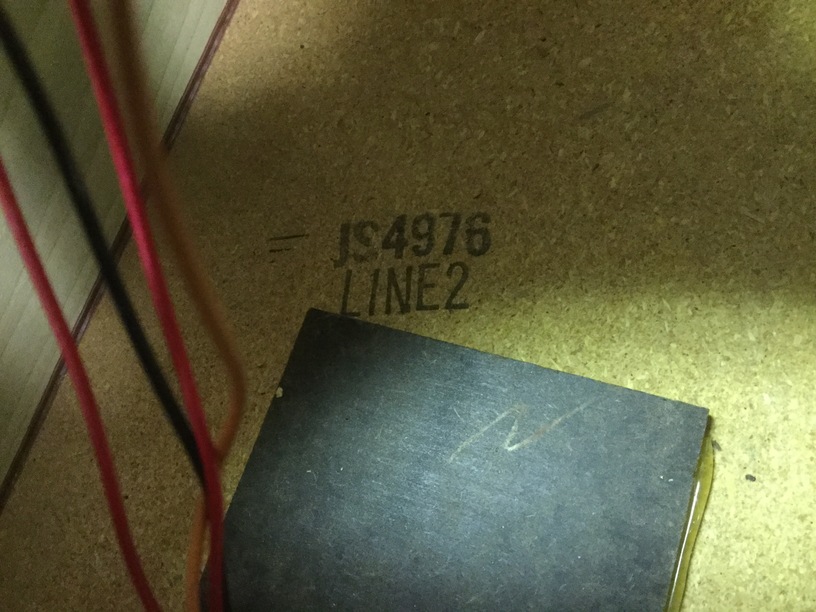
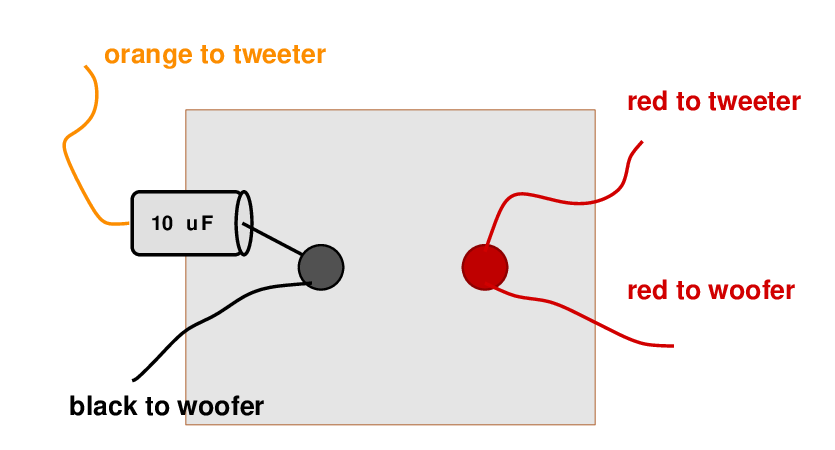
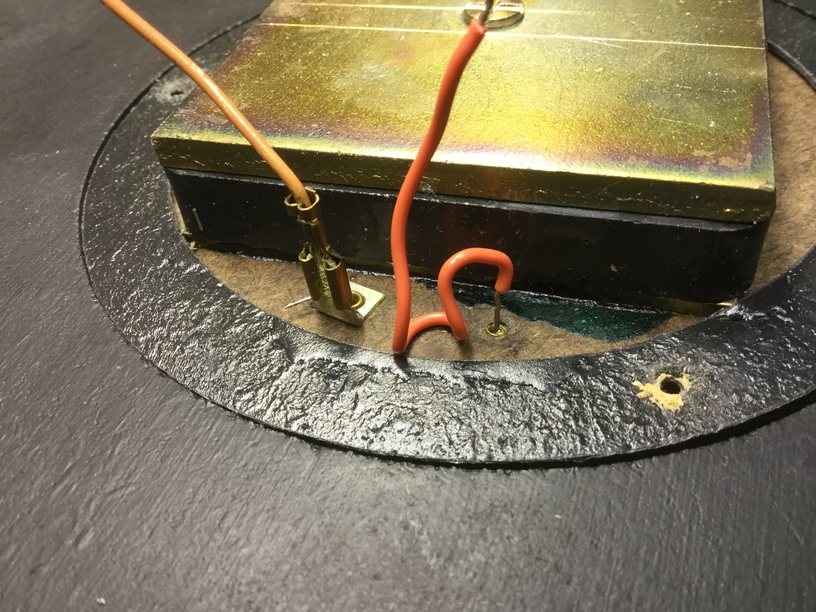
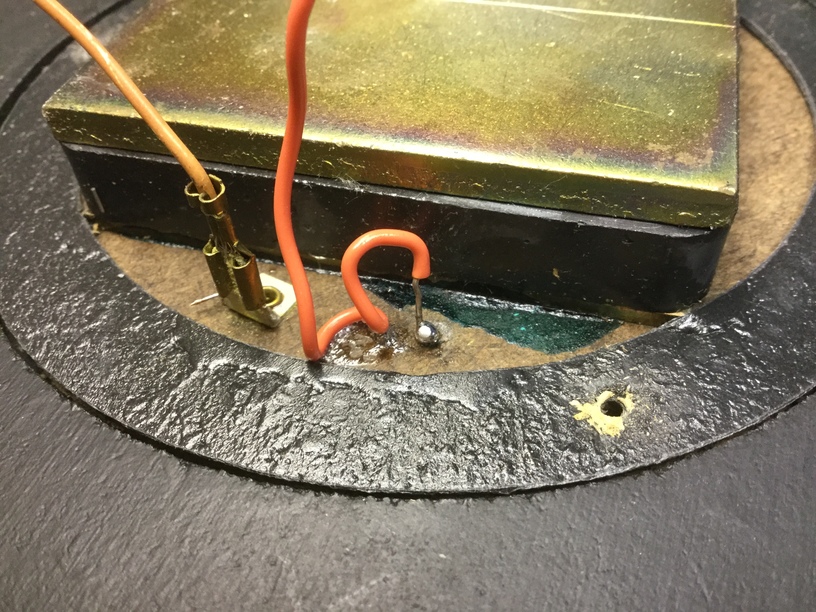
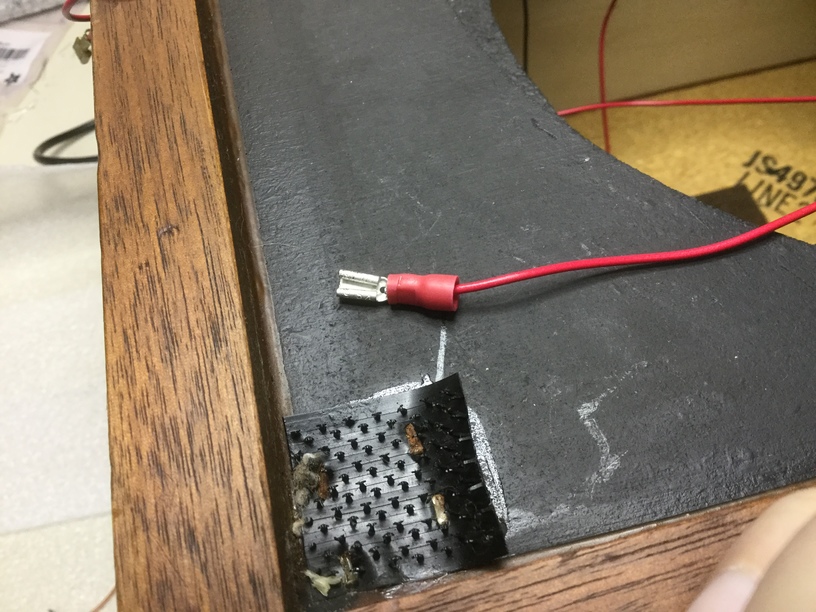
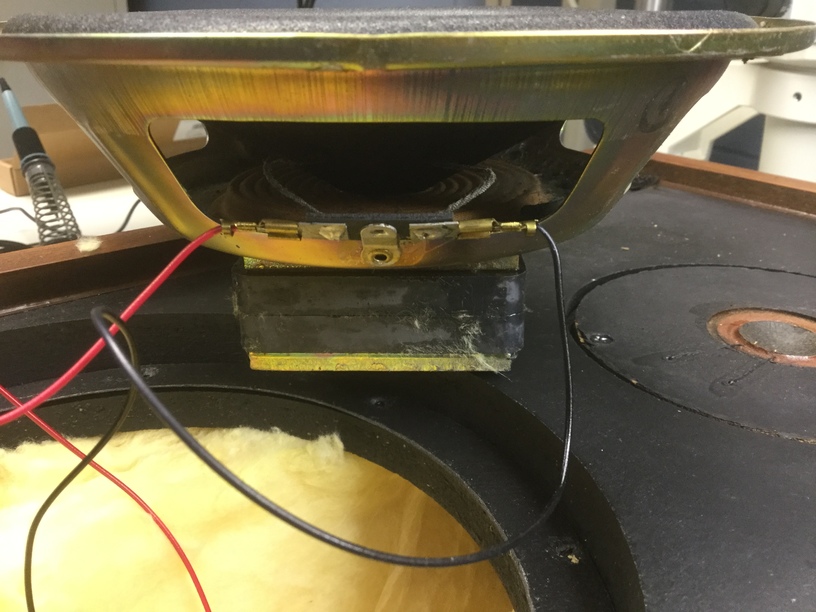
When I pulled the yellow batting out of the cabinet to reveal the crossover, I found that on interior back wall of the cabinet was printed JS4976 and LINE2. Glued to this back wall was the very simple crossover circuit: just a single 10 micro-farad capacitor. I would replace that later.
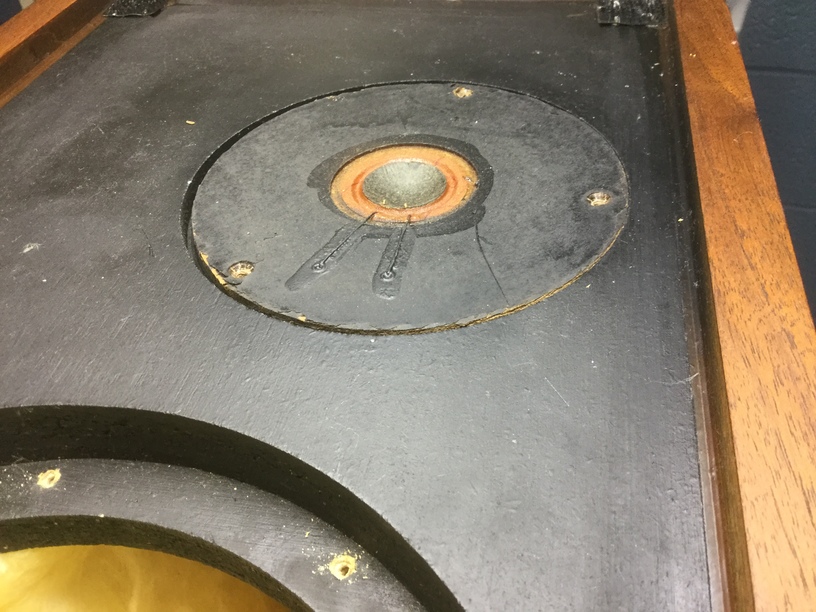
I then removed the tweeter from unit 113 ...
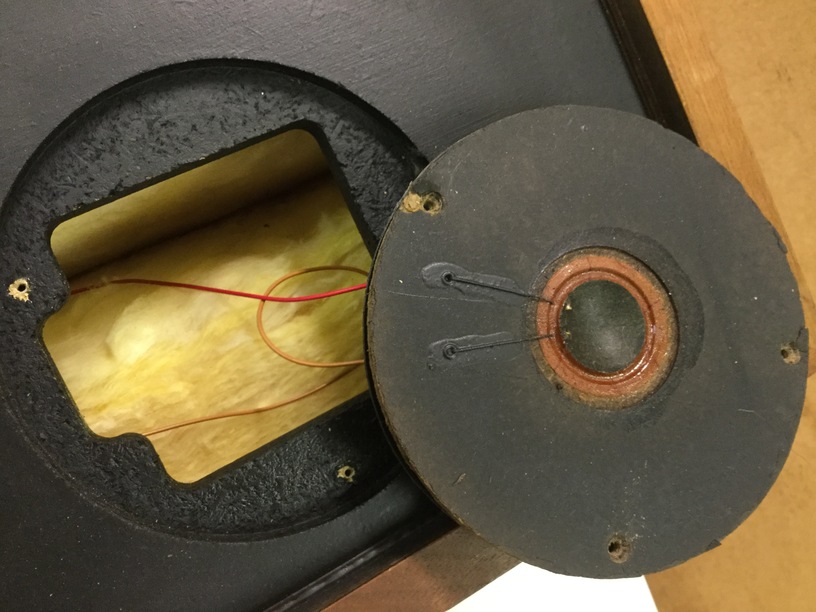
... but this is where disaster struck. The red lead was fixed to the terminal post so firmly that when I pulled it, it brought the terminal post with it. Ooops.
Putting the tweeter aside for the moment, I went back to work on the woofer. Step 1 was to remove the remnants of the old surround from the outer edge of the cone.
Step 2 was to scrape off as much of the old surround from the rim of the metal basket.
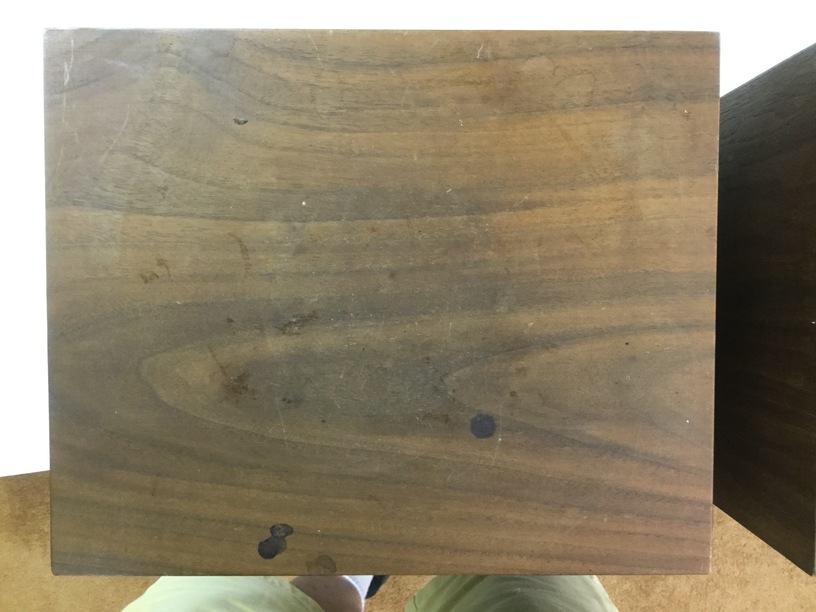
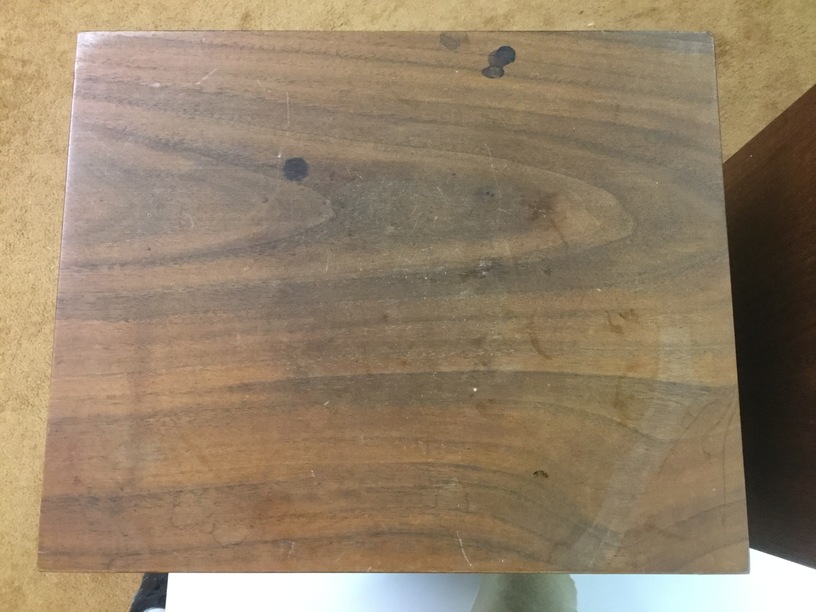
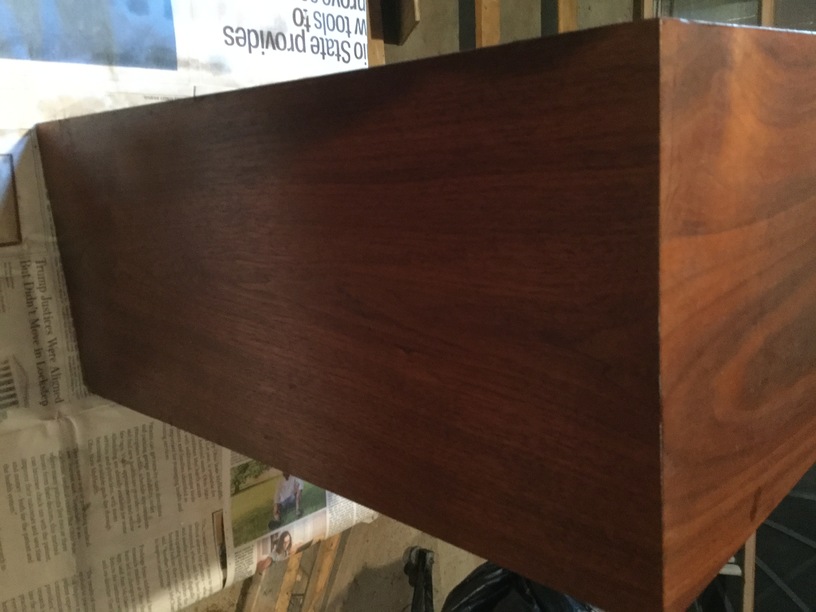
The goal today was to practice restoring the finish of the cabinets. I chose to work on the top surface of unit 114, which originally looked like this:
I did the following:
The result was an improvement.
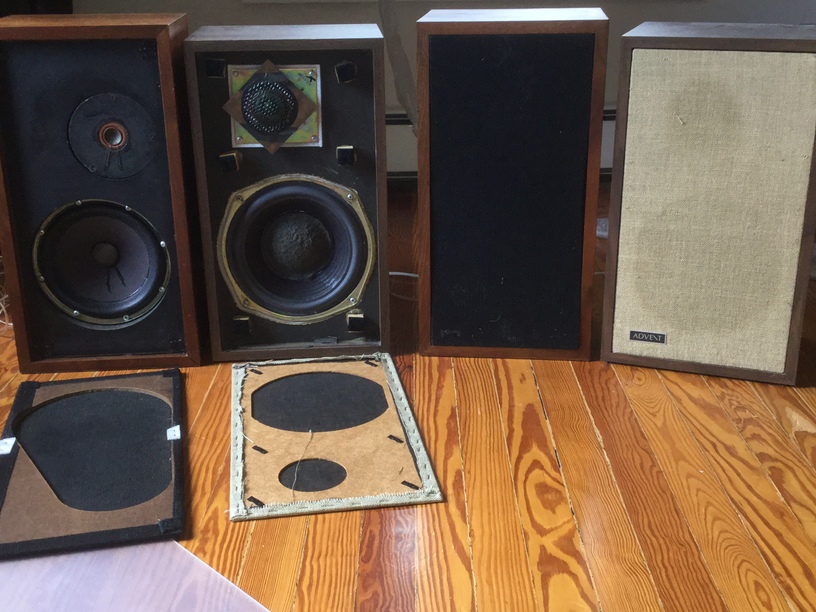
The plan for today was to complete the breakdown of both speakers: remove the woofers and tweeters, and inspect the crossovers.
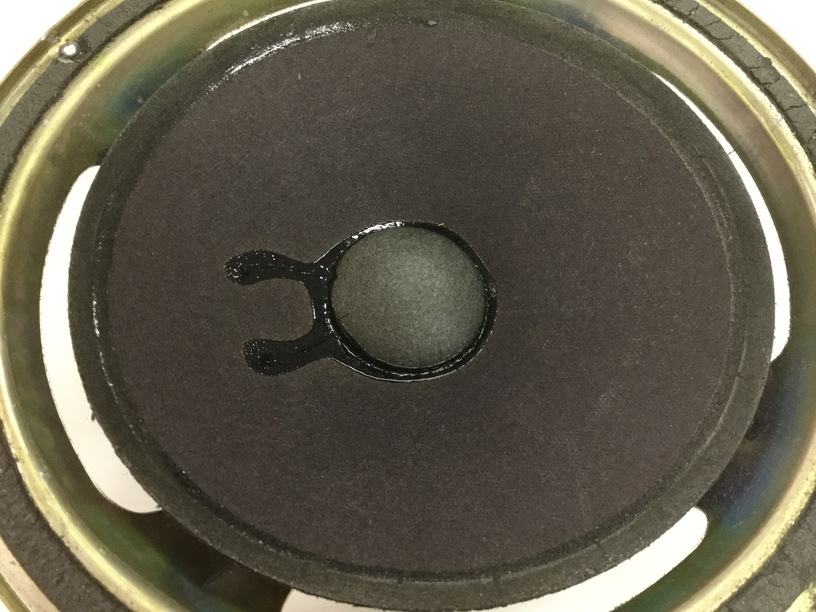
I began with unit 114. Removing its woofer revealed a different label on the back: 11/6/6P. But it, too, had a red dot to mark the positive terminal.
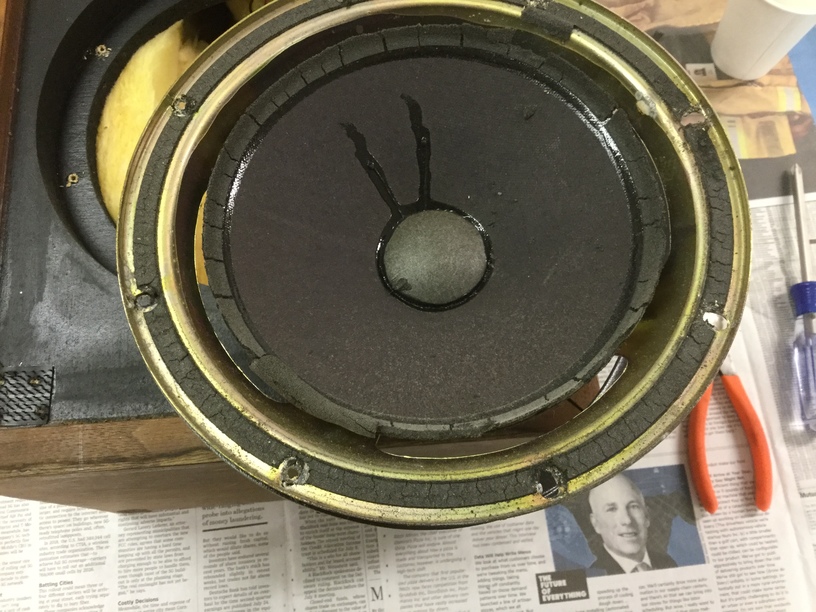
I removed the old surround material from the cone and the basket.
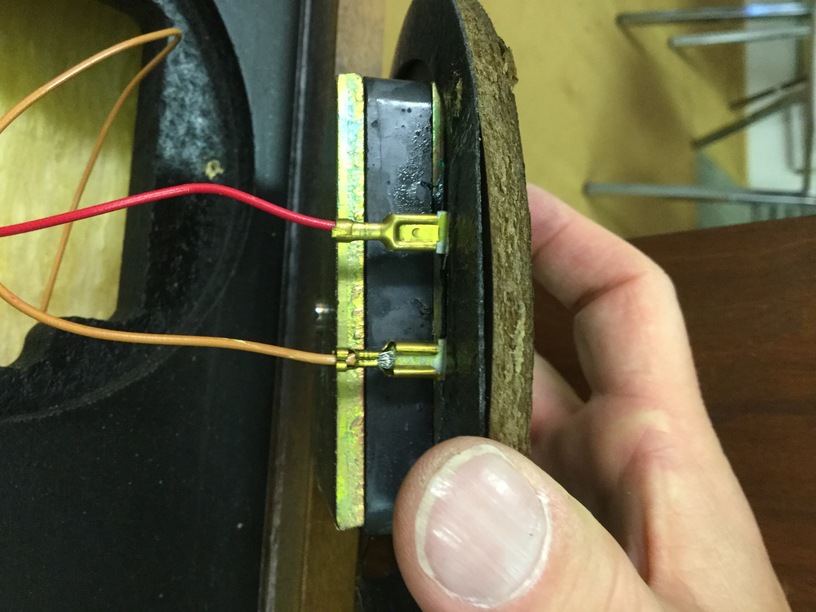
Next, the tweeter. I decided that the safest approach to the problem of fragile connectors was simply to snip the lead wires, and solder them back together later.
With the drivers removed, it was easy to pull out the yellow batting material.
This empty cabinet showed the same label as its mate:
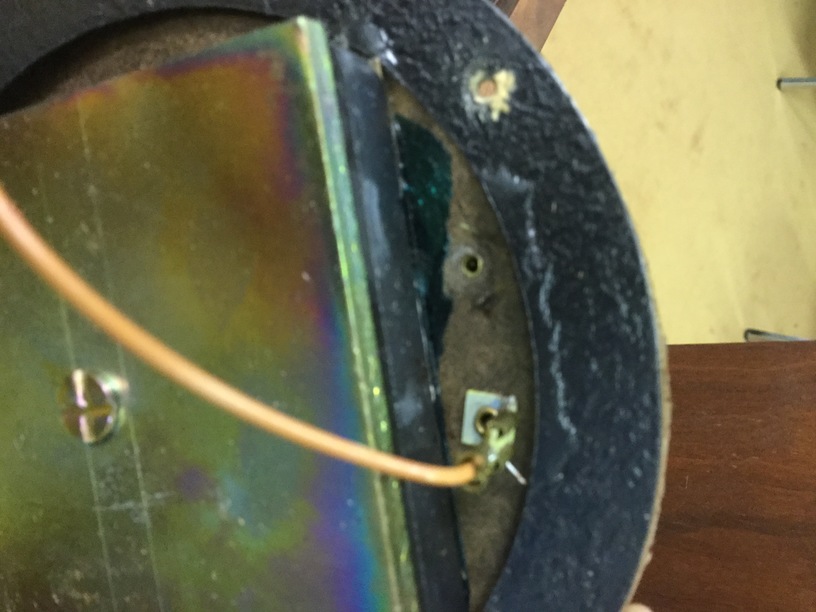
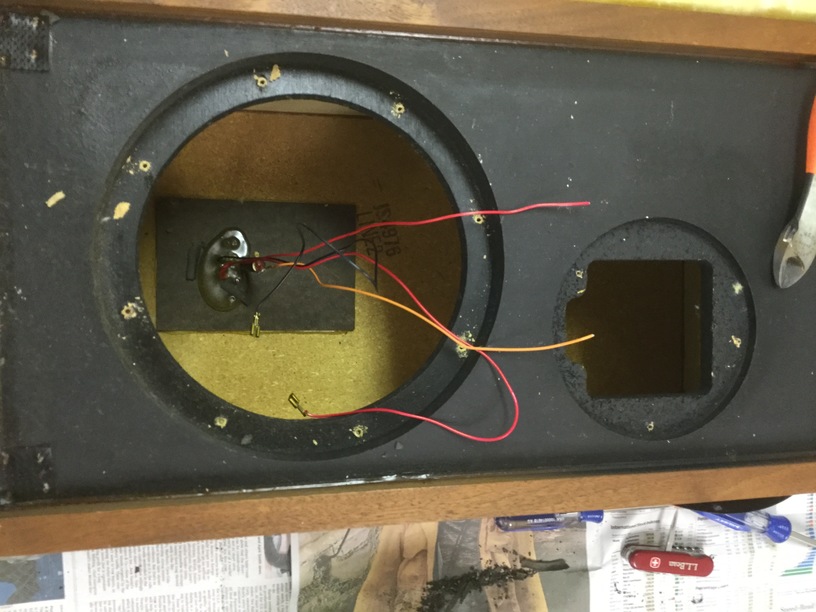
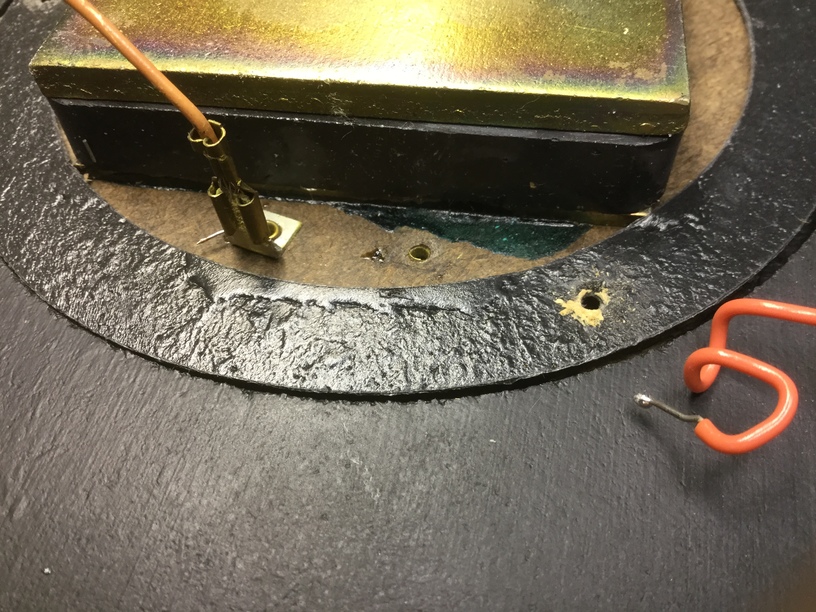
I tried scraping away the glue which held the rectangular board-with-connectors to the back of the cabinet, but it just wouldn't loosen. I would have to do all the crossover repair inside the cabinet.
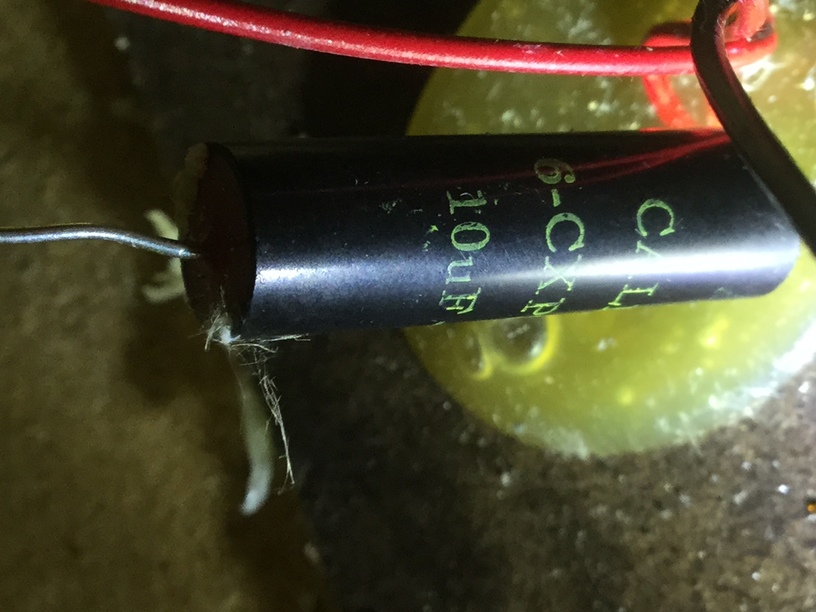
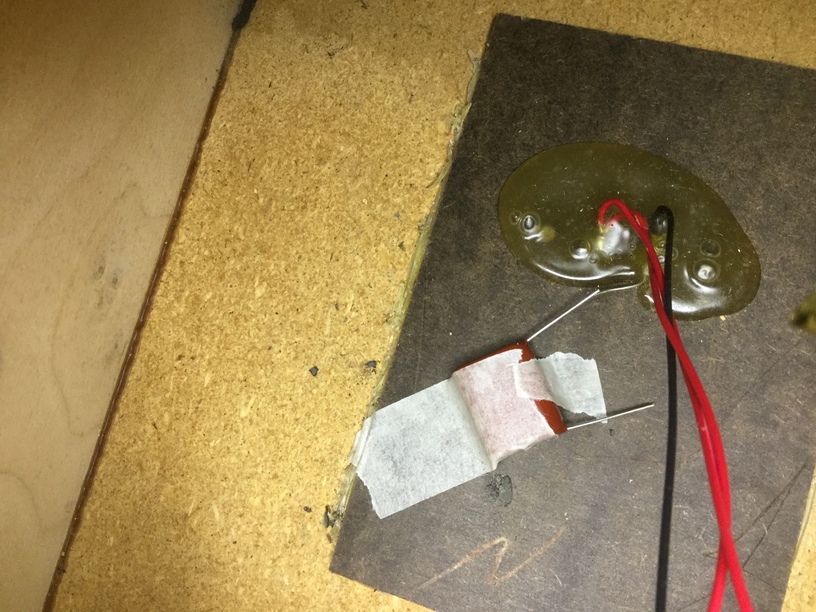
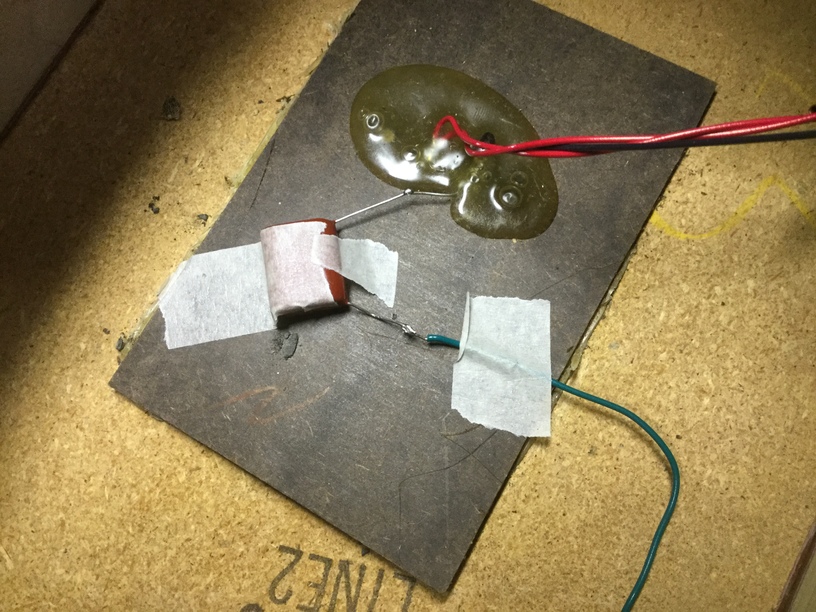
The crossover had a single component: a small cylindrical capacitor labelled
   CALLINS
   CXPSD10
   10 uF 50V
The crossover circuit looked like this:
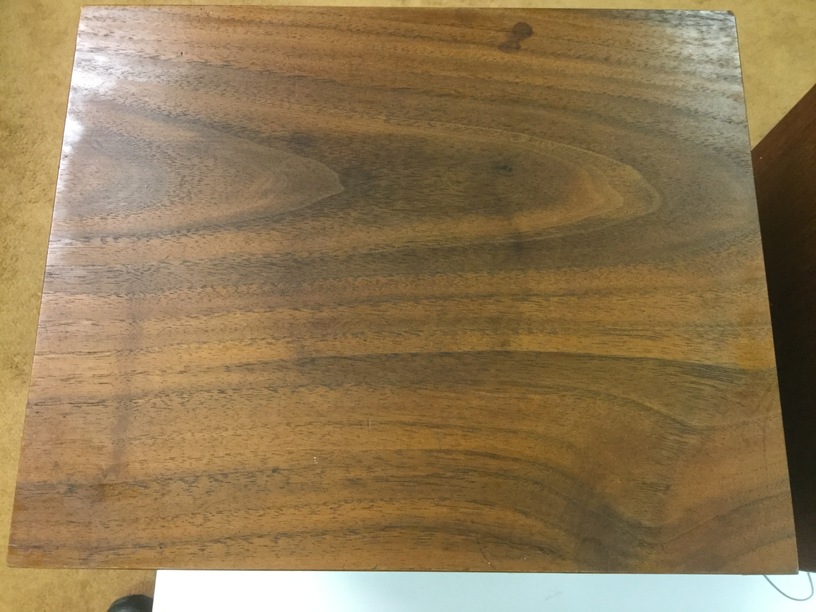
I took unit 114 out to the garage and applied one coat of the Restor-A-Finish to its sides and front.
Before:

After:
I applied a second coat of Restor-A-Finish to unit 114, and a first coat to unit 113. I also removed both woofer and tweeter from unit 113, and pulled out the batting. The crossover circuit was the same inside.
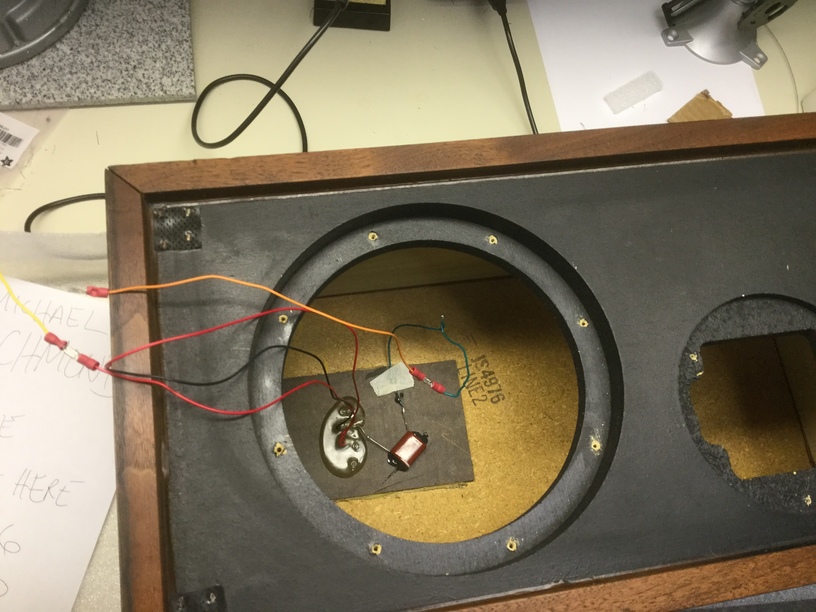
I brought the speakers into one of the Physics labs in order to work on the electrical items.
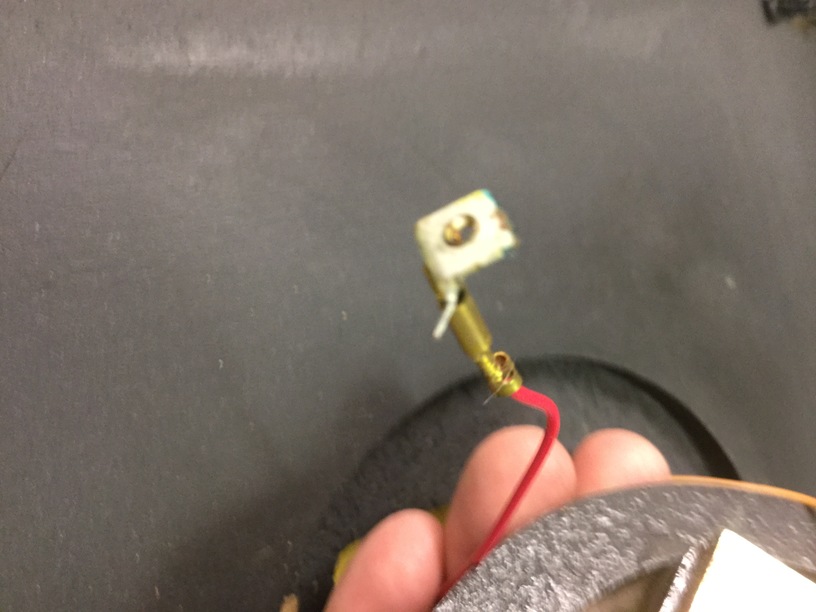
I verified that both woofers and the intact tweeter from 114 would produce sound when driven with a function generator. Good. But the tweeter from 113, with its broken connector, would not. I practiced soldering some small wires as practice for the eventual repair. The idea was to solder the orange lead wire to a small lead wire inside the small circular hole on the underside of the tweeter:
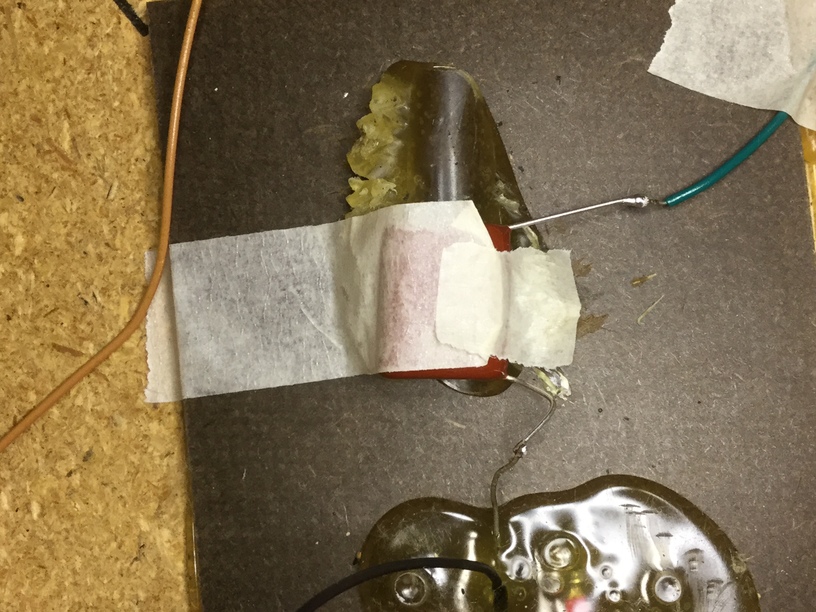
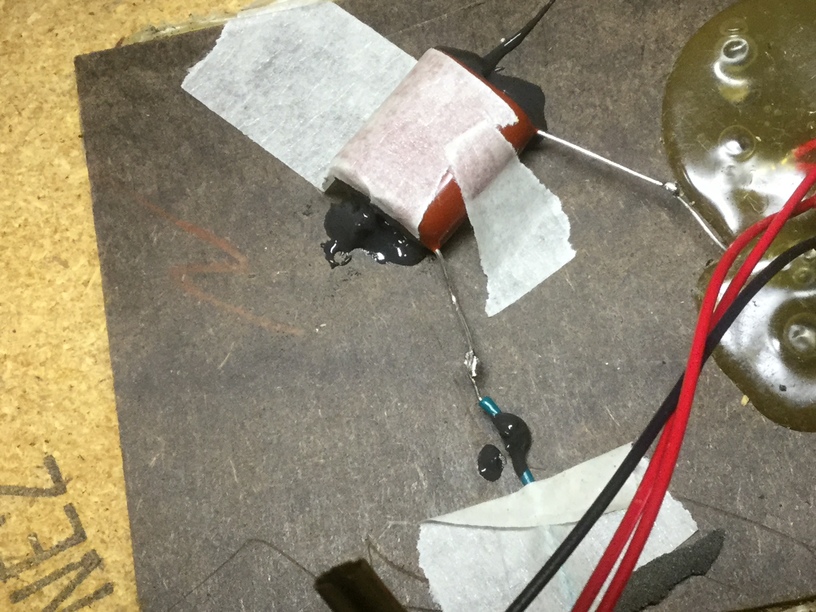
Meanwhile, I started work on the crossover. I removed the old capacitor, and inserted a new 10 micro-farad unit in its place. The tape is a temporary measure -- I'll replace it with epoxy later.
I did the same to unit 113, putting a new capacitor in place of the old one.
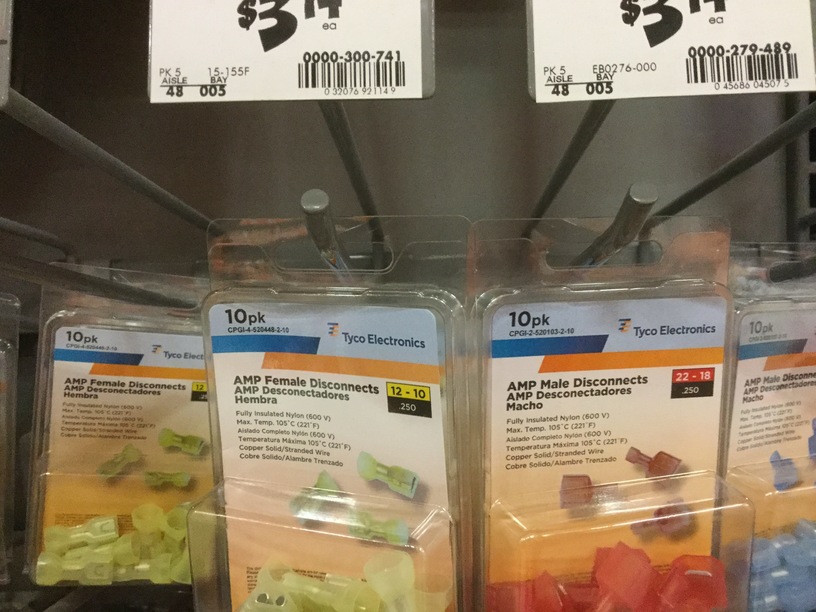
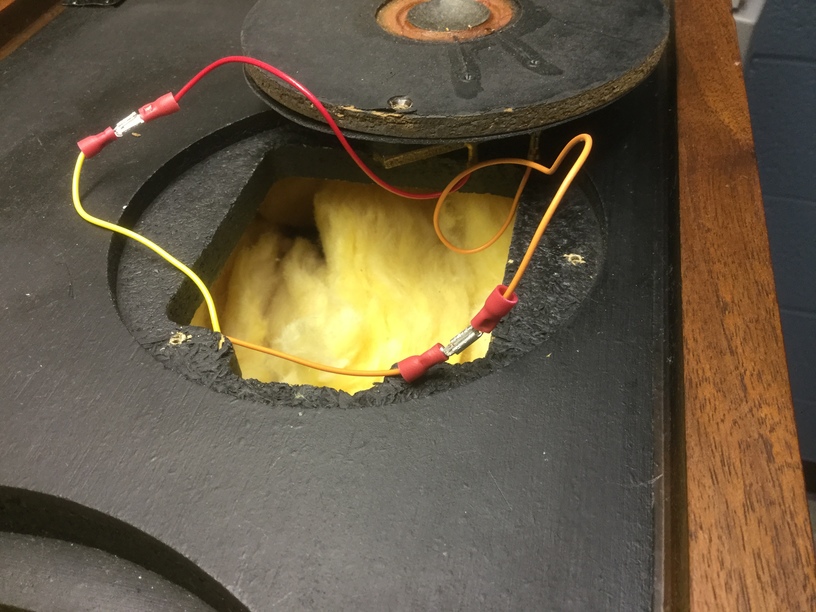
I had to solder together several short pieces of wire to make leads long enough to reach the tweeters, alas. In order to make future repairs easy, I purchased some disconnects for these "splices", rather than soldering them together permanently.

I then fixed the new capacitors in place with epoxy (the old epoxy is clear, the new epoxy is black).
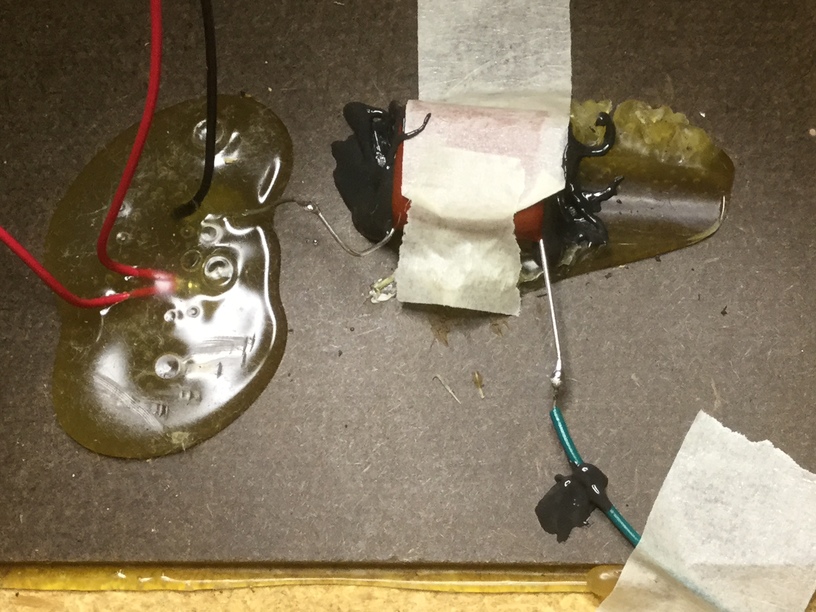
One of the most time-consuming stages of this repair was placing the disconnects on all the little pieces of wire, then verifying that each one made good electrical connection. Eventually, all the connections were finished.
At this point, I checked the resistance of each isolated driver:
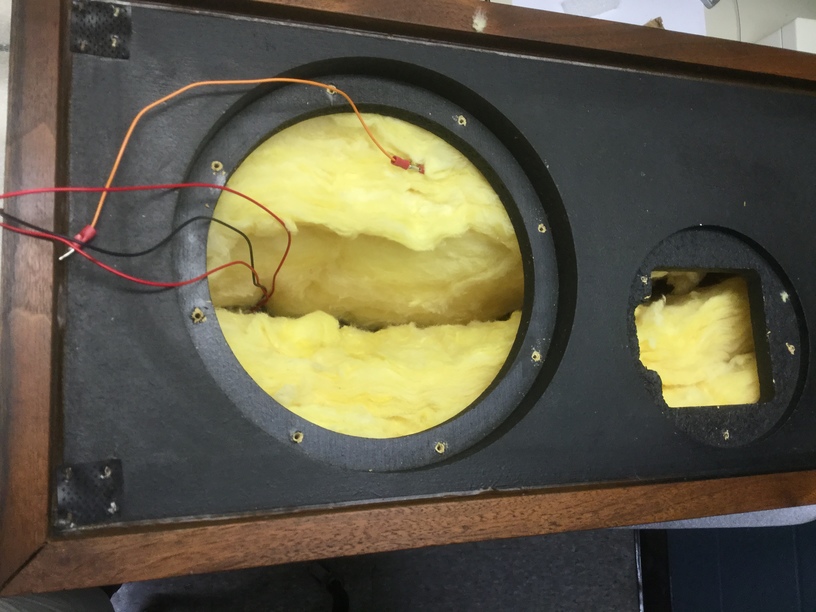
It was then time to replace the yellow batting into each cabinet.
I carefully connected the wires to each tweeter, and then lowered the tweeter into place.
And likewise for the woofers.
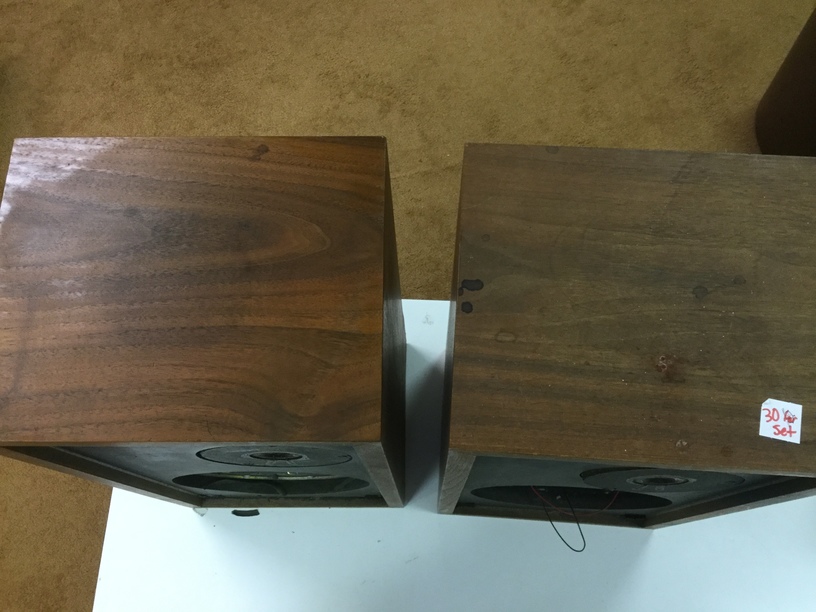
I brought the finished speakers home. They look pretty good ...
Here's a comparison with my Smaller Advents (which I refoamed some time ago).