 Copyright © Michael Richmond.
This work is licensed under a Creative Commons License.
Copyright © Michael Richmond.
This work is licensed under a Creative Commons License.
There are several common designs for optical telescopes.
Light passes through a lens at the front of the telescope tube and comes to a focus near the back of the tube. The design doesn't work well for large telescopes for two reasons:
Light never passes through a lens -- it only bounces off the surfaces of mirrors. This reduces the amount of light lost as it makes its way through the optical system. Moreover, the mirrors can be supported around their edges and along their back surfaces.
On the other hand, the secondary mirror blocks some of the incoming light, and slightly blurs the light which does reach the focus.
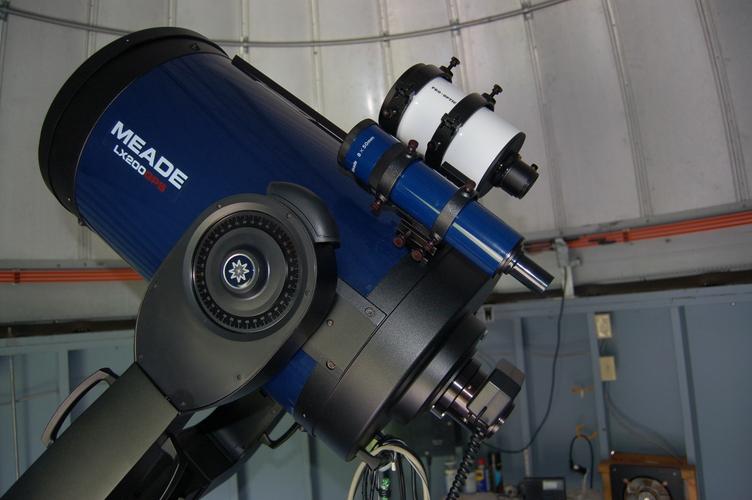
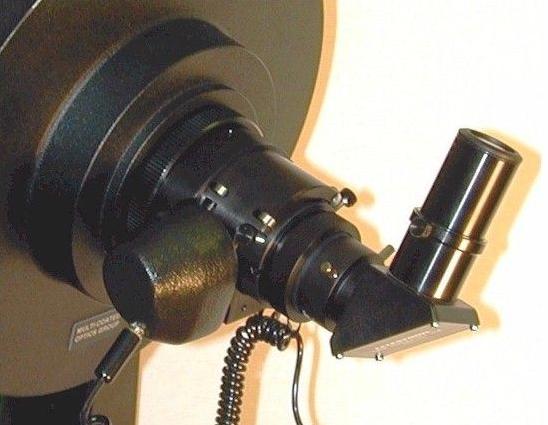
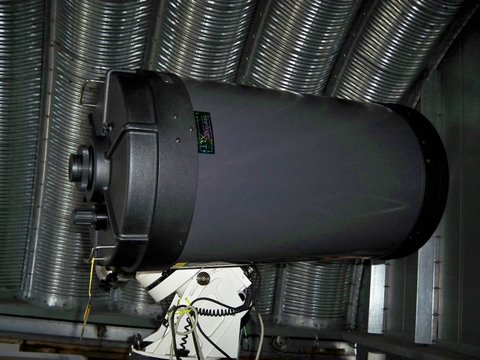
Yes, yes, the photograph shows a Maksutov instead of a true Schmidt-Cassegrain. The two designs both fit the desciption given, which is almost always called "Schmidt-Cassegrain". If you knew that "catadioptric" would be a more technically correct term, good for you.
This seems to combine the worst of both worlds: light must pass through a lens, and a secondary mirror blocks part of the aperture. However, since this combination of elements can yield a relatively long focal length with a wide field of view in a compact package, it is often adopted for practical reasons.
The Meade Instruments Corporation makes many different types of telescopes. The RIT Observatory owns a 12-inch Meade LX200.
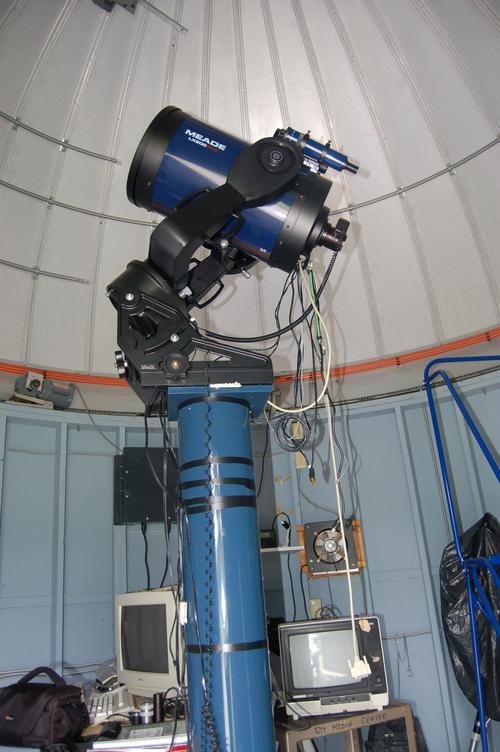
The components of the system are
The OTA is a 12-inch f/10; that means the clear aperture is 12 inches in diameter, and the focal ratio
                       focal length
        focal ratio =  ------------   =  10
                         aperture
Exercise: What is the focal length of the telescope?
We can attach a focal reducer to the back of the telescope, which reduces the focal ratio to f/6.3; it provides a wider field of view, which makes finding objects much easier.
Exercise: What is the focal length of the telescope with the f/6.3 focal reducer in place?
The effective focal length of an optical system is a very important number: it determines the plate scale of any instrument attached to it. "Plate scale" is simply the physical distance on the focal plane between two objects which subtend a given angle (usually one arcsecond) on the sky.
Imagine that the telescope and all associated optics to be a black box which focuses light and forms an image:
If we zoom in on the right-hand side of this diagram, we can draw this diagram:
The physical distance D between two celestial objects separated by an angle theta is
D = L * tan(theta)
If one measures angles in radians, and considers two objects
which are close together on the sky (theta << 1),
then
D = L * theta
Exercises:
- What is the plate scale of the RIT 12-inch telescope without a focal reducer? Express your answer in units of arcseconds per millimeter.
- One of our CCD cameras has square pixels which are 9 micrometers (9 microns) on a side.
- What is the smallest angle which can be resolved on pictures taken with this camera, using our 12-inch telescope at f/10?
- The planet Saturn is a nice target this spring. Right now, the rings are about 45 arcseconds in diameter. How many pixels will Saturn's ring span?
- The CCD chip of this camera is 1536 rows high by 1024 columns wide.
- What is the field of view when it is mounted on our 12-inch telescope at f/10?
- Roughly what fraction of the full lunar disk will fit onto a single picture?
The telescope is mounted on an equatorial mount: moving a single gear causes the telescope to track the motion of celestial objects as the Earth rotates. Some telescopes are placed on alt-az mounts, which are simpler to build, but less convenient to use: one must slew around two axes to follow objects in the sky, and the field of view will slowly rotate with respect to the stars.
I have aligned the RIT telescope's mount so that it can track objects for long periods without losing them from the field of view. However, the gears which drive the RA motion have an unfortunate amount of slop; the telescope's precise position oscillates a little bit over a period of several minutes. The wobbles are large enough to give stars short trails in any exposure longer than about 20 seconds.
One can control the telescope manually, using a "hand paddle" with keys to slew it North, South, East or West. One can also connect the telescope to a computer running any one of several planetarium programs, and use the program to move the telescope. A computer in the dome has one such program installed.
In order to use the telescope, one should follow these steps:
At this point, one should be able to give the coordinates (or catalog number) of a desired target, command the telescope to slew, and expect to find the target in the field of view.
One can focus the telescope by rotating the LOWER of the two silver cylindrical knobs on the back of the tube:
The shorter, upper knob locks the mirror in place for shipping.
Turning this lower knob moves the primary mirror forward and backward in its cell, which is a stupid way to focus, for two reasons: first, the separation between the primary and secondary mirrors should be fixed at an optimum distance to yield the best images. Second, moving the primary mirror can tilt it slightly, which can cause objects to move sideways in the field of view, sometimes even leaving the field. If one switchs from the CCD camera to the eyepiece, one must turn the knob between 2 and 3 full rotations. When one is trying to focus precisely on the CCD camera, one should rotate the knob by just 5 so degrees at a time. It's annoying when focusing that one can't return exactly to a particular position -- one must simply turn the knob by an estimated amount.
To avoid these problems, we use an electric focuser on the back of the 12-inch telescope.
The telescope's handpaddle can control the focus position: pressing the "Up" = "North" arrow moves the focuser one way, and the "Down" = "South" arrow the other way.
At the end of the night, one should shut the telescope down in the following order.
Remove the CCD camera, if mounted
The 14-inch telescope is made by Celestron and has a focal ratio of f/10.

It sits on a German equatorial mount made by the Astro-Physics Corporation.

Watch out for the counterweights on the long bar as the telescope slews!
Exercise: How does the focal length of this telescope compare to the focal length of the 12-inch telescope (without any focal reducers)?
One can control the telescope via a handpaddle, though the look and feel of this one are quite different than the handpaddle on the 12-inch. In theory, one can also connect a computer to the mount and use a planetarium program like Sky Map Pro to drive it around the sky.
In order to use the 14-inch telescope, one should follow these steps:
And now you should be able to select a star or galaxy in the paddle's database and slew directly to it.
One tricky thing about German equatorial mounts is that they divide the sky into two halves: east of the meridian, and west of the meridian. As a mount is tracking an object, if the object drifts from the eastern to western side of the meridian, the telescope will suddenly make a big slew to rotate around from one side of the pier to the other. This will also happen whenever you choose a new target on the other side of the sky. Note that the "North" and "South" buttons on the handpaddle will switch roles when you go from one side of the sky to the other, too; and, if you are taking pictures with a camera, the orientation of the pictures on the computer monitor will also rotate by 180 degrees. This can be very confusing late at night!
Exercises:
- Once again consider our CCD camera which has square pixels which are 9 micrometers (9 microns) on a side.
- What is the smallest angle which can be resolved on pictures taken with this camera, using our 14-inch telescope at f/10?
- The planet Saturn is a nice target this spring. Right now, the rings are about 45 arcseconds in diameter. How many pixels will Saturn's ring span?
- The CCD chip of this camera is 1536 rows high by 1024 columns wide. What is the field of view of the camera when mounted on the 14-inch?
- What is the ratio of area covered by the camera on the 14-inch to area covered by the camera on the 12-inch?
- Which telescope do you think is easier to point to some obscure, faint little target?
Copyright © Michael Richmond.
This work is licensed under a Creative Commons License.