 Copyright © Michael Richmond.
This work is licensed under a Creative Commons License.
Copyright © Michael Richmond.
This work is licensed under a Creative Commons License.
Once you have connected to iceberg, how can you work with astronomical images? The goal of today's session is to create a private copy of one of the images of astreroid 1107 Lictoria, display it, measure some of its properties, and then delete the private copy.
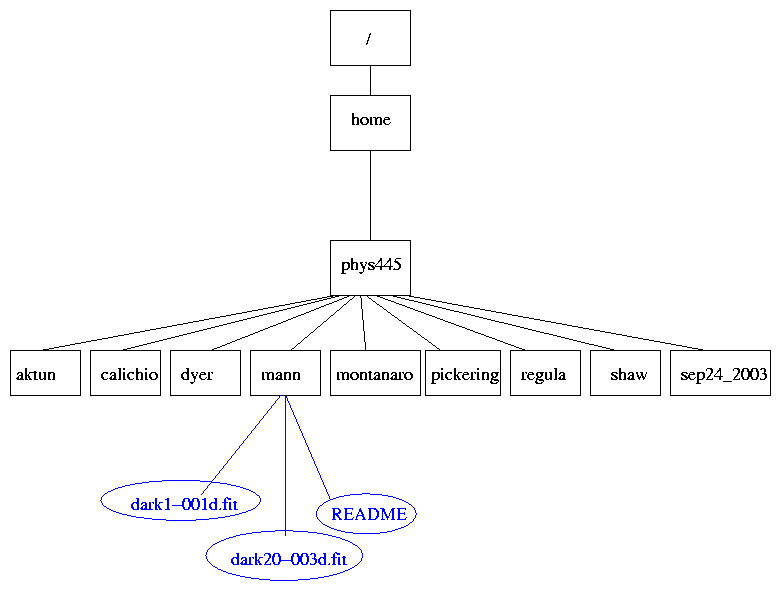
The iceberg computer runs an operating system called "Linux." It has a hierachical structure of directories. All students are logged in as the user called "ccd". Inside ccd's home directory, each student has a subdirectory of its own:
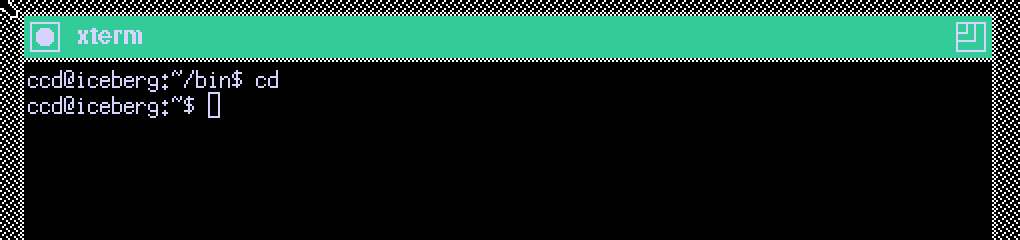
When you first connect via vnc and create the xterm window, you should move to the home directory of the "ccd" user. Just type
cd
The prompt should change to look like this:
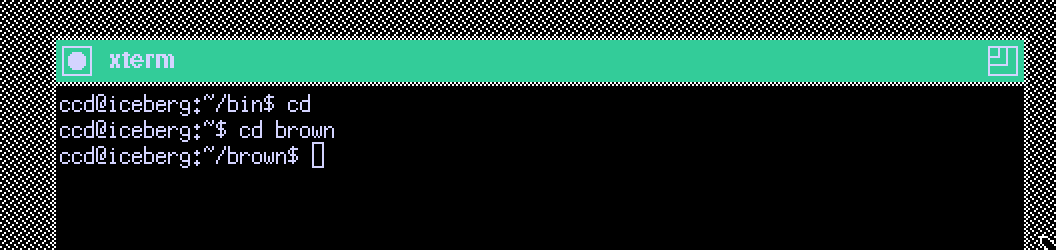
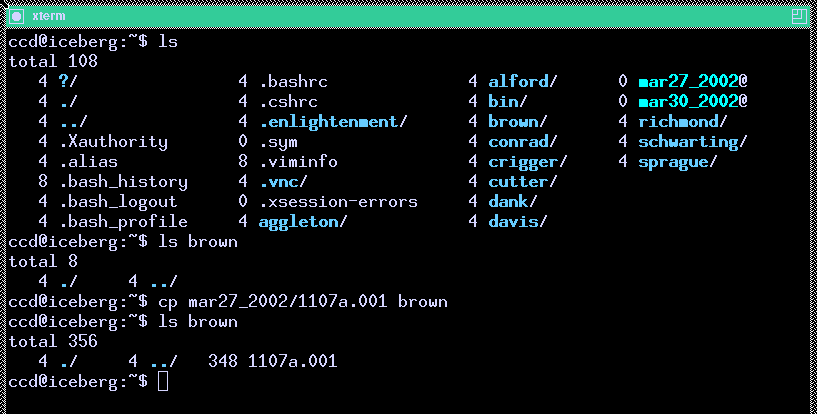
The last portion of the prompt is the name of the directory in which you are currently working. If you change to another directory, say, brown, by typing
cd brown
you'll see the prompt change:
In general, you will do all your own work inside the subdirectory with your own name. It is a very bad idea for you to play around with material in any other student's directory.
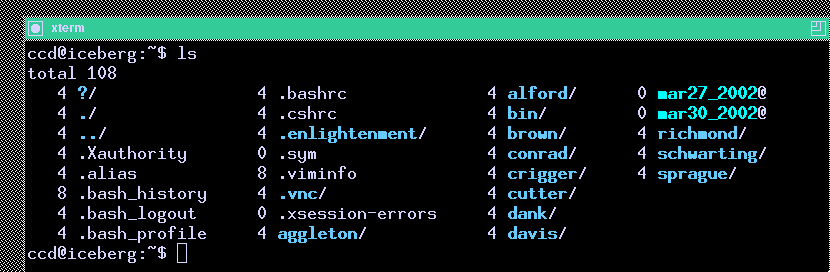
The command
ls
prints a list of files and sub-directories on the screen.
By default, it lists the contents of the current directory,
You can print out the contents of another directory(s) by typing its name as the argument(s) to the "ls" command:
ls mar27_2002
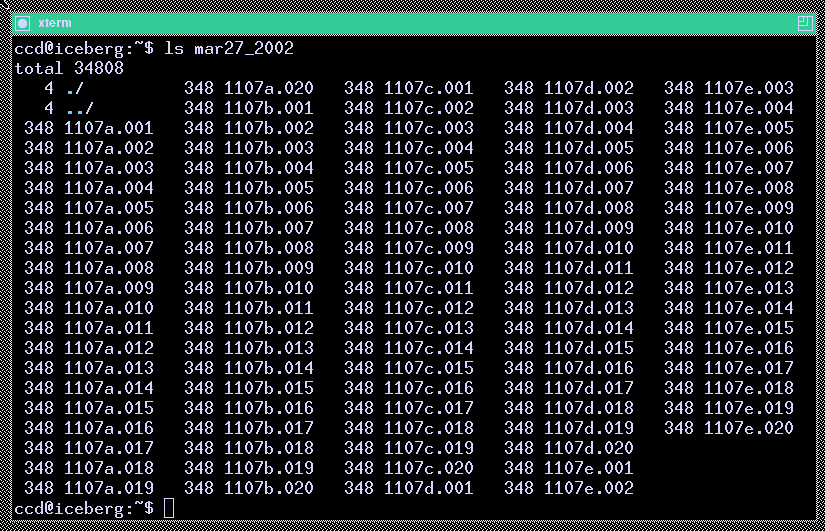
The data files we'll analyze are in sub-directories under ccd's home directory; each night's data is in a directory named after the date. For example, images take on March 27, 2002, are in a sub-directory called mar27_2002. These files are write-protected; you can read them, and copy them, but not delete them or modify them.
To copy a file from one directory to another, use the cp command. Here's how to copy one particular image to your own subdirectory:
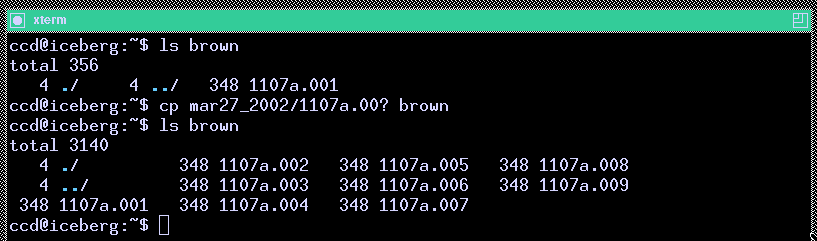
You can use wildcard characters to specify a bunch of files at once:
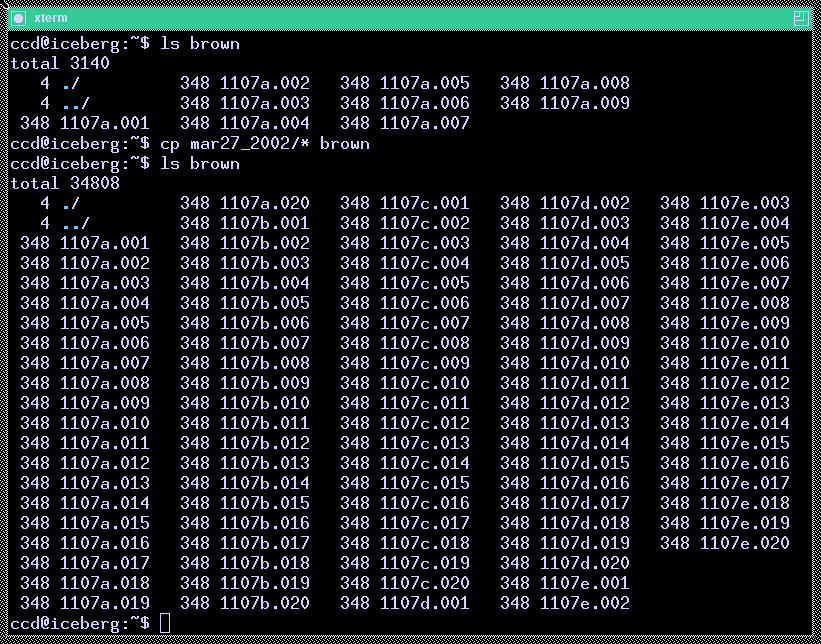
Or even more powerful wildcards to copy ALL the files in one directory into another:
The point is, if you make a copy of an image in your own directory, you can modify, edit, or delete the image. You can always go back to retrieve another copy of the original without worrying about errors you might have introduced via improper processing. I would like each student to do all of its work in its own sub-directory.
Okay, you have the copy in your own sub-directory. Now what? I have written a set of programs for processing astronomical images, called the XVista package. These programs aren't user-friendly, and lack a GUI. You'll have to type the commands by hand -- horrors! Of course, if you want to put together a script of your own commands, you can then run it repeatedly on images ... without having to sit in front of the computer and click mouse buttons.
There is some information available on-line for each XVista command via the man command. For example, for help on the tv command, just type
man tv
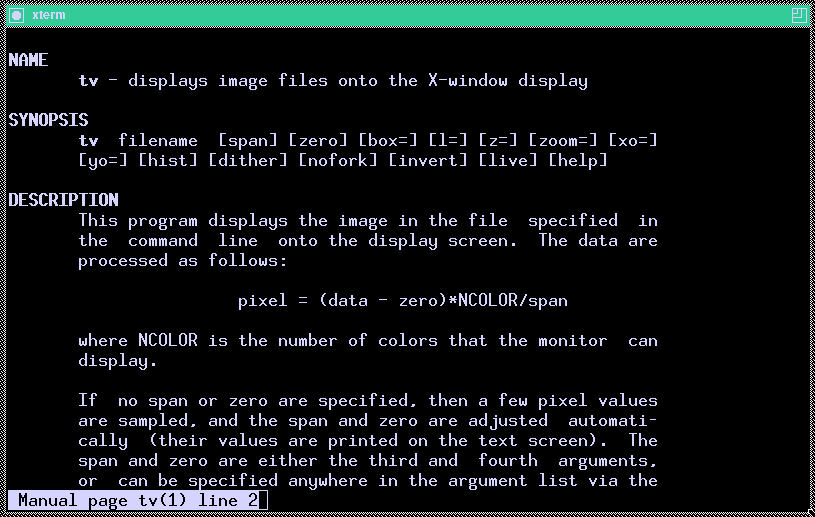
To see more of the man page, type the spacebar. To quit reading the man page, type the "q" key.
You can see a list of the XVista commands and a very brief description of each with
man intro
So, let's start with two XVista commands.
Astronomical images in the FITS format have two components: a header, containing human-readable information about the image, and a data section. You can print out the header of an image with the buffers command.
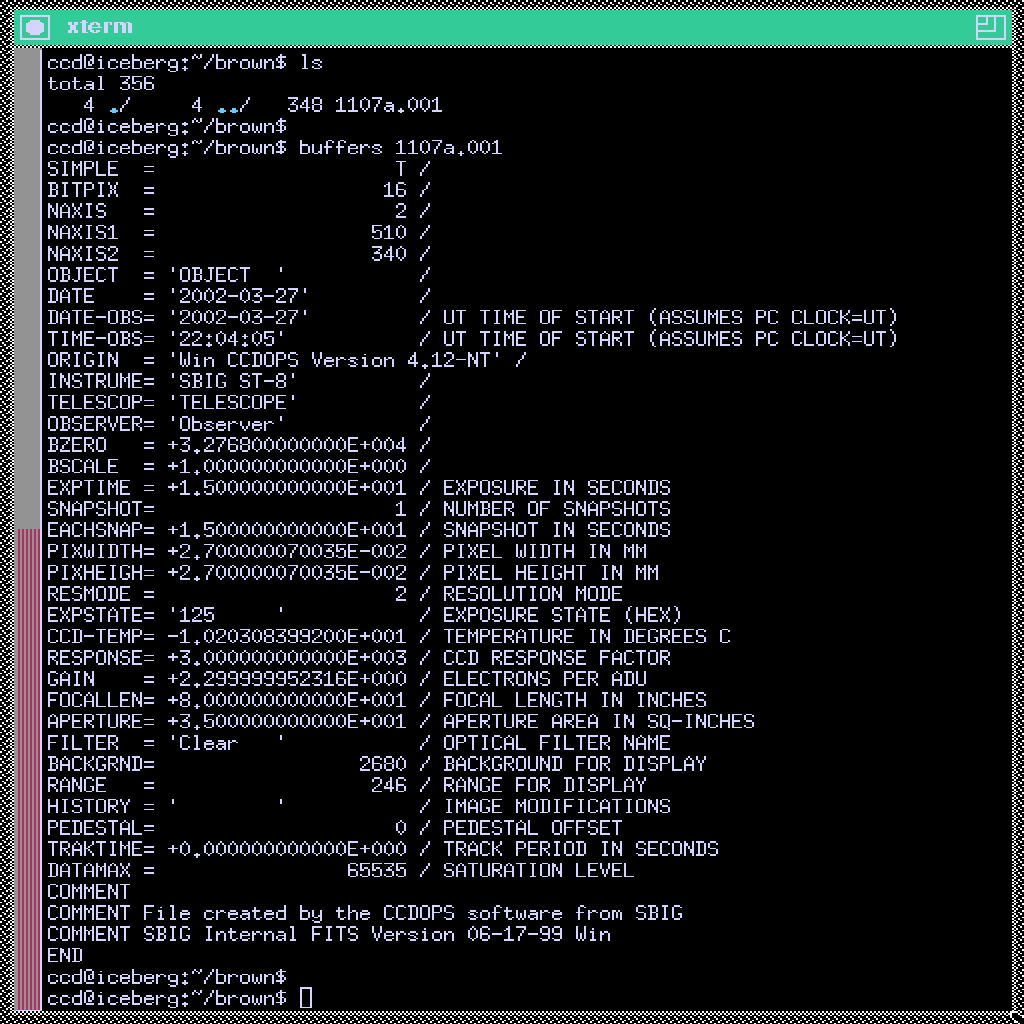
If information scrolls off the top of your xterm window, do the following to create a scrollbar:
You can use the scrollbar to review text which has scrolled off the top of the window.
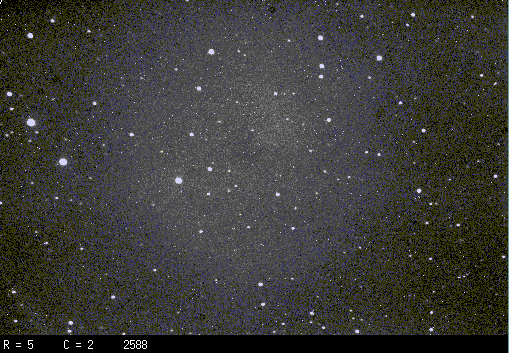
The tv command is a workhorse: it displays a FITS image in a new window, and also allows you to do look at individual pixel values, zoom in, zoom out, and make several types of measurement.
The simplest way to use it is like so:
tv 1107a.001
which should pop up a new window to display the image:

If you receive an error message like this:read_property: XGetWindowProperty returns wrong number of itemsthen you need to typepropinitand then try tv again.
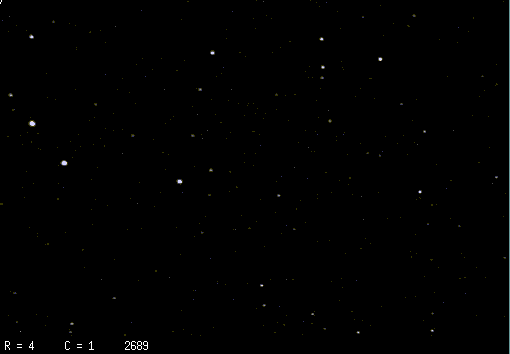
You can control the contrast and base level of the displayed image with command-line options to the tv command.
tv 1107a.001 z=2650 l=1000
where
tv 1107a.001 z=2650 l=500
Next, displayed via
tv 1107a.001 z=2650 l=5000
You can also use the invert option to switch from white-stars-on-black to the reverse:
tv 1107a.001 z=2650 l=500 invert
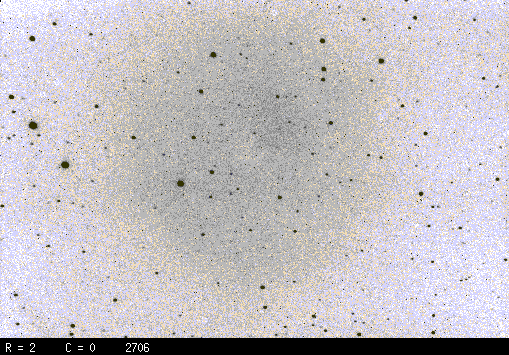
After you specify invert, all subsequent displays will show the same scheme (black on white) until you explicitly type invert again.
Exercises: Display an image, and find out what all the following things do. Write down the answers to each.What do the following command-line options to the tv command do?
- Moving the cursor within the image window.
- Clicking the left mouse button.
- Clicking the middle mouse button (you have to click both left+right on a two-button mouse), holding it, and moving the mouse
- Clicking the right mouse button
- Pressing the "z" key
- Pressing the "Z" key
- Pressing the "r" key
- Pressing the "a" key
- zoom=2
- xo=300
- yo=100