Click
small image for a larger more detailed image.
 |
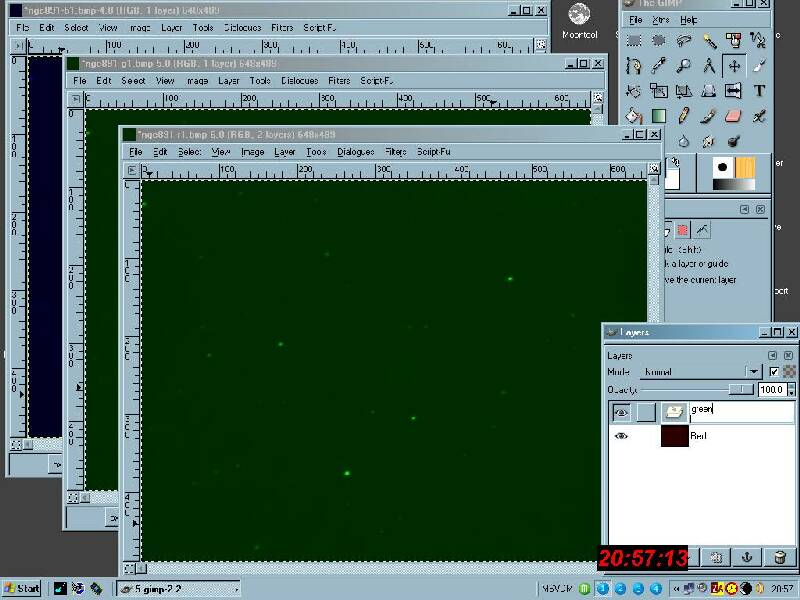
Building an RGB
image from 3
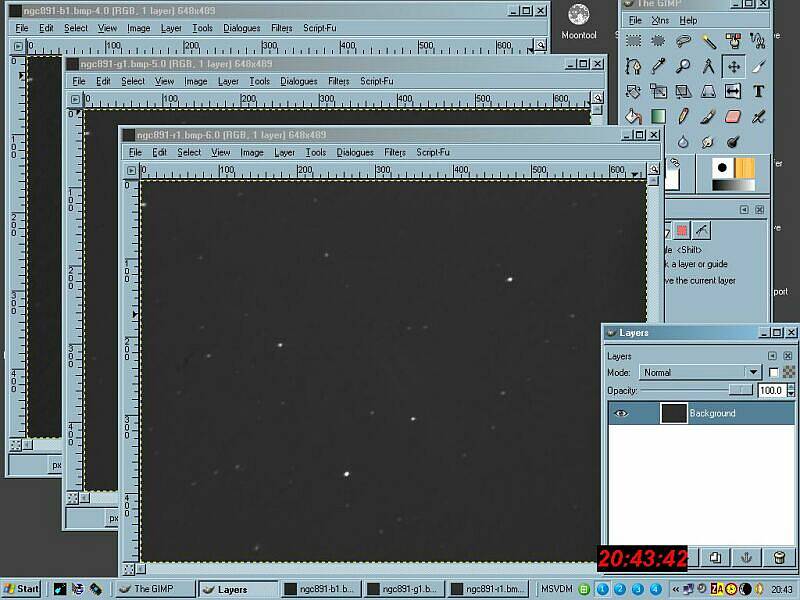
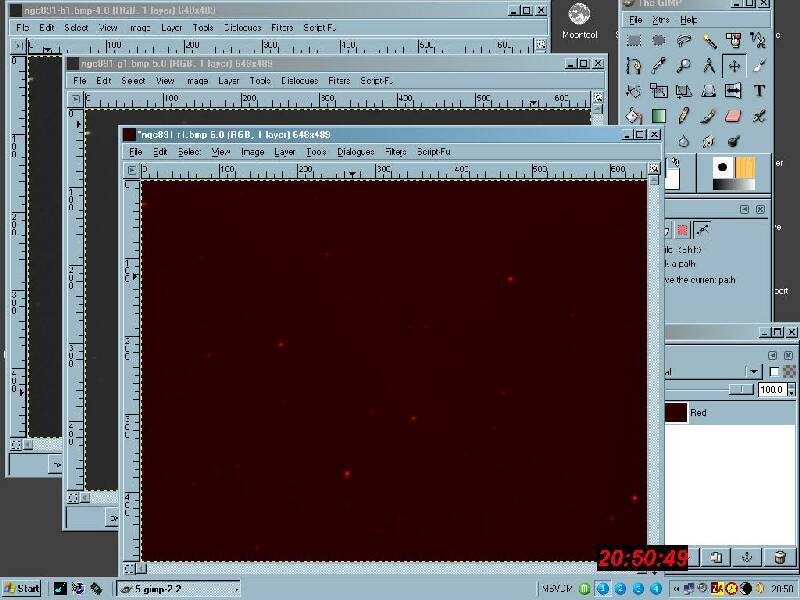
grey scale images is a bit more involved. Firstly load up your 3 images until you have them all on screen. Pross CTRL +L to bring up the Layer dialog box. Now highlight your red greyscale image. This is done because this is your base layer. Now go to your Layer dialog box and double click on the word Background and rename this to red or something else that you will easily recognise. |
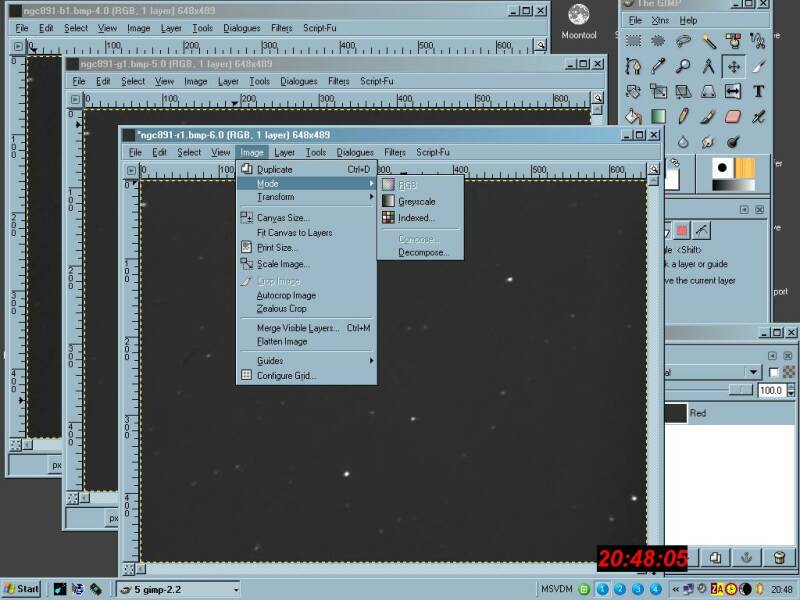 |
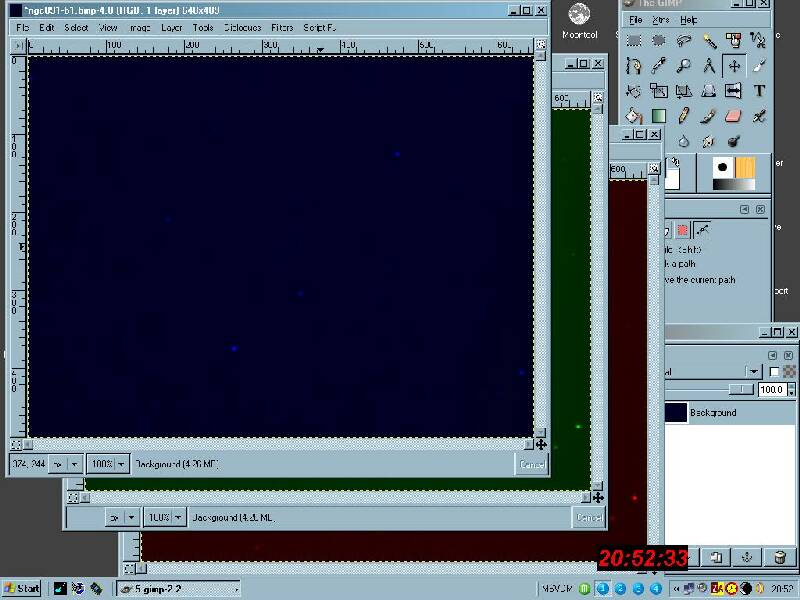
Now click Image/Mode/RGB to change from grey scale to RGB mode. |
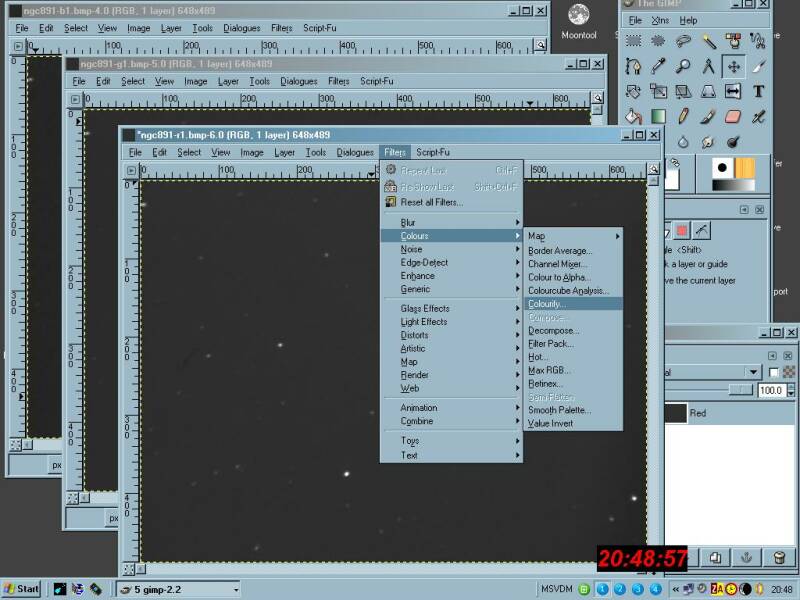 |
Now click Filters/Colour/Colourfy. |
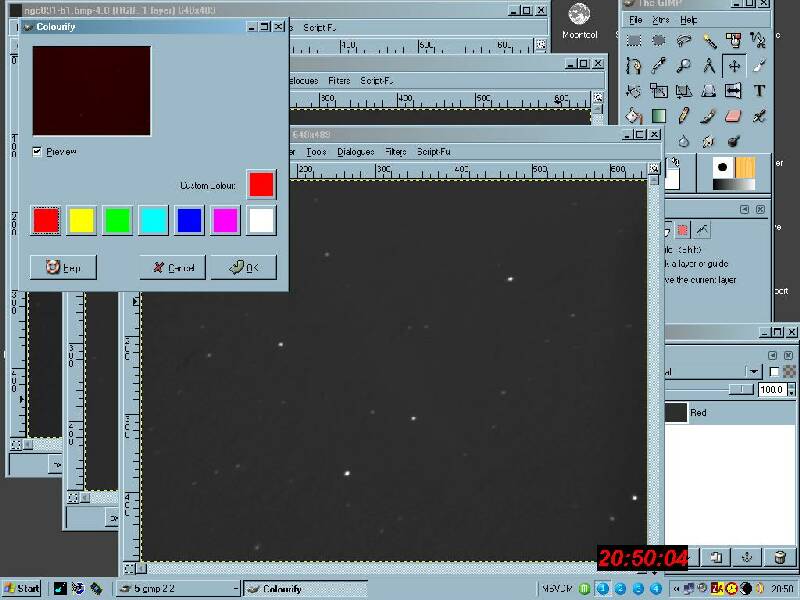 |
This will open another dialog box. Choose Red as this is the red layer and click OK. |
 |
Here you can see that it has changed to Red. |
 |
Now do exactly the
same for the
green and blue layer in turn. |
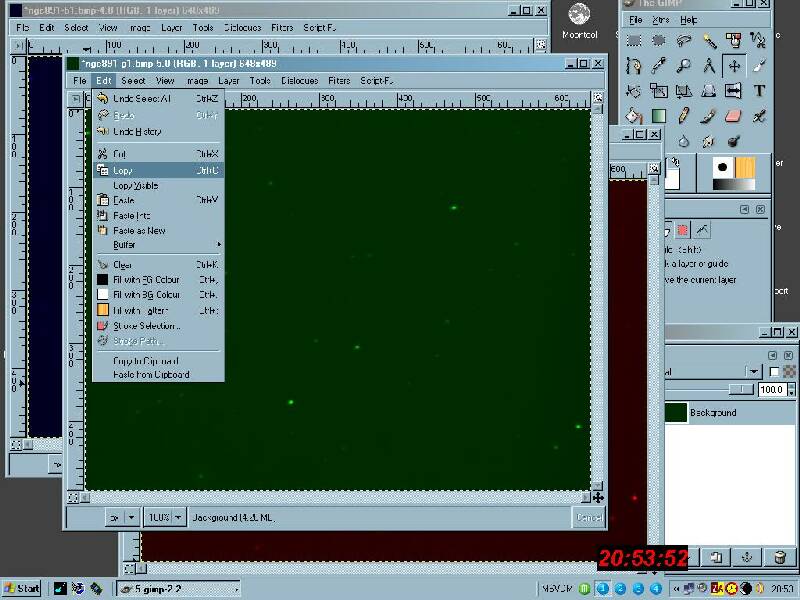 |
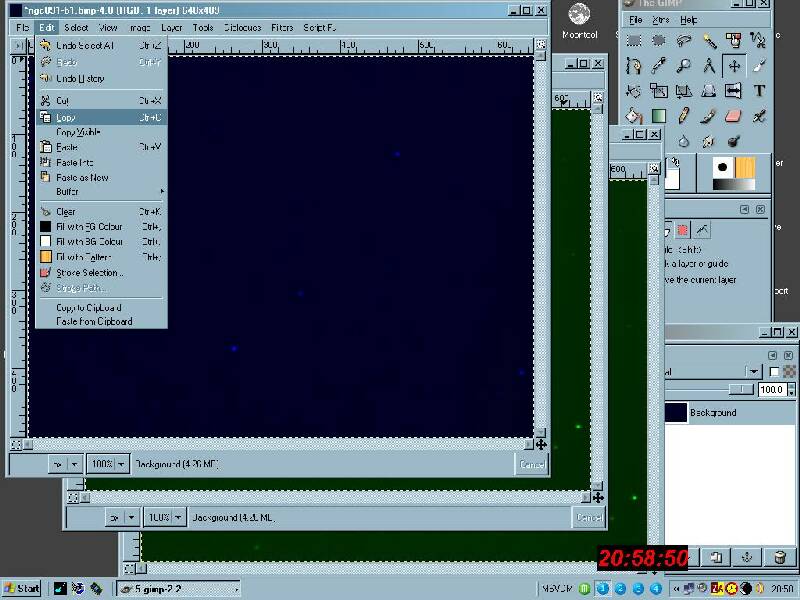
Next its time to
start building
the RGB image. Click Select/All or CTRL+A to select all of
the
image. Now click Edit/Copy or CTRL+C. |
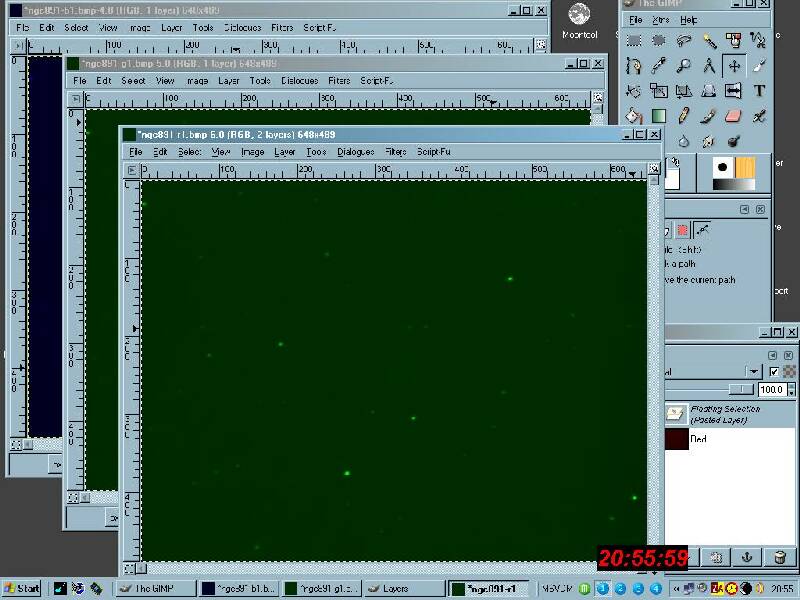 |
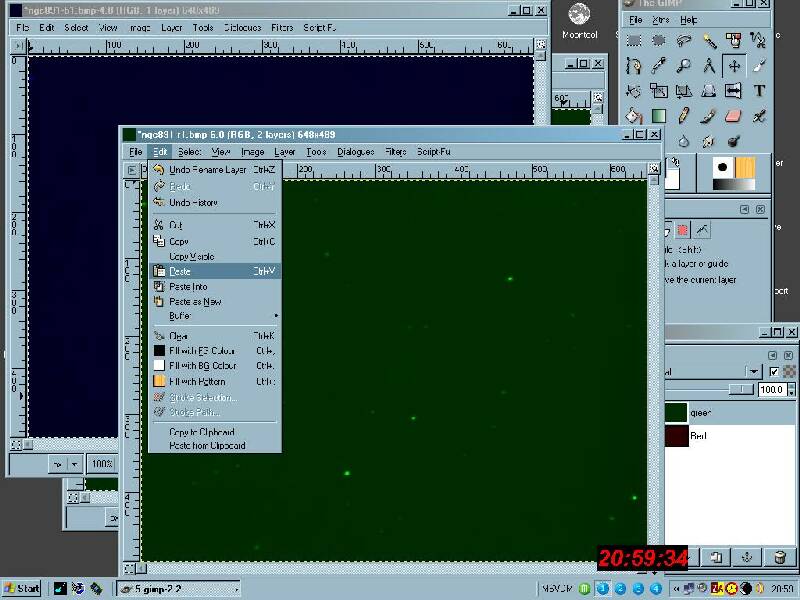
Highlight your Red
image and
click Edit/Paste or CTRL+V to paste in your green layer ontop
of
your red layer. |
 |
Double click on the
"Floating
Selection (Pasted Layer)" in you Layers dialog box and rename your
layer to Green or what ever name you have chosen. |
 |
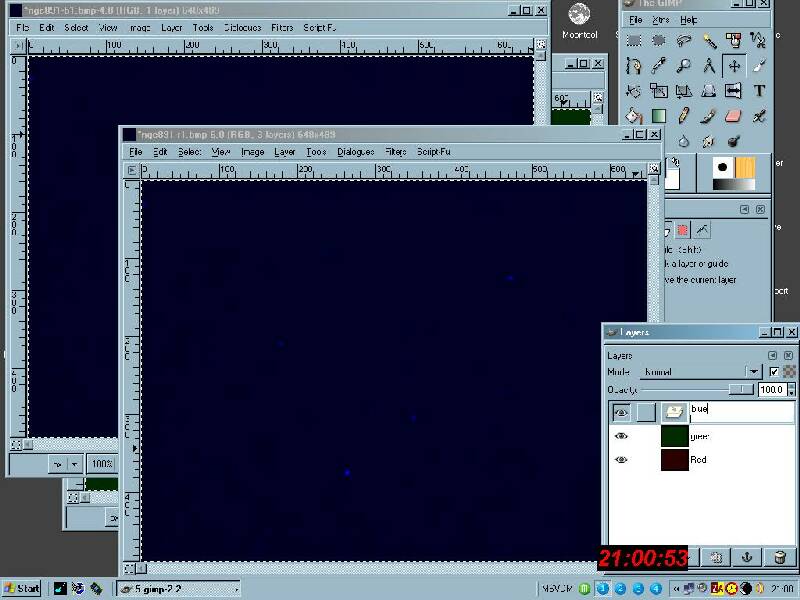
Repeat the above
steps now on
the blue layer. CTRL+A, CTRL+C |
 |
Hightlight the red layered image and then press CTRL+V to past in the blue layer. |
 |
Again double click on the "Floating Selection (Pasted Layer)" and change the name. |
 |
Stay in the Layers
dialog box.
Highlight the Blue layer by clicking on the Blue layer. Click the down
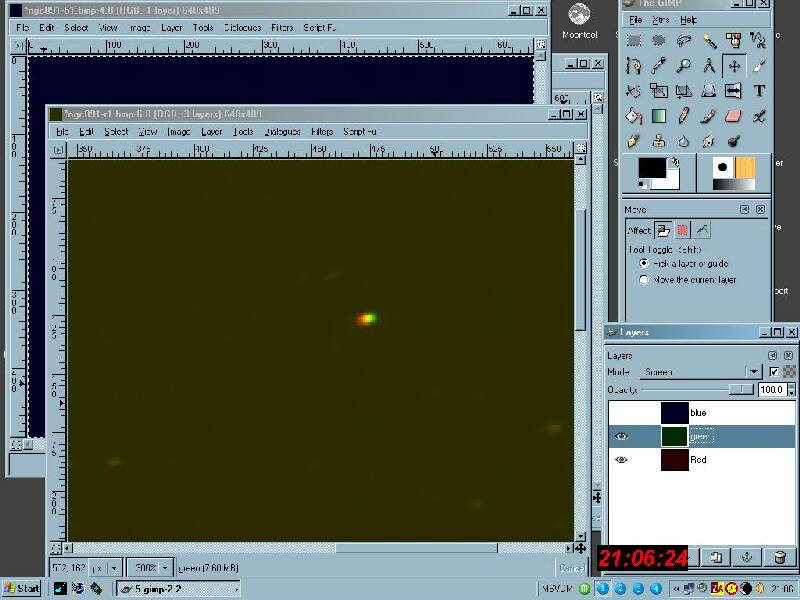
arrow where it says Normal and change this to Screen. |
 |
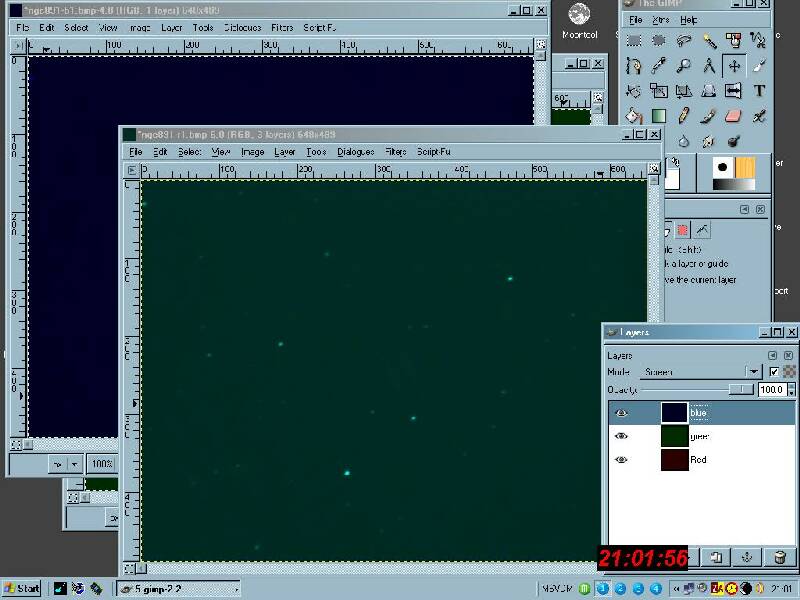
Still in the Layers dialog box. Highlight the Green layer by clicking on the Green layer. Click the down arrow where it says Normal and change this to Screen. Now you should have a sort of image that resembles this. |
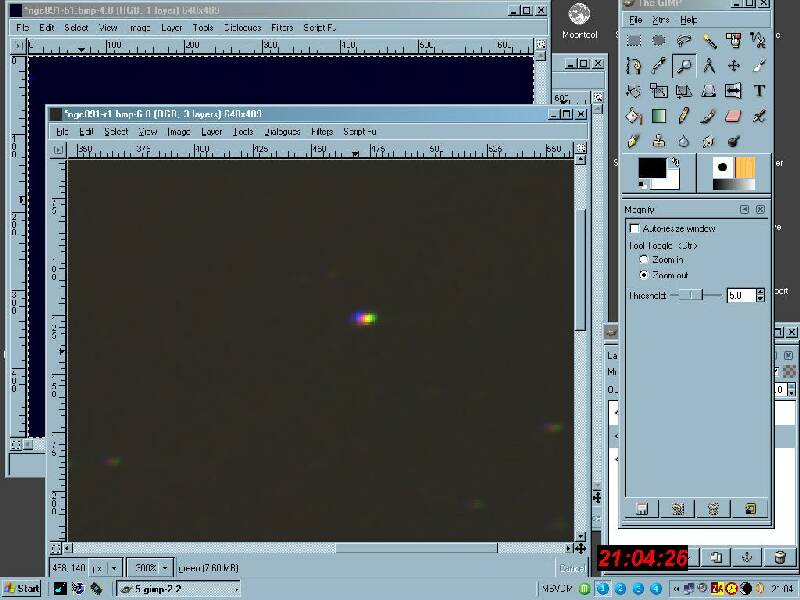 |
Here I have
magnified the image
to show that the colours are not lined up. Select the Magnifying Glass (Zoom in and out) icon and press it a few times over the area you want to look at. |
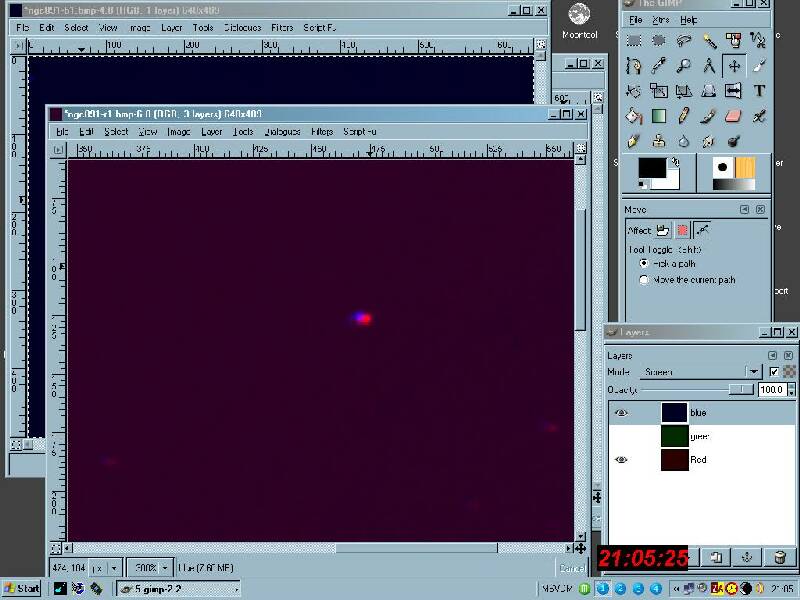 |
Click the eye in
the Green layer
in the Layers dialog box to turn off the Green channel then click on
the word green (or whatever word you chose) to activate it.
Now
click the Move tool (Move layers & Selection) and click inside
your
image. Holding down the left mouse button move the image
until
the colours line up. You can also use the 4 arrow
keys on
your keyboard for more precise alignment. |
 |
Now click on the eye in the Green layer to bring it back and click the eye in the Blue layer to turn it off. Now click on the right hand side of the Blue layer to make this active. Now click the Move tool (Move layers & Selection) and click inside your image. Holding down the left mouse button move the image until the colours line up. Don't forget to use the keyboard if needed. |
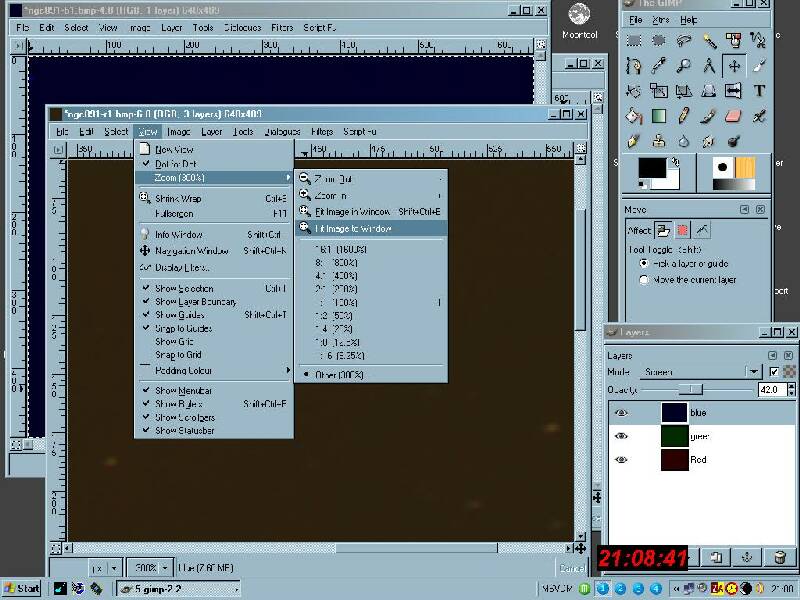 |
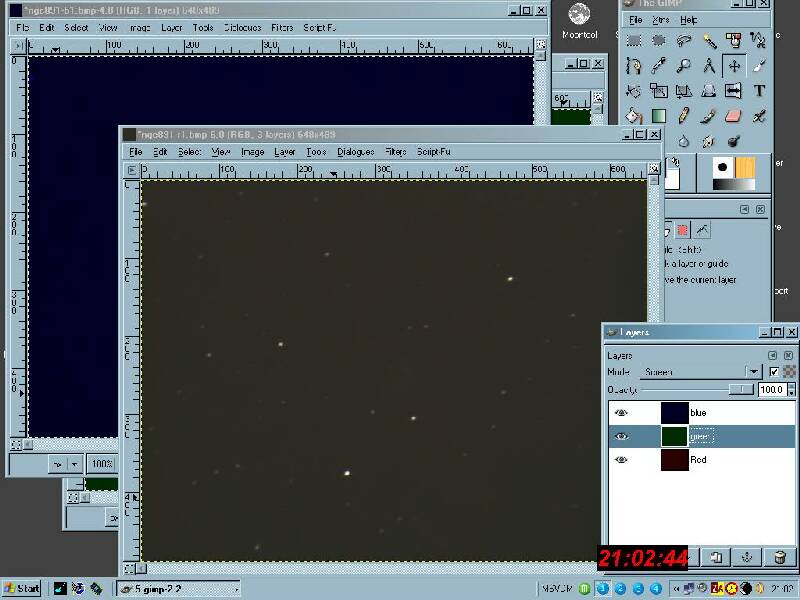
Right now your not
seeing the
whole of the image. Click View/Zoom/Fit Image to
Window.
Now you can see your full image and may not be too happy with the
colours. Well you can go back to the Layers dialog box and
highlight either the Blue or Green layer and move the slider just under
Screen. This is the weight of the colour. Some
people like
to set the Green to around 50-75% and the Blue to around the 30=50%
mark. Its all personal taste. |
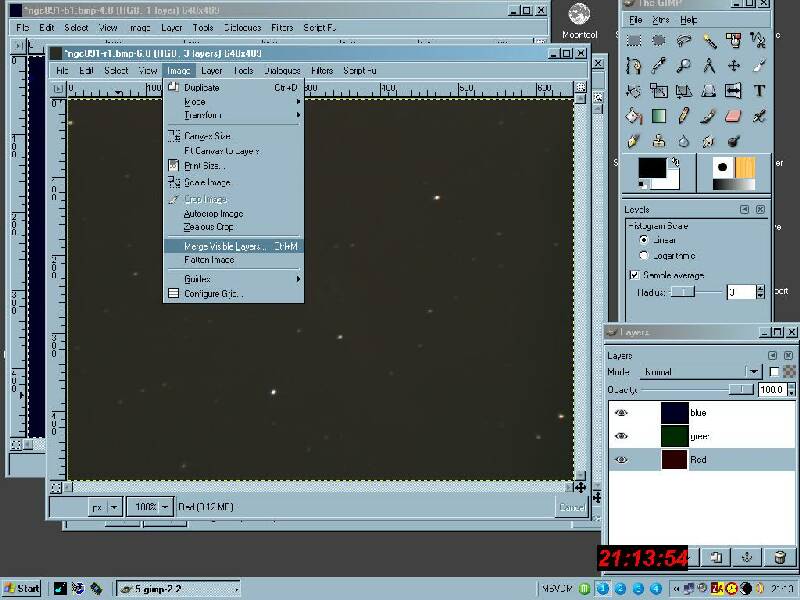 |
Now its time to
Merge the 3
layers into one image. Choose Image/Merge Visible Layers or
CTRL+M. |
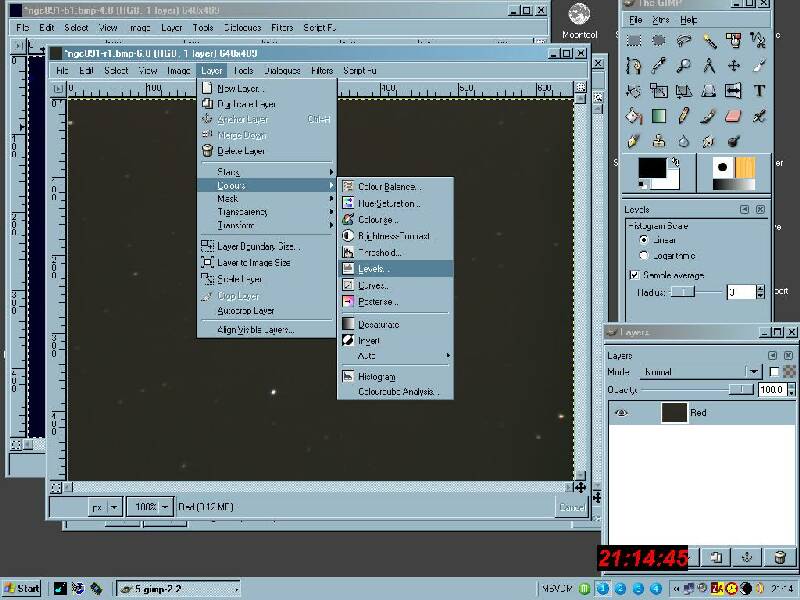 |
Next its time to
adjust your
image to your own taste. This is done by useing Levels which
can
be used to alter the Red, Green and Blue channels seperately or all
together. Play with these settings until you become
comfortable
with them. |
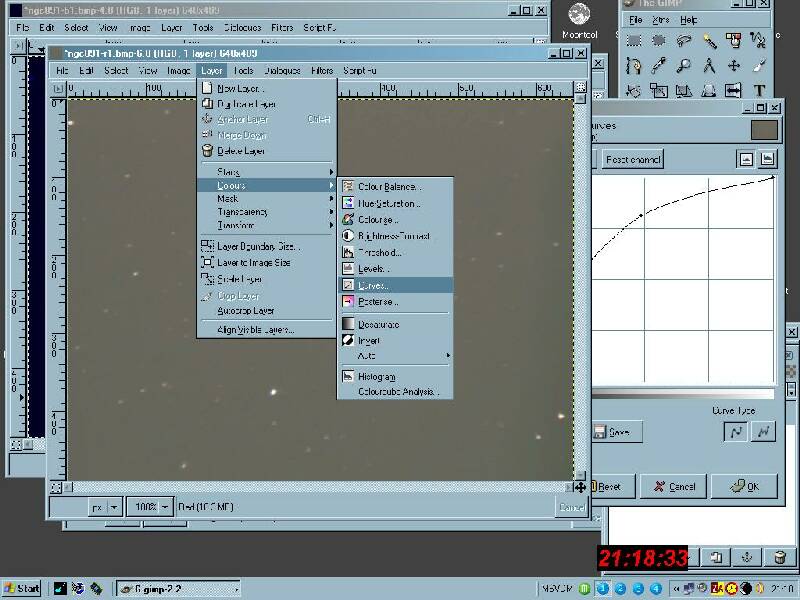 |
Another good choice
is the
Curves tool. If you alter Levels there is a good chance you
will
also have to alter the Curves too and vice versa. Again play
with
this tool until your comfortable with it. |
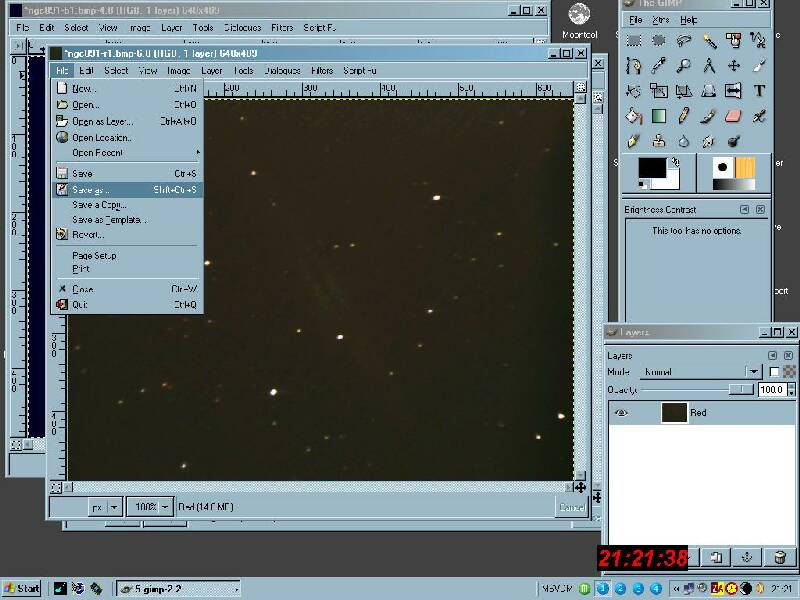 |
Now you have
finished your
latest masterpiece its time to save it. Click File/Save as or
Shift+CTRL+S. Choose a relevent name and file type and a
place
to store your RGB image. |
| LRGB images
are done exactly the same as an RGB image to start with. Only
this time you have an L channel or luminance channel. The L channel is the image that contains most of the details that you will see in the final image. This time though you might want to turn up the saturation of the colours as they will tend to wash out a little once combined with the L channel. Once you have stacked your L channel along with the RGB simply follow the proceedure above but instead you now have 4 images. Highlight your RGB colour image and copy this with CTRL+C. Now hightlight your L image and paste the colour image onto the L image with CTRL+V . Click the down arrow where it says Normal in the Layer Dialog box and change this to Screen. Now use the move tool to adjust the position of the RGB image to match the L image. Once this is done you now have and LRGB image. Adjust to taste and save. Have fun ! |